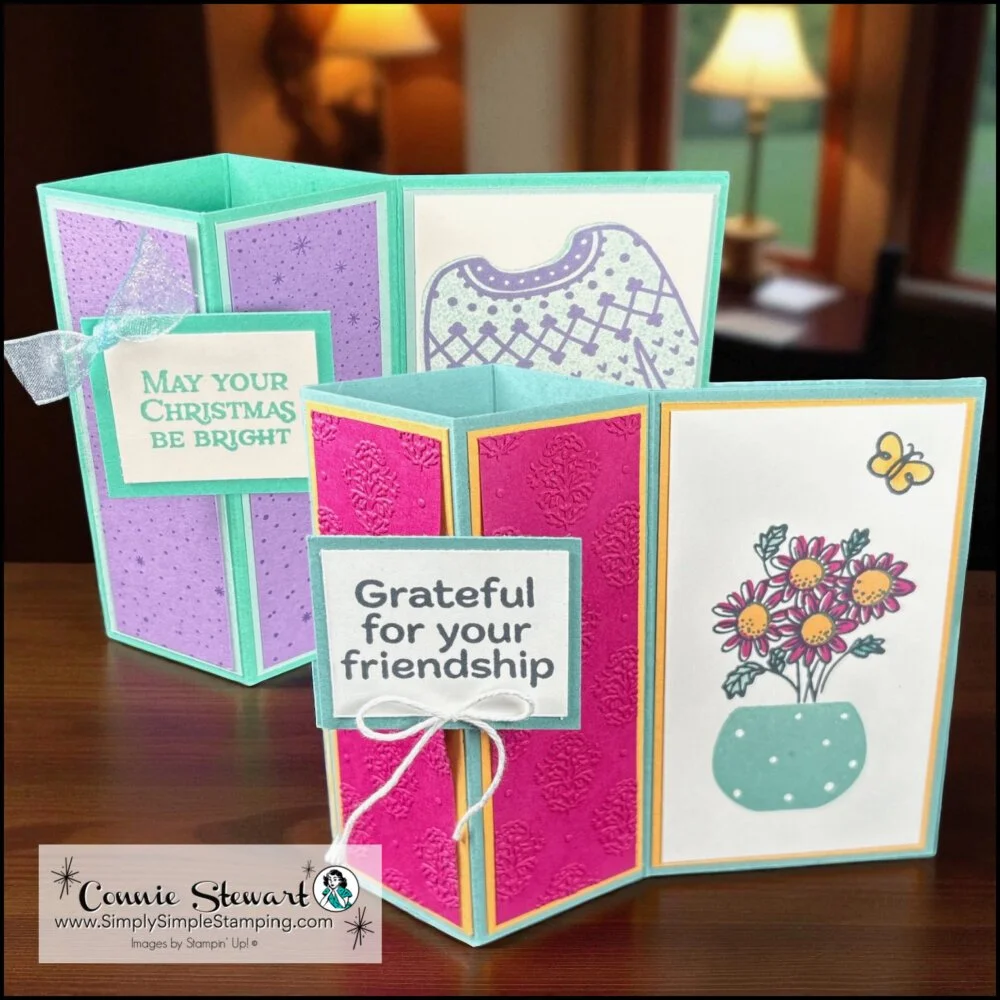
Standing Z-Fold Card DIY projects are taking the crafting world by storm, and this One Sheet Wonder tutorial will show you exactly why! With just one piece of designer paper and two simple score lines, you'll create a stunning dimensional card that serves double duty as both a greeting card and a beautiful display piece. This technique is perfect for crafters of all skill levels who want maximum impact with minimal effort.
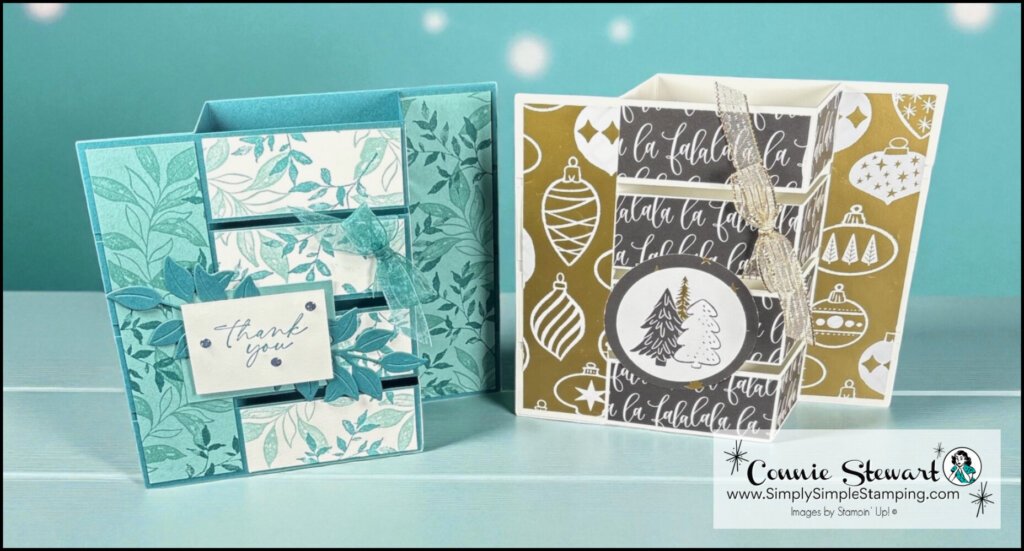
Standing Z-Fold Card | Video Tutorial
In today's tutorial video, I'll walk you through every step of creating these gorgeous Standing Z-Fold Cards, from the initial scoring to the final decorative touches. You'll see exactly how to work with designer paper patterns to create coordinated looks across all the card's surfaces.
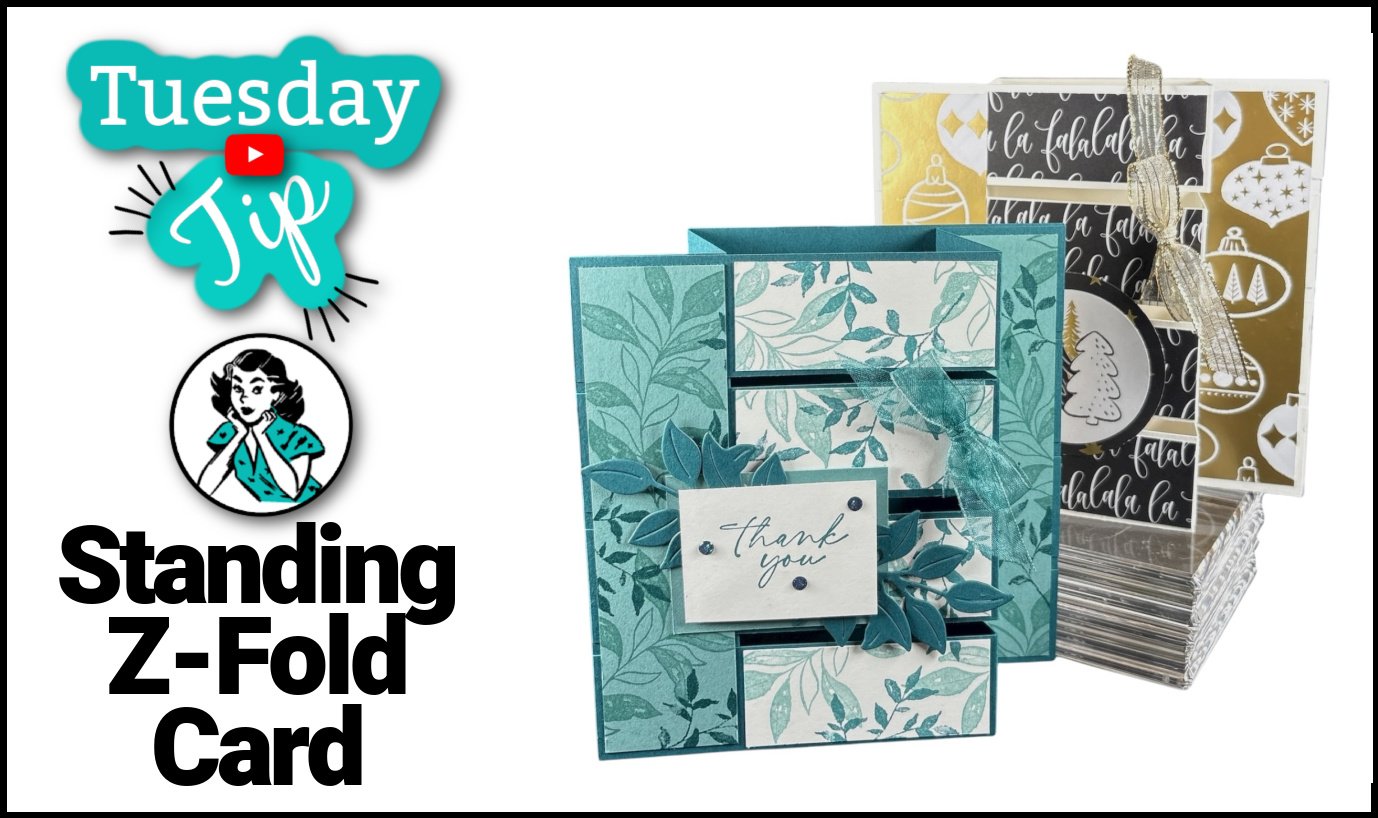
⭐️ Ready to try this Standing Z-Fold Card DIY technique for yourself? Don't forget to subscribe for more One Sheet Wonder projects that will transform your card making!
Ready to Create these Standing Z-Fold Cards?
Now that you have watched the video, you can see how easy this card is... but it sure looks complicated. We will keep the secret of how easy it is between us. That's what friends do, right?
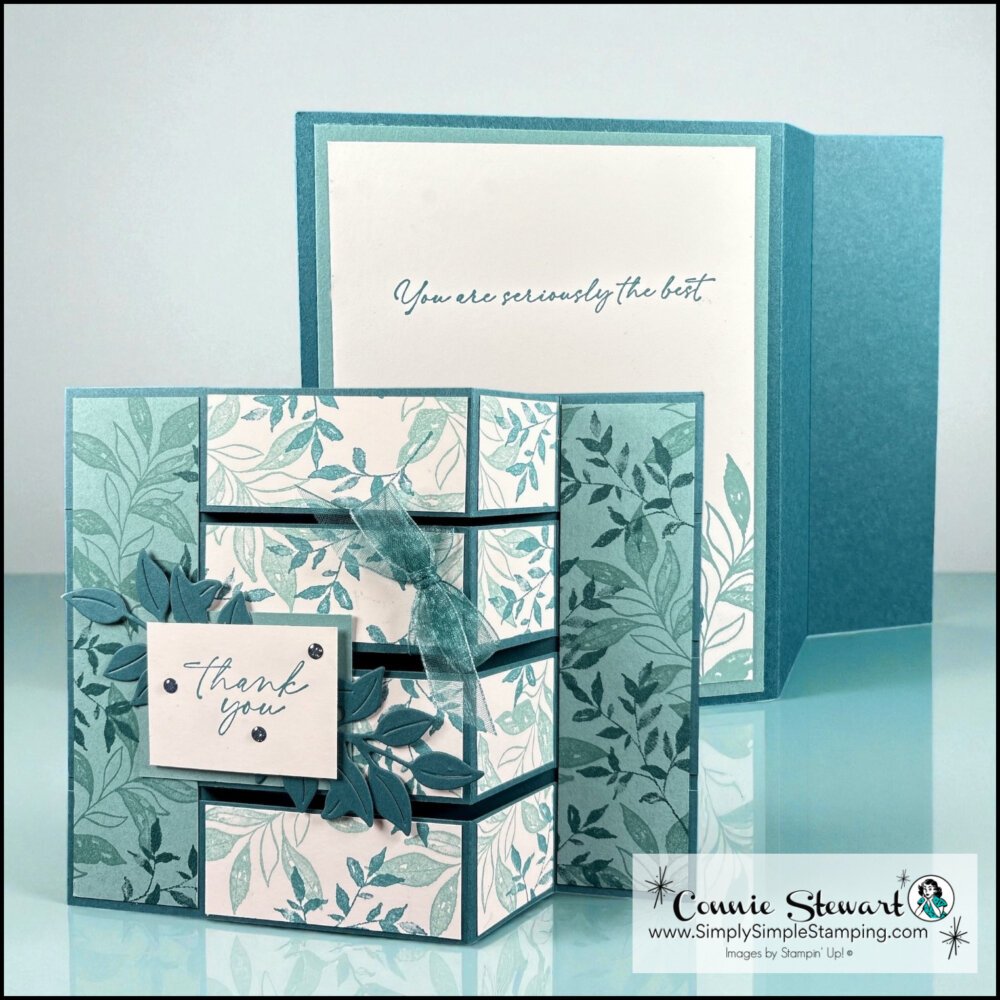
Textured Notes Stamp set and Thankful Garden dies
Pretty Peacock:
10 ½” x 7 ¼”:
With the 7 ¼” at the top, score at 1 ½” and 3”
With the 10 ½” at the top, cut (4) 1 ¼” strips (Z-Folds) and 5 ½” x 7 ¼” (card base)
5 ½” x 2” (greeting leaves)
Lost Lagoon:
2 ¾” x 5 ¼” (left/right panels)
2 ¼” x 1 ¾” (greeting layer)
4” x 5 ¼” (back message layer)
Basic White:
4 ½” x 4”, Stamped (Z-Fold layers)
With the 4 ½” at the top, cut into (4) 1 ⅛” x 4”
Cut each piece to 1 ⅛” x 2 ⅝” & 1 ⅜”
2” x 1 ½” (greeting)
3 ¾” x 5” (back message)
Ribbon: 14”
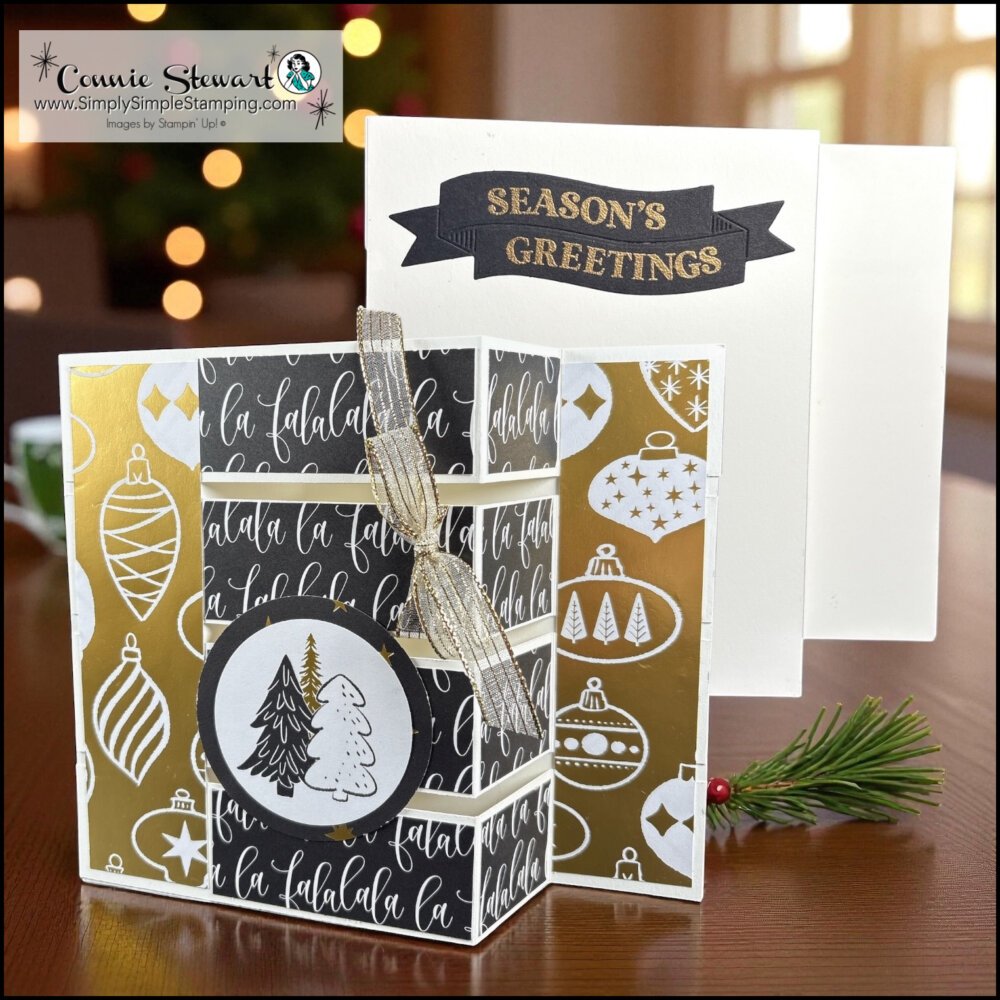
Traditional Labels Bundle and Modern Christmas Designer Series Paper (DSP)
Basic White Thick:
10 ½” x 7 ¼”:
With the 7 ¼” at the top, score at 1 ½” and 3”
With the 10 ½” at the top, cut (4) 1 ¼” strips (Z-Folds) and 5 ½” x 7 ¼” (card base)
Basic Black: 4 ¼” x 2” (back message layer)
DSP:
4 ½” x 4” (Z-Fold layers)
With the 4 ½” at the top, cut into (4) 1 ⅛” x 4”
Cut each piece to 1 ⅛” x 2 ⅝” & 1 ⅜”
(2) 1 ⅜” x 5 ¼” (left/right panels)
Ribbon: 14”
* Diagrams and written tutorials are available to YouTube Members - Learn more HERE
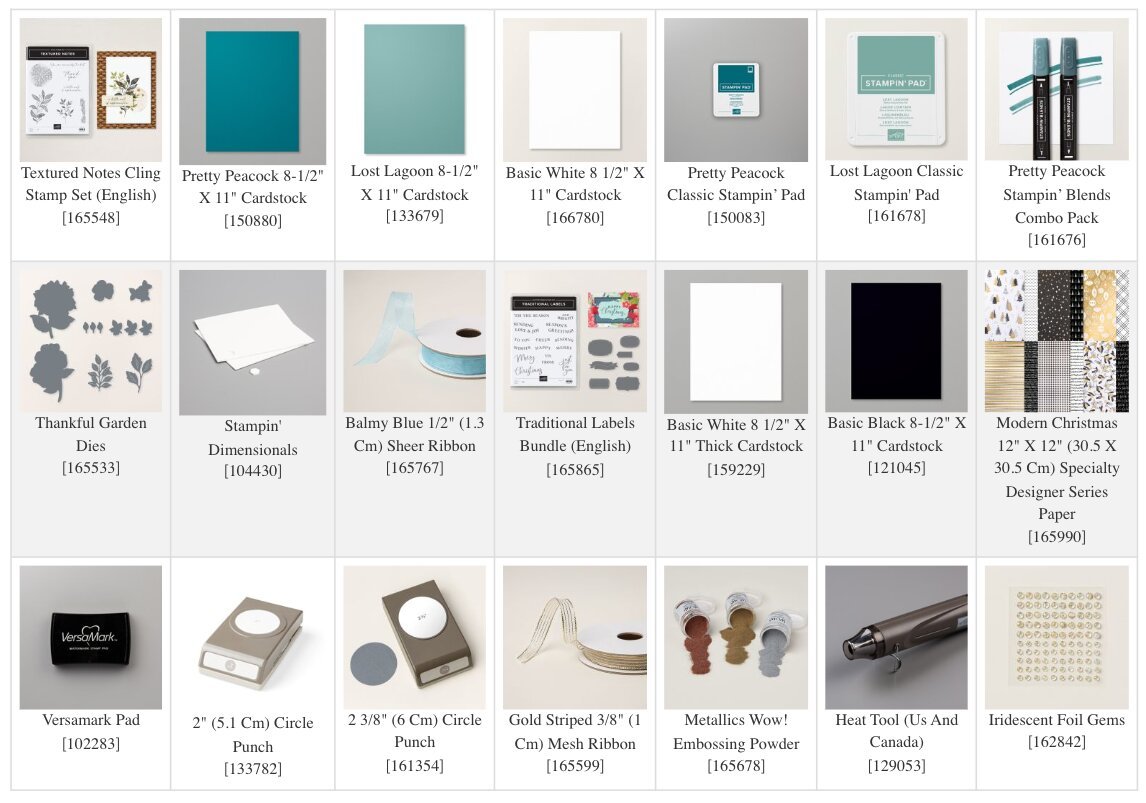
Stampin' Up! Product List for Today's Cards
Click on the picture to add to your cart
Thank you for choosing me to be your Stampin’ Up! Demonstrator!

WOW! Earn Stampin’ Rewards on orders over $20 (before tax/ship.
Spend them on your next Stampin' Up! order or save them up for a bigger purchase!
Pinterest-ing
You know that feeling when you discover a technique so good you want to remember it forever? Pin this Standing Z-Fold Card tutorial because this is the kind of project you'll find yourself coming back to again and again. Follow me on Pinterest for more clever card-making shortcuts that deliver stunning results without the complexity!

Join Me Thursday, December 4, 2025, for a Create with Connie YouTube Live!
9am Pacific 10am Mountain 11am Central * 12pm Eastern
Let's create a fun XXX Card together!

Make it a GREAT day and stamp something amazing!
See you again on Thursday!

So what’s this new YouTube Membership thing all about?
It’s a fun, optional way to get even more crafting content, perks, and behind-the-scenes fun!