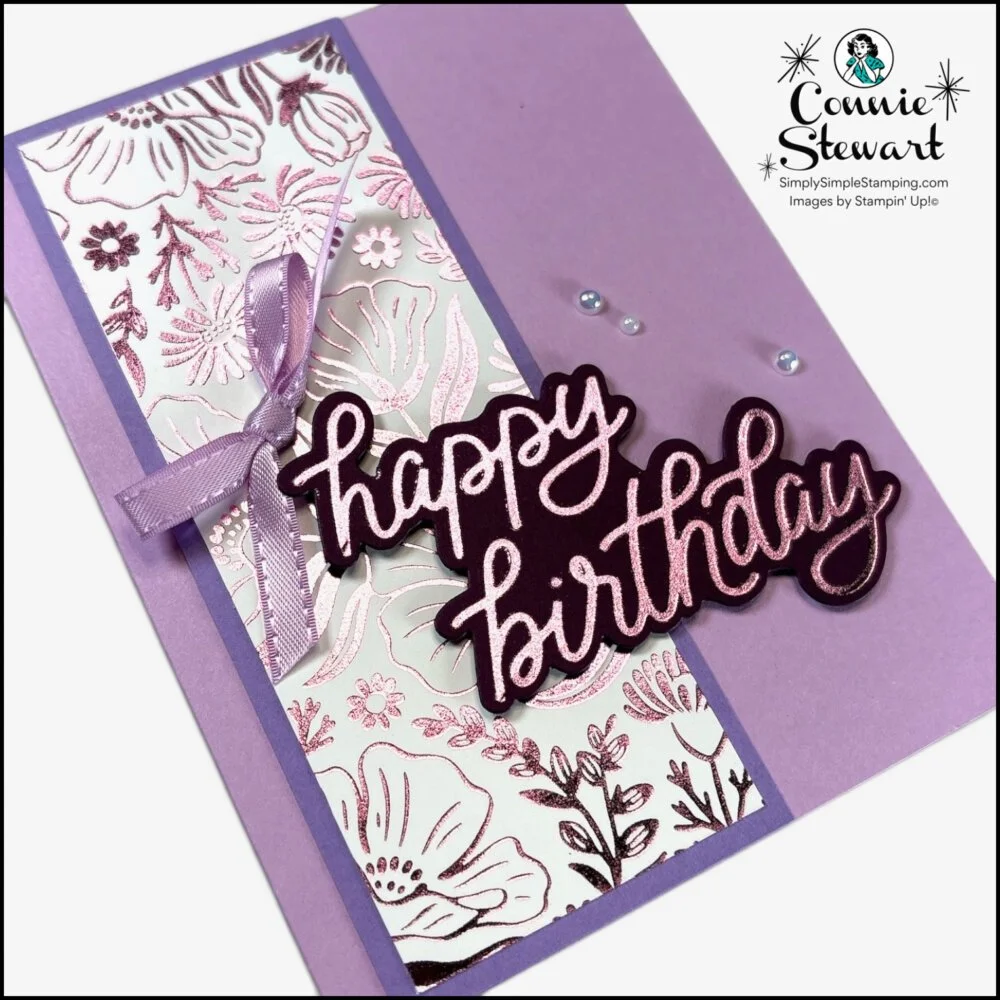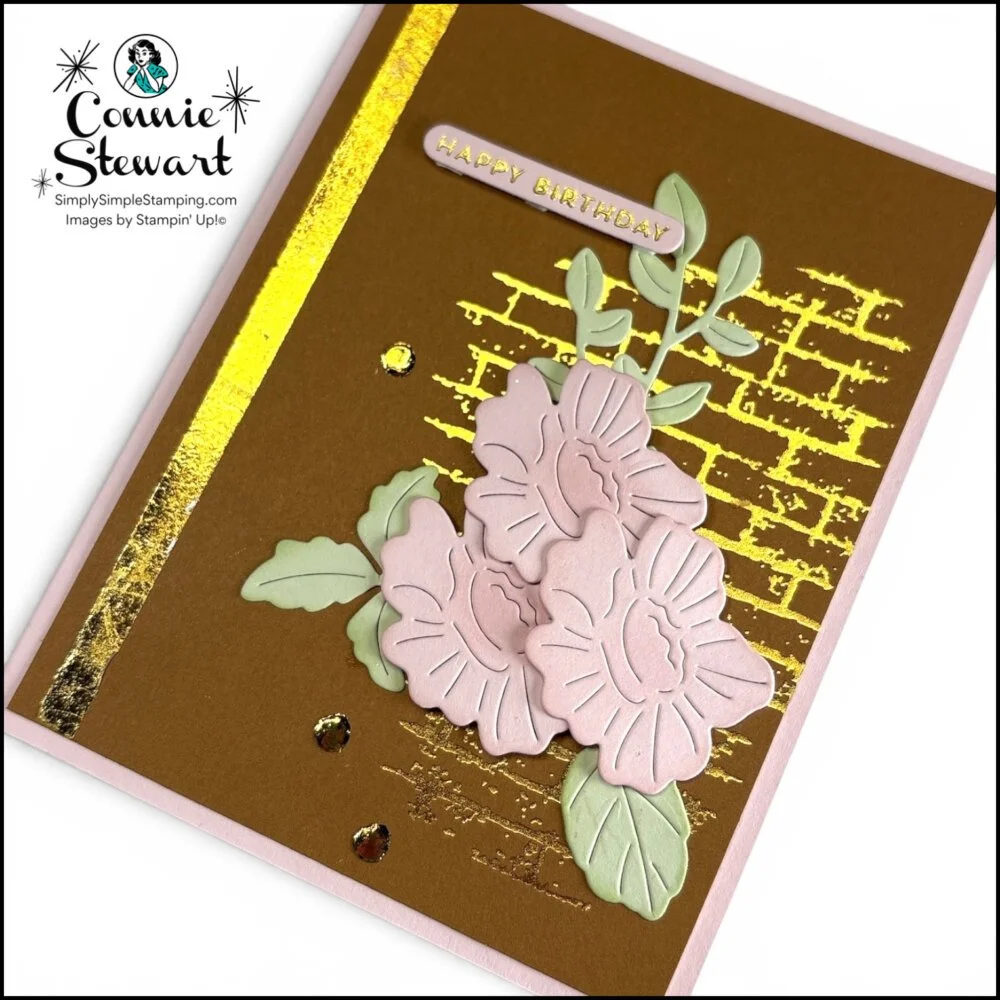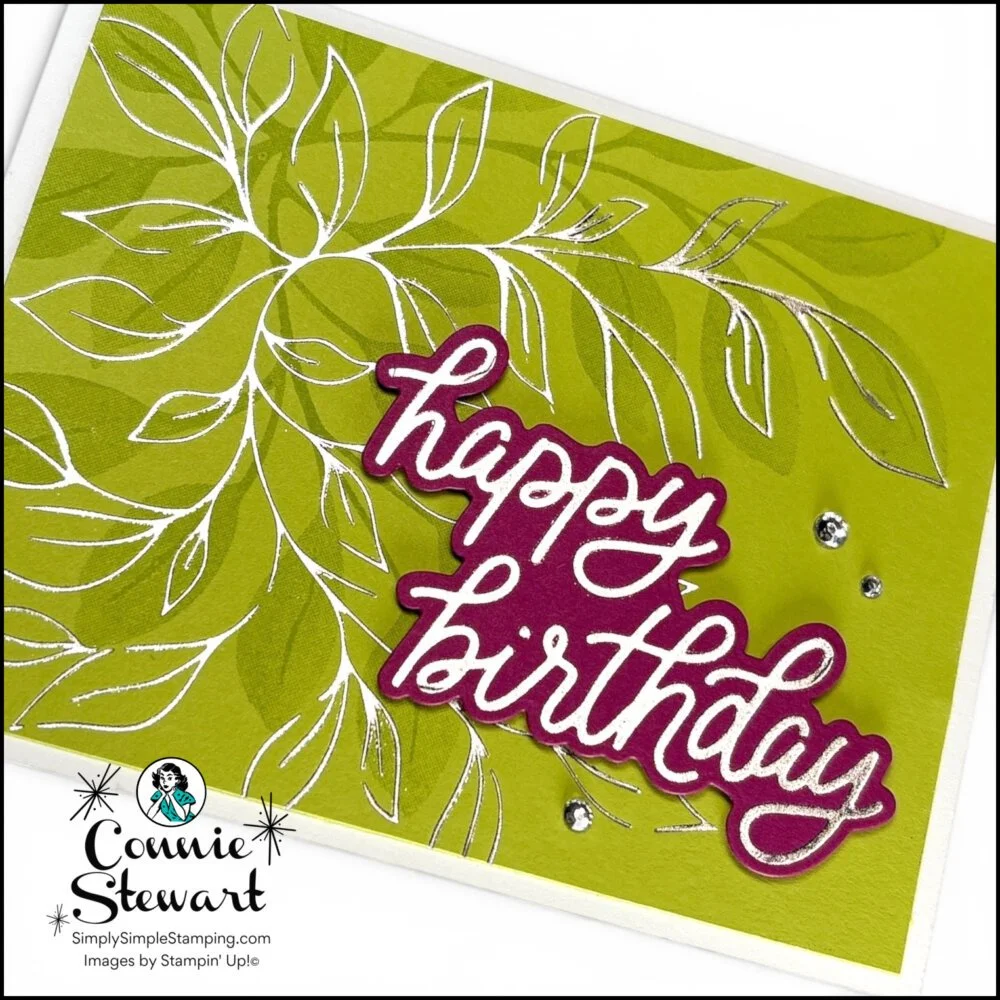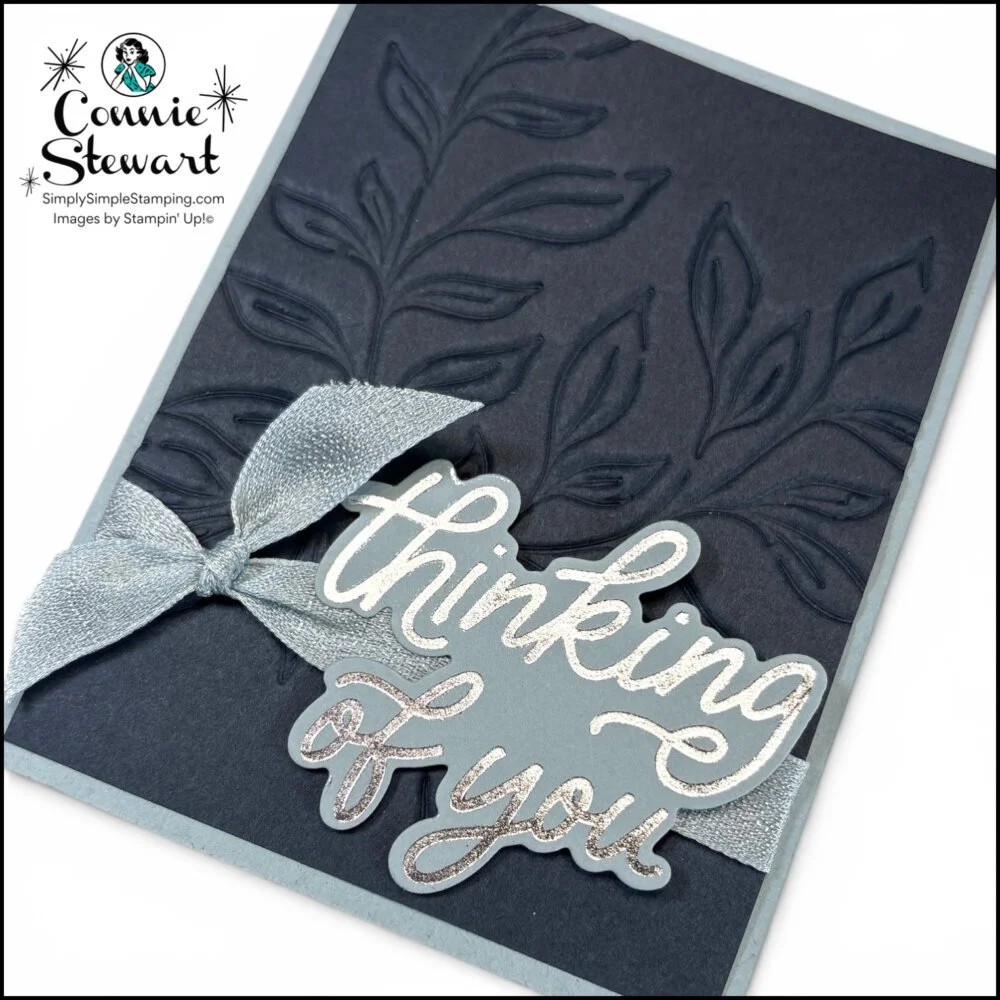
What Is Hot Foiling?
If you’ve ever wished your handmade cards had that extra little “WOW!“ factor, you’re going to love hot foiling.
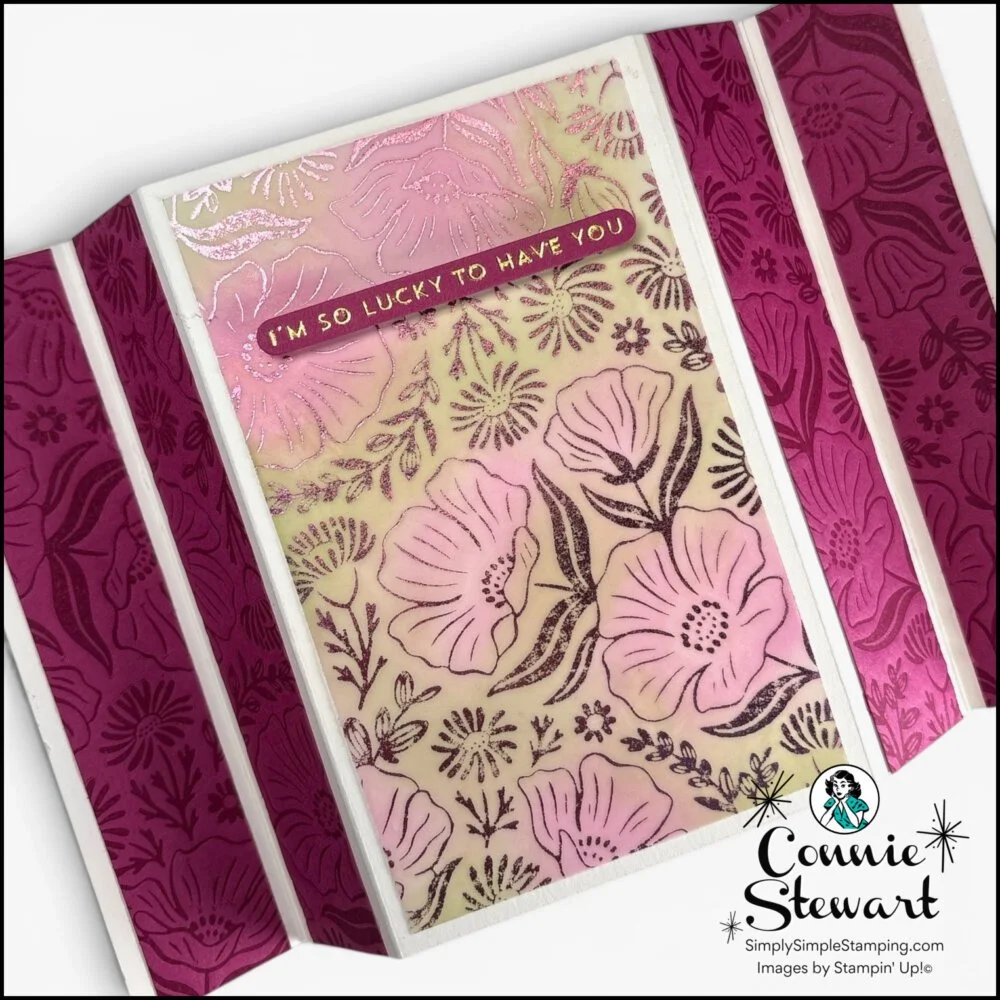
Hot foiling is a technique that uses heat and pressure to transfer beautiful metallic or colored foil onto cardstock, paper, vellum, and other smooth crafting surfaces. The result is a smooth, shiny finish that catches the light and instantly adds elegance to your projects. It’s the same eye-catching look you’ve probably admired on wedding invitations, luxury stationery, and high-end gift packaging.
The Stampin’ Up! Hot Foil System makes it easier than ever to bring that professional-looking finish into your own craft room. Whether you’re adding a delicate floral image, a bold greeting, or an all-over background, hot foiling creates stunning results with surprisingly little effort.
The best part? You don’t need years of experience to create beautiful foiled projects. If you can use a Stampin’ Cut & Emboss Machine, you’re already well on your way!
Why Crafters Love Hot Foiling
Beautiful Shine
Create elegant metallic accents that immediately catch the eye.
Easy to Learn
The process is beginner-friendly and easy to master.
Professional Results
Add a polished finish that looks like it came from a boutique stationery shop.
Perfect for Many Projects
Cards, tags, scrapbook pages, home décor, gift packaging, and more.
Meet the Stampin’ Up! Hot Foil System
The Stampin’ Up! Hot Foil System was designed to make adding beautiful metallic details to your handmade projects simple and fun. The magic happens when heat and pressure work together to transfer the foil from the roll onto your cardstock. Once you peel back the foil, your shiny design is revealed…and trust me, that first reveal never gets old!
Whether you’re adding an elegant sentiment, a delicate floral image, or an all-over background, the Hot Foil System gives your cards and paper crafting projects that extra touch of shine that makes people stop and say, “Wow…how did you do that?”
If you’ve used a Stampin’ Cut & Emboss Machine before, you’ll already feel right at home. The Hot Foil System is easy to learn, and after a project or two, you’ll be foiling with confidence.
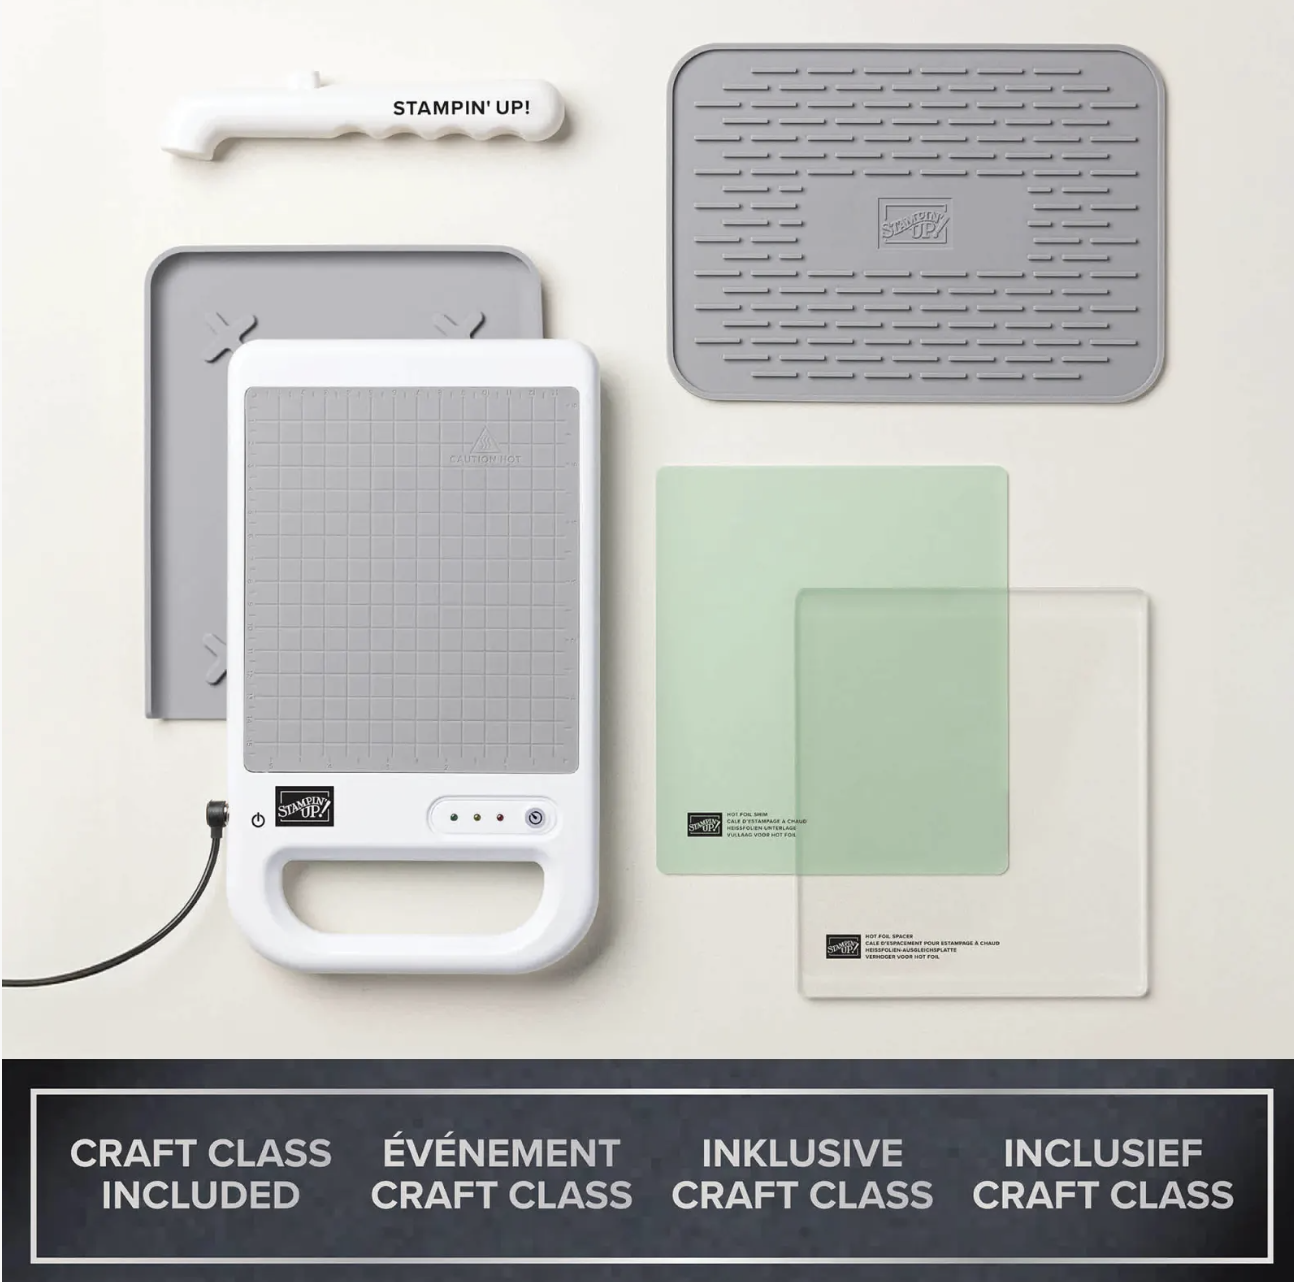
What's In The Box:
✔ Stampin’ Hot Foil Platform
✔ Silicone Work Mat
✔ Silicone Cooling Pad
✔ Hot Foil Shim
✔ Spacer Plate
✔ Magnetic Pick-Up Tool
✔ Power Cord
✔ FREE access to the Metallic Magic Online Craft Class (when purchased before January, 2027)
You'll Also Need
The Hot Foil System works together with a few additional supplies that are sold separately:
Stampin’ Cut & Emboss Machine (full-size)
Stampin’ Hot Foil Rolls
Stampin’ Hot Foil Dies
Cardstock or other compatible crafting materials
Good to Know: The Hot Foil Platform is designed for the full-size Stampin’ Cut & Emboss Machine. It is not compatible with the Mini Stampin’ Cut & Emboss Machine because the platform is too large.
💡 A Helpful Hint:
Before you plug in the machine for the first time, gather everything you’ll need: your foil, cardstock, Hot Foil Die, and Stampin’ Cut & Emboss Machine. Having everything within reach makes the process smooth, simple, and a whole lot more fun!
How to Use the Stampin' Up! Hot Foil System
Ready to create your first foiled project? Don’t worry, it’s easier than it looks! Once you’ve gathered your supplies and learned the basic process, you’ll be adding beautiful metallic shine to your handmade cards in no time.
Follow these simple steps, and before you know it, you’ll be peeling back the foil to reveal that magical first impression. (Trust me…it’s one of the most satisfying moments in paper crafting!)
Step 1
Plug In & Preheat
Plug in the Hot Foil System and place it on the silicone work mat to protect your crafting surface.
If the machine is starting from room temperature, it will take about 6 minutes to fully heat. The indicator light will flash while heating, and once the machine is ready, it will beep and the light will stop flashing.
💡 Connie’s Tip: Use this warm-up time to choose your Hot Foil Die, trim your foil, and prepare your cardstock so everything is ready to go.
Step 2
Prepare Your Die
Place the Hot Foil Die design side up on the heated platform.
Step 3
Heat Everything
Press the timer button.
When the light turns green, your sandwich is ready to move to the Stampin’ Cut & Emboss Machine.
Step 4
Cut Your Foil
Cut a piece of Stampin’ Hot Foil slightly larger than your die.
Lay the foil pretty side down (the shiny side touching the die).
Step 5
Add Your Cardstock
Place your cardstock on top of the foil with the side you want foiled facing the foil.
Step 6
Build Your Sandwich
Place:
• Green Shim
• Spacer Plate on top.
Step 7
Run Through Your Machine
Slow and steady wins the race.
Run the platform through your full-size Stampin’ Cut & Emboss Machine slowly.
Don’t rush!
The slow, even pressure gives the foil the best transfer.
Step 8
The Best Part…
Return the platform to the silicone mat.
Carefully remove the spacer plate and shim.
Slowly peel away the foil.
✨ That’s the magic moment!
Before You Make Your First Foiled Project
Hot foiling is easy to learn, but knowing a few simple tips before you begin can make your very first project much more successful. These are the little things I wish everyone knew before they started!
1️⃣ Smooth Cardstock Makes a Difference
For the sharpest, most detailed foiled images, choose a smooth cardstock whenever possible. Smooth surfaces allow the foil to transfer more evenly, giving you crisp lines and beautiful shine.
Stampin’ Up!’s Two-Tone Cardstock is a wonderful choice for detailed foiling, while Basic White Cardstock also produces beautiful results. More textured or heavily milled cardstock can create a softer, slightly distressed look, which can be beautiful too, depending on the style you’re after. White Willow 12 x 12 Cardstock is what Stampin’ Up! recommends if you want a smooth finish on white cardstock
💡 Connie’s Tip: If you’re trying a new paper for the first time, foil a small test piece before creating your final project.
2️⃣ Remember: Pretty Side Down
This is probably the easiest mistake to make…and we’ve all done it!
When placing your foil on top of your Hot Foil Die, the shiny (or “pretty”) side should face (kiss) the die, with the dull side facing up toward you. Your cardstock is then placed on top of the foil.
If the foil is upside down, it simply won’t transfer to your cardstock.
✨ Easy way to remember: Pretty side down!
3️⃣ You’ll Need the Full-Size Stampin’ Cut & Emboss Machine
The Hot Foil Platform is designed to work with the full-size Stampin’ Cut & Emboss Machine.
Because the platform is larger than the Mini Stampin’ Cut & Emboss Machine opening, it won’t fit through the Mini machine.
If you’re shopping for supplies, be sure to have the full-size machine ready before you begin.
4️⃣ Hot Foil Dies and Cutting Dies Are Different Tools
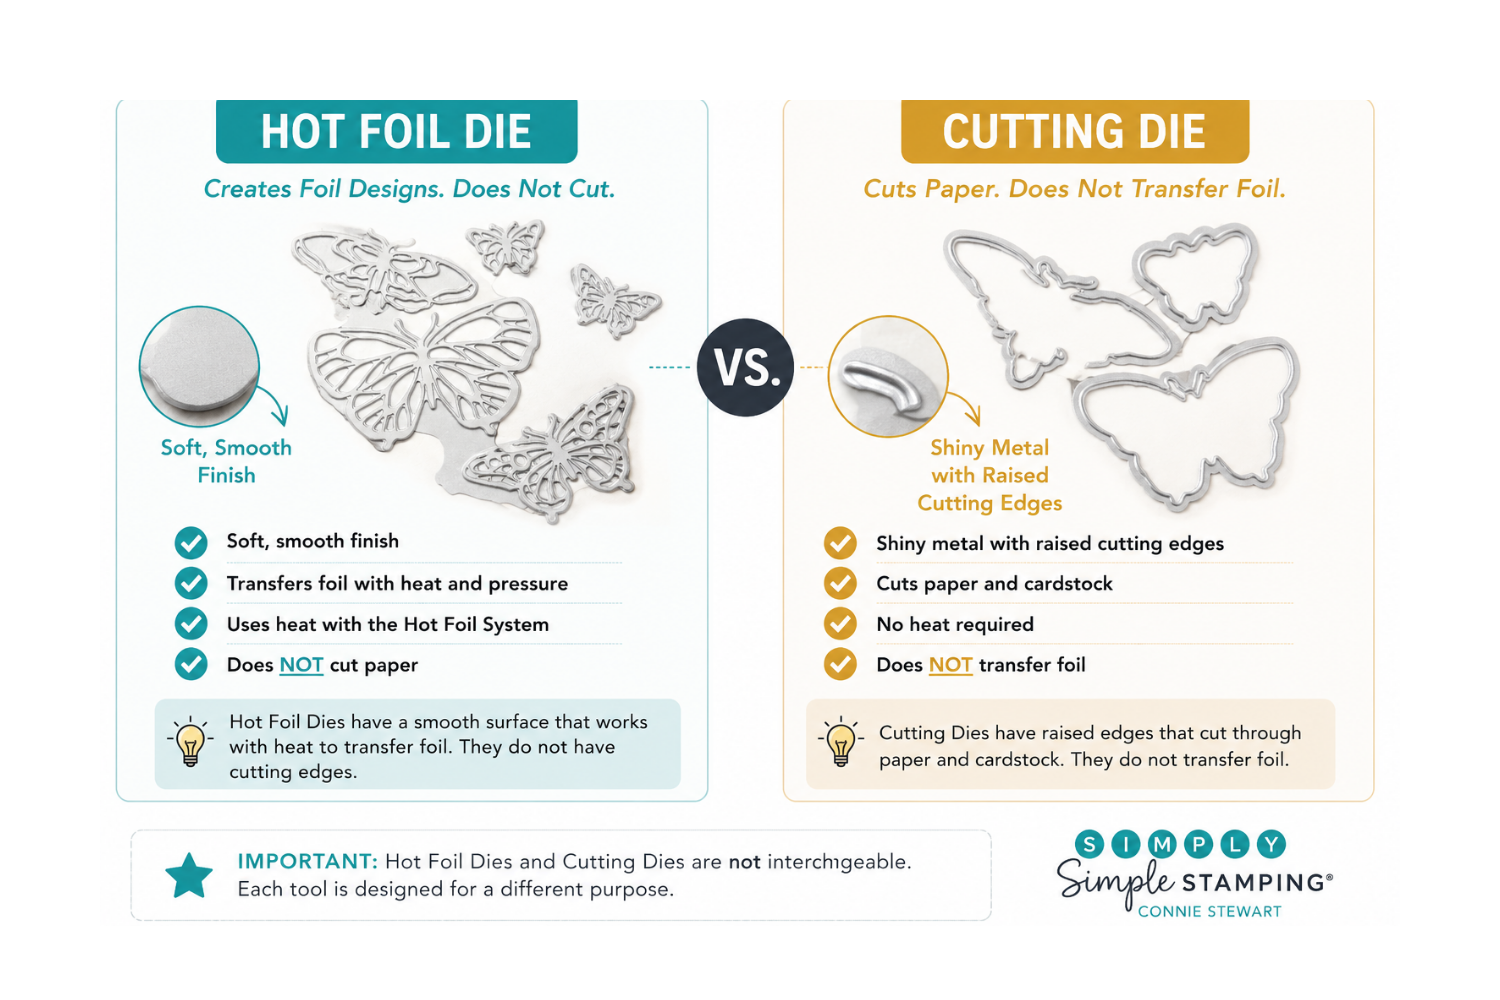
At first glance, Hot Foil Dies and Cutting Dies may look similar, but they each have a different job.
Hot Foil Dies
Have a smooth, satin finish
Use heat to transfer foil
Do not cut paper
Cutting Dies
Have a shiny metal finish with raised cutting edges
Cut cardstock and paper
Do not transfer foil
Many product suites include both a coordinating Hot Foil Die and a Cutting Die. You’ll foil your design first, then use the coordinating Cutting Die to cut it out.
⚠️ Important: Never try to use a Hot Foil Die as a Cutting Die. They are specially designed for heat transfer and using them to cut can damage both the die and your Hot Foil System.
5️⃣ Slow and Steady Wins the Race
One of the biggest secrets to beautiful foiled images isn’t a special technique, it’s simply taking your time.
Allow the Hot Foil System to fully preheat before you begin. Once your foil sandwich is ready, roll it through the Stampin’ Cut & Emboss Machine slowly and smoothly. There’s no need to rush.
After foiling, let everything cool for a few moments before slowly peeling away the foil to reveal your finished design.
✨ The reveal is one of the most fun parts of hot foiling…don’t rush it!
Hot Foil Project Ideas & Tutorials
One of my favorite things about the Stampin’ Up! Hot Foil System is how versatile it is. From elegant florals and bold greetings to shimmering backgrounds and holiday cards, there are so many creative ways to use it.
Here are a few of my favorite Hot Foil tutorials. I’ll continue adding new projects here, so be sure to check back often for fresh inspiration!