
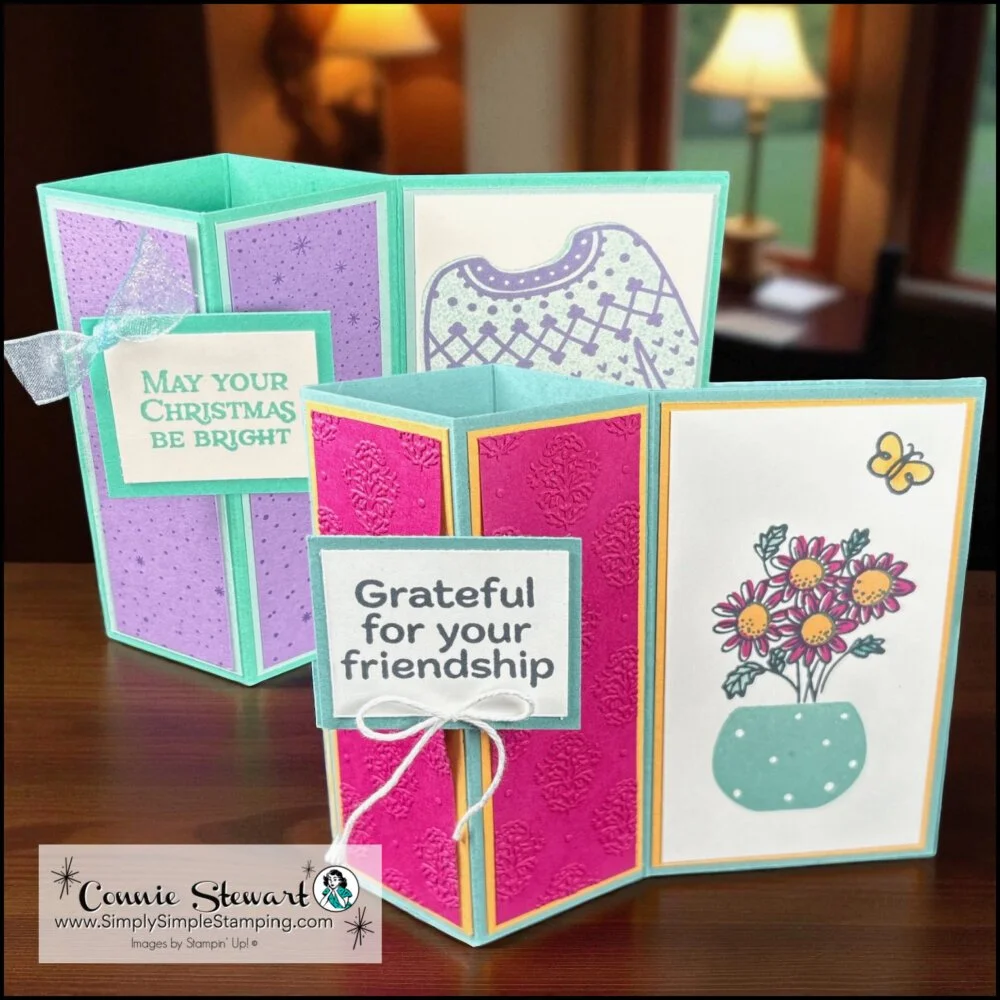
We all want to be that person who makes cards so stunning that people actually keep them on their desk for months (instead of tossing them in the junk drawer with the takeout menus). Cancel your evening plans because today's Mini Side Pillar card tutorial is about to elevate your card game from 'sweet gesture' to 'absolute showstopper.' And the best part? It's so fun to bless your family and friends with such a special card.
Here's where this little beauty really shines; it's like the Swiss Army knife of card designs. Birthday? Check. Thank you note? Double check. Christmas, Valentine's Day, graduation, sympathy, or that random Tuesday when you want to tell your bestie she's amazing? This design has your back every single time. I've made versions with florals for spring birthdays, cozy sweaters for holiday greetings, and even geometric patterns for those modern-loving friends. The magic is in the pillar. It makes ANY sentiment feel special and intentional. You can knock this out in 20 minutes while your coffee is still hot.
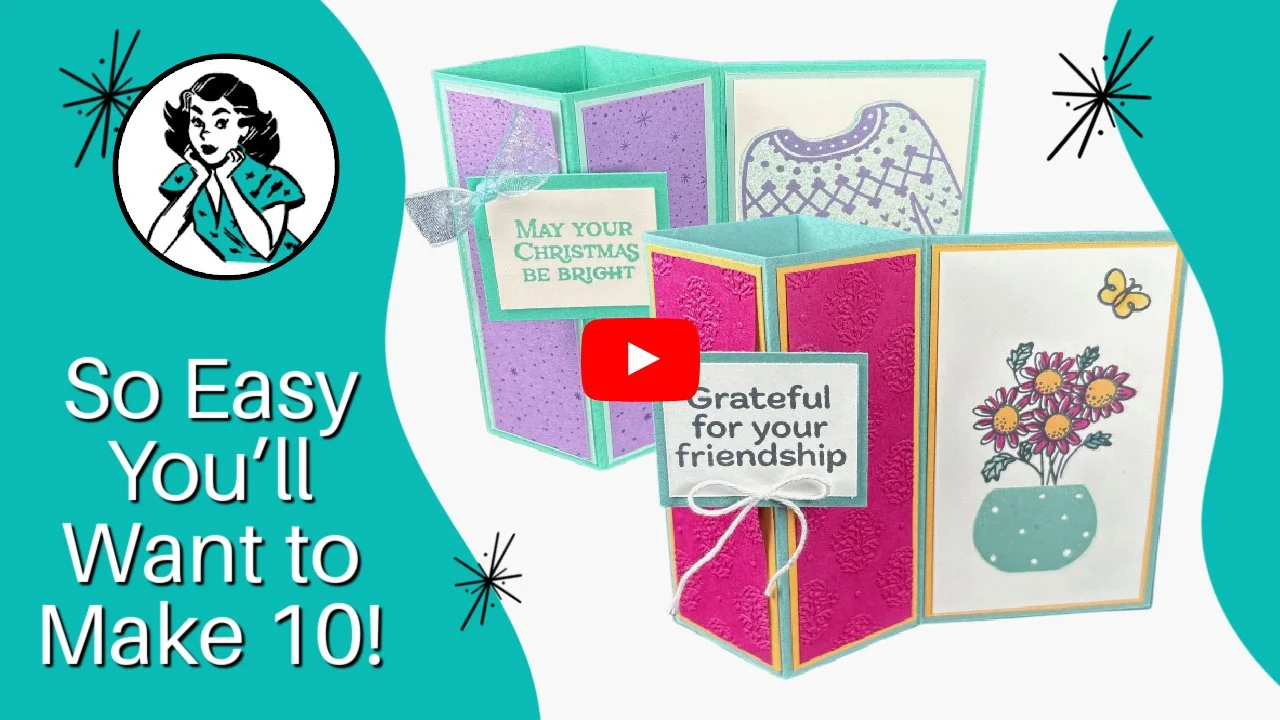
Mini Side Pillar Card Video Tutorial
If you've been following along, you know I love finding those special designs that make people stop and stare, and this Mini Side Pillar card tutorial is exactly that kind of special card.
Whether you're brand new to card making or you've been stamping for years, this technique is going to blow your mind with how simple it is to create such stunning dimensional results. So grab your Stampin' Up! supplies, pour yourself something delicious, and let's get crafting
⭐️ And that's how you create this stunning Mini Side Pillar card! I hope this tutorial inspired you to try something new and maybe step outside your crafting comfort zone.
Ready to Create these Mini Side Pillar Cards?
These cards are so unique and fun. You are going to WOW your friends and family MOST DEFINITELY when you mail these adorable cards!
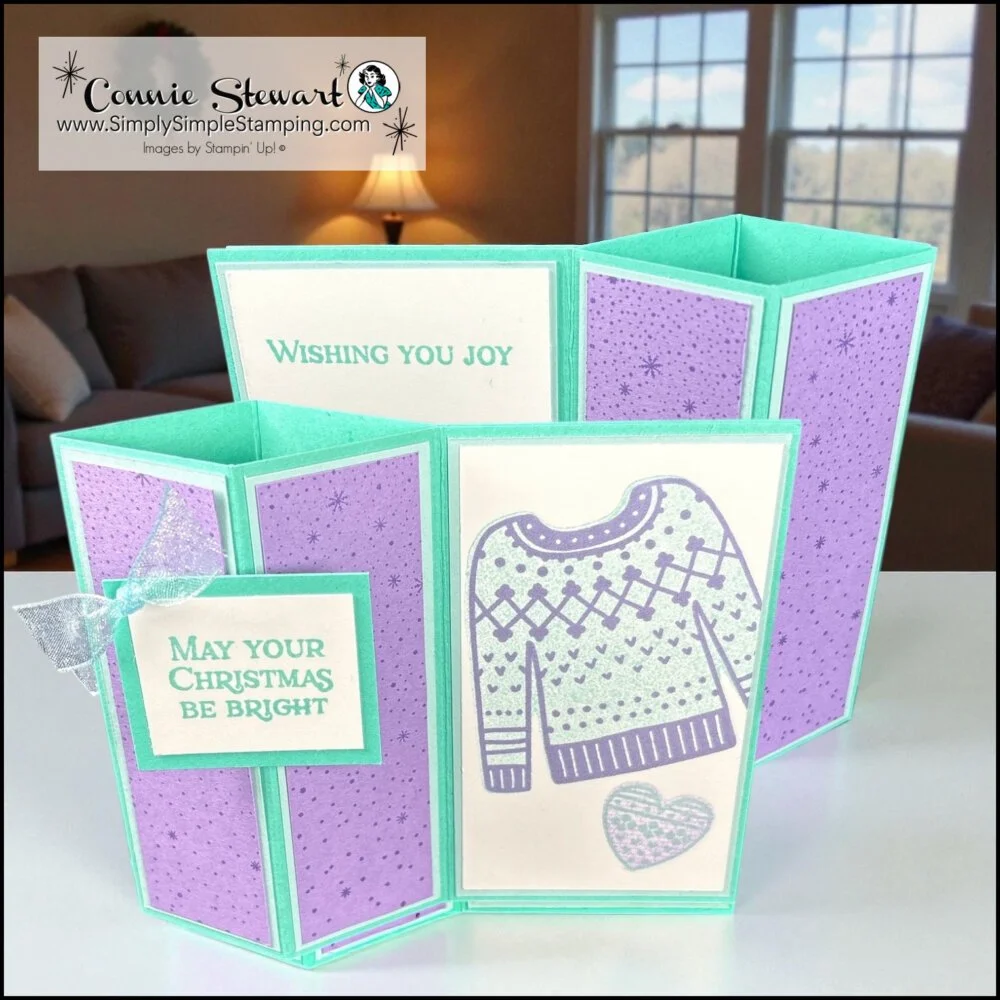
Summer Splash:
11” x 4 ¼”, score at 2 ½”, 4”, 5 ½”, 7”, and 8 ½” (card base)
1 ¾” x 1 ½” (greeting layer)
Highland Heather:
(4) 1 ¼” x 4” (pillar layers)
3” x ¾”, score at ½”, 1”, 2”, and 2 ½” (pop out)
Pool Party:
(4) 1 ⅜” x 4 ⅛” (pillar layers)
(2) 2 ⅜” x 4 ⅛” (side layer)
Basic White:
(2) 2 ¼” x 4” (front/back sides)
1 ½” x 1 ¼” (greeting)
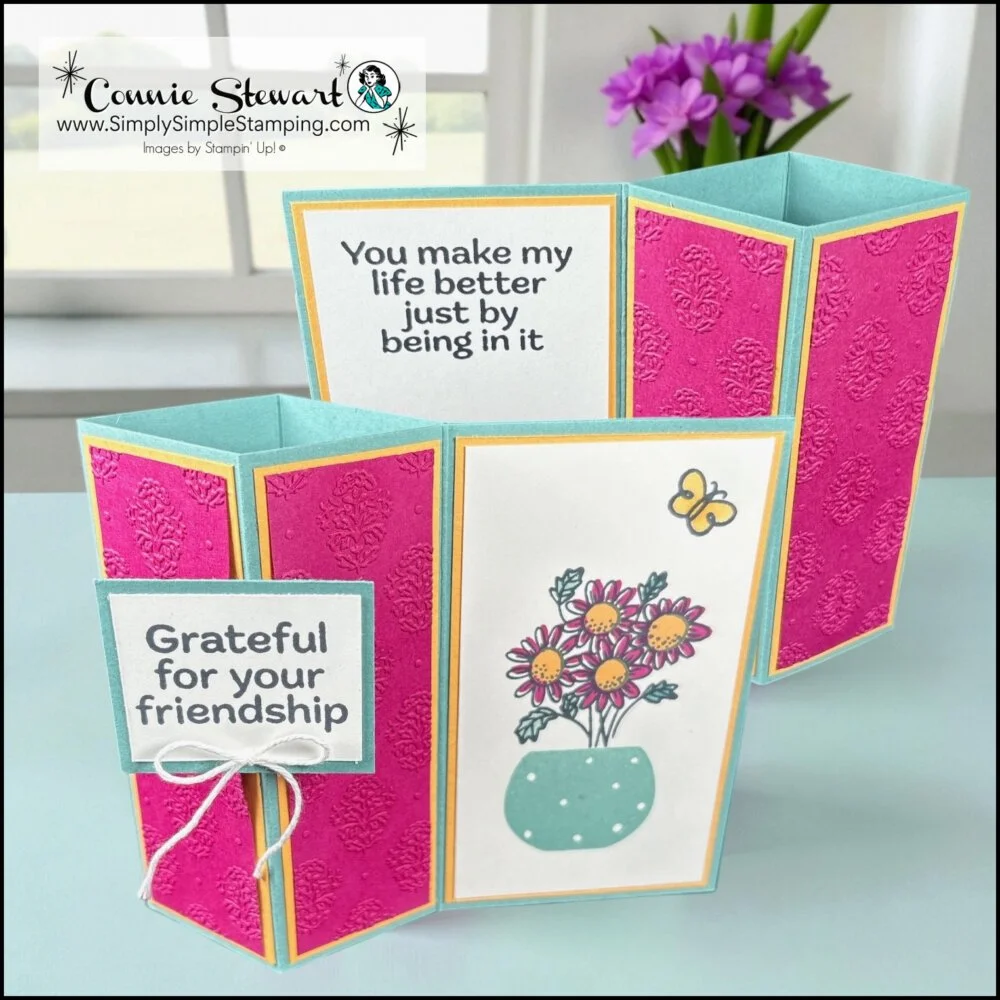
Lost Lagoon:
11” x 4 ¼”, score at 2 ½”, 4”, 5 ½”, 7”, and 8 ½” (card base)
1 ¾” x 1 ½” (greeting layer)
Berry Burst:
(4) 1 ¼” x 4” (pillar layers)
3” x ¾”, score at ½”, 1”, 2”, and 2 ½” (pop out)
Peach Pie:
(4) 1 ⅜” x 4 ⅛” (pillar layers)
(2) 2 ⅜” x 4 ⅛” (side layer)
Basic White:
(2) 2 ¼” x 4” (front/back sides)
1 ½” x 1 ¼” (greeting)
* Diagrams and written tutorials are available to YouTube Members - Learn more HERE
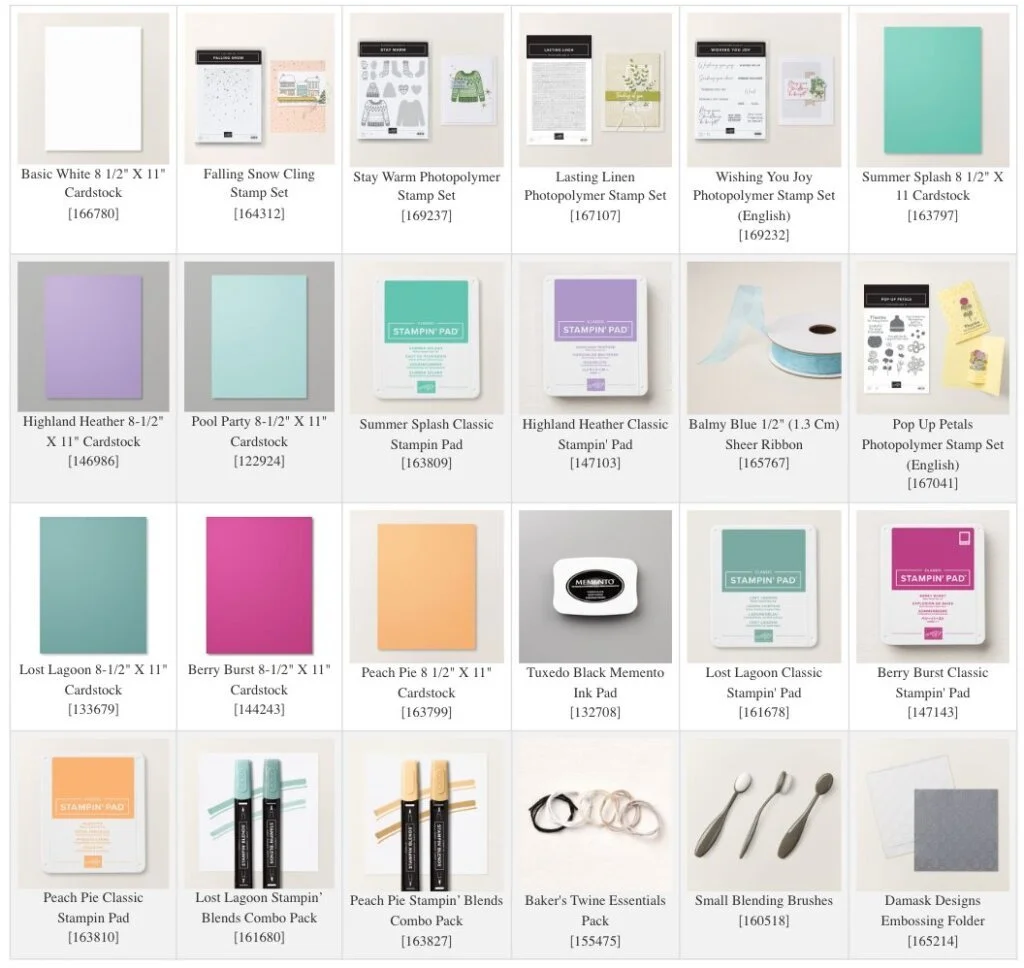
Stampin' Up! Product List for Today's Cards
Click on the picture to add to your cart
Thank you for choosing me to be your Stampin’ Up! Demonstrator!

WOW! Earn Stampin’ Rewards on orders over $20 (before tax/ship.
Spend them on your next Stampin' Up! order or save them up for a bigger purchase!
Pinterest-ing
Quick! Pin this Mini Side Pillar card tutorial to your favorite Pinterest Card Making boards before you forget and spend the next three months scrolling through your browser history muttering, 'I KNOW I saw that amazing dimensional card somewhere!’ Follow me on Pinterest for more tutorials that'll save you from those late-night crafting panic moments. We've all been there, and it's not pretty!


You are going to have a blast creating these fun cards!
Be sure to pop them in the mail and brighten someone's day!

So what’s this new YouTube Membership thing all about?
It’s a fun, optional way to get even more crafting content, perks, and behind-the-scenes fun!





