
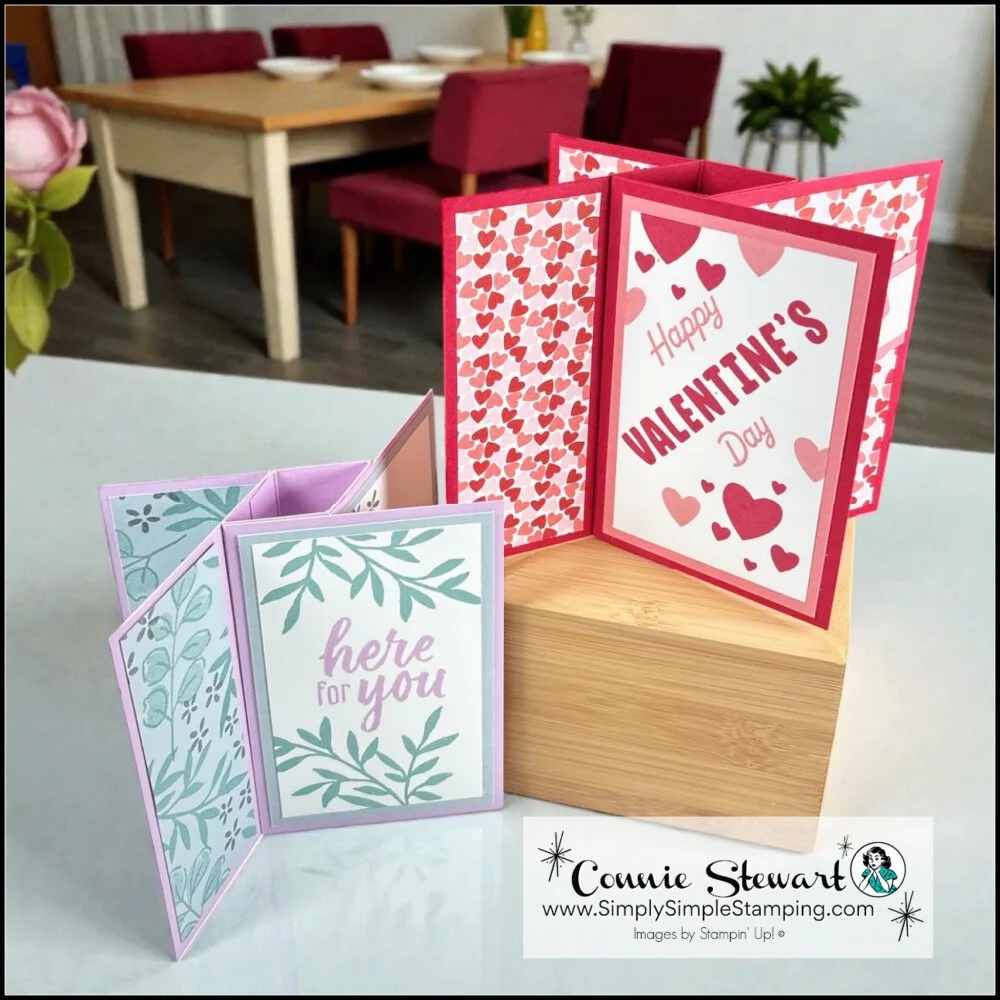
You know those pinwheel tower cards that keep popping up everywhere? The ones that look like they require some kind of engineering degree to fold properly? Yeah, they look complicated but they are EASY! With Valentine's Day creeping up (and a serious case of "I want to make something nice and memorable"), I finally decided to teach all of you how to make these adorable Pinwheel Tower Cards.
This pinwheel card tutorial isn't as complicated as it may first appear. Don't get me wrong, there are definitely a couple of moments where you're holding folded paper and wondering if you're about to create art or kindling. But once you get through the first fold sequence, it actually makes sense. And honestly? These work just as well for Galentine's Day cards if you're planning something for your friends. The technique stays the same whether you're going for romantic red hearts or fun pink florals. This tutorial is perfect for any occasion actually--just change up the designer series papers, and stamps for whatever event you want to celebrate.
Pinwheel Tower Card Video Tutorial:
The video below shows you exactly what I mean about this technique being easier than it looks. I walk through each fold step by step so that when you're done, you'll have a card that is ready to proudly display on a mantel or shelf.
💕 What occasion do you think this Pinwheel Tower Card would be perfect for? Galentine's or Valentine's Day, Weddings, birthdays, or perhaps something else? Let me know!
Ready to Create a Pinwheel Tower Card?
I promise, the tower card only looks intimidating. It's not! I hope the video has you inspired. What a great way to use up some of that Designer Series Paper but you can create your own too. This card is a WOW card to make and send.
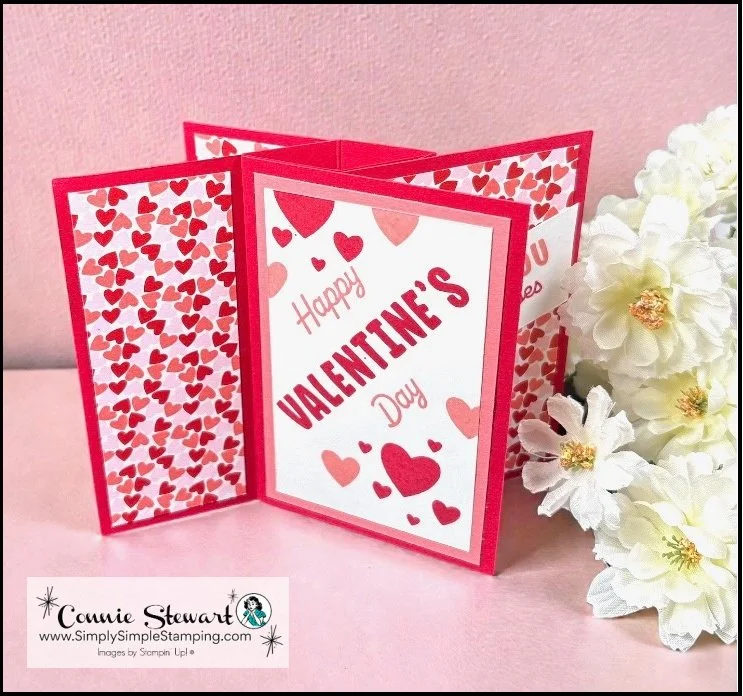
Endless Love stamp set and More to Love Designer Series Paper (DSP)
DSP: 4” x 8 ½” - cut to (4) 1 ½” x 4” leaving 2 ½” x 4” (card layers)
Real Red:
4 ¼” x 4 ½” (see Diagram B)
(4) 2 ¾” x 4 ¼” (panels)
Flirty Flamingo:
(3) 2 ½” x 4” (panel layers)
1” x 4” (stamped greeting layer)
Basic White:
(3) 2 ¼" x 3 ¾”(stamped layers)
4” x ¾” (stamped greeting)
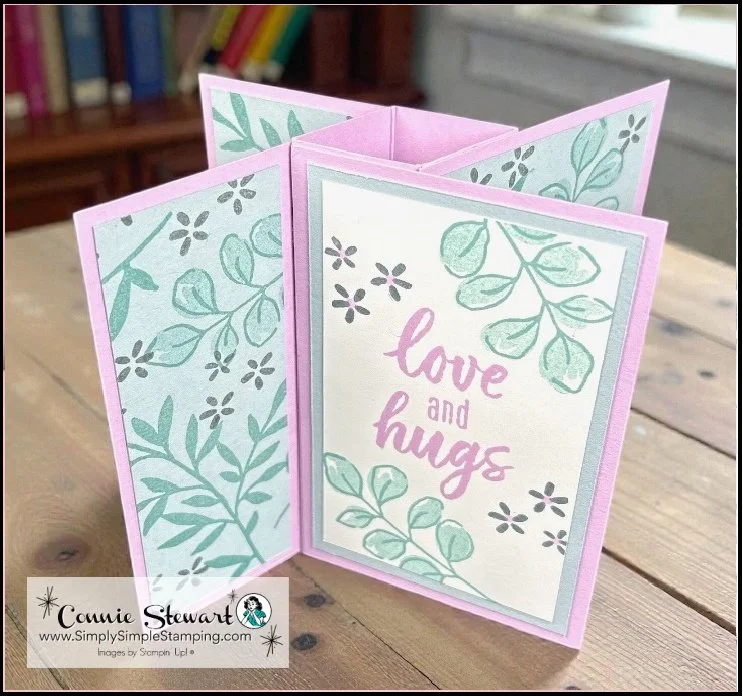
Greenery Lane stamp set
Cloud Cover:
4” x 8 ½” – stamp and cut to (4) 1 ½” x 4” leaving 2 ½” x 4” (homemade DSP)
(3) 2 ½” x 4”
Fresh Freesia:
4 ¼” x 4 ½” (see Diagram B)
(4) 2 ¾” x 4 ¼” (panels)
Basic White: (3) 2 ¼" x 3 ¾”(stamped layers)
* Diagrams and written tutorials are available to YouTube Members - Learn more HERE
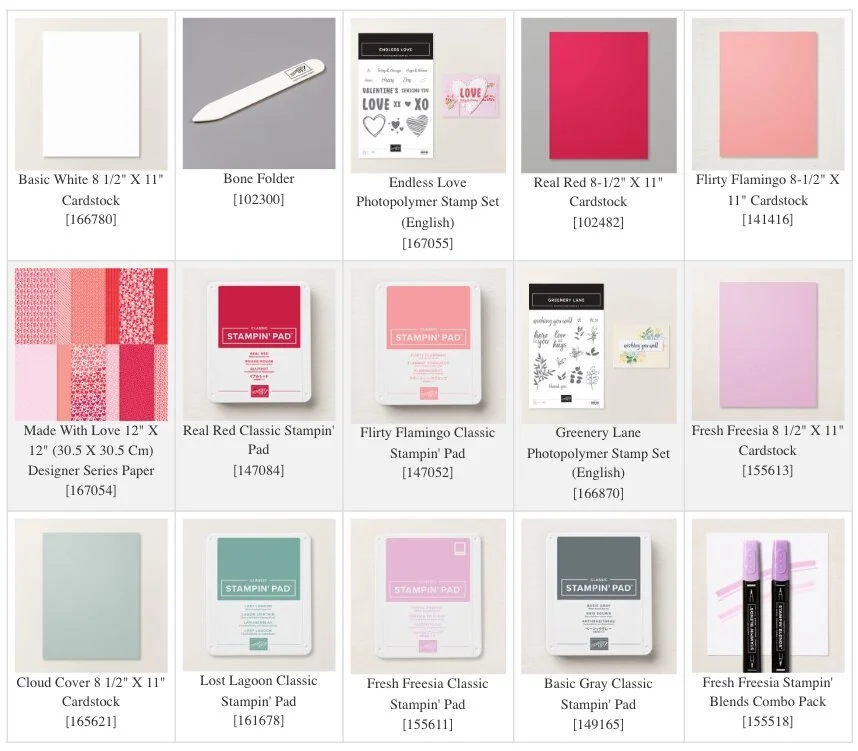
Stampin' Up! Product List for Today's Cards
Click on the picture to add to your cart
Thank you for choosing me to be your Stampin’ Up! Demonstrator!

WOW! Earn Stampin’ Rewards on orders over $20 (before tax/ship.
Spend them on your next Stampin' Up! order or save them up for a bigger purchase!
Pinterest-ing
Pin this to your Fun Fold Cards, Birthday Card, and Valentine Card Idea boards (yes, all three - I see you, fellow board hoarder). Follow me on Pinterest where I enable your crafting dreams!
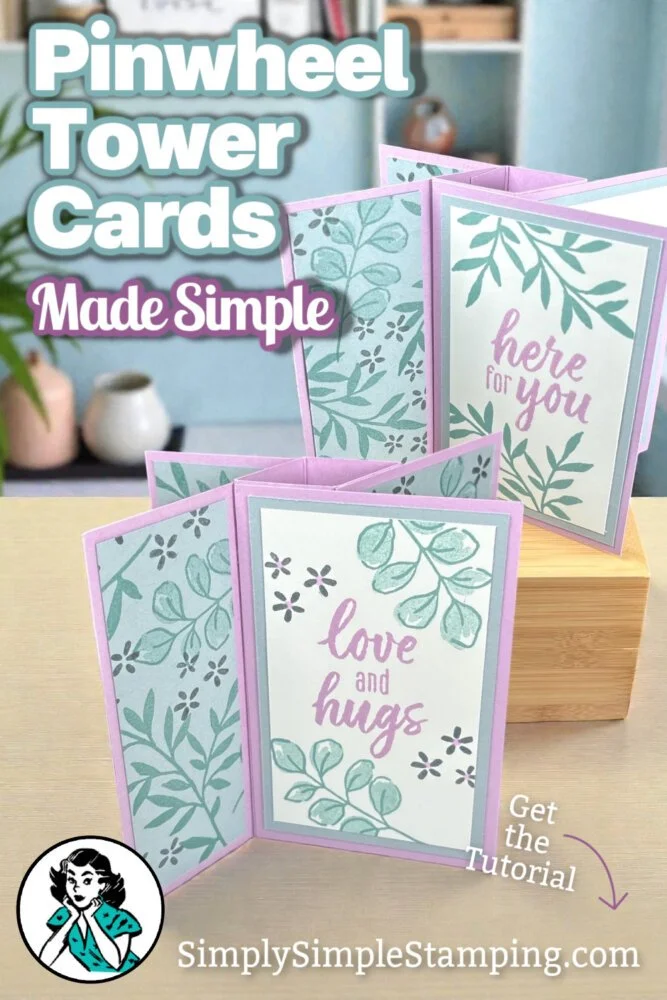

As always, thank you so much for being with me today! I hope that you'll make this Pinwheel Tower Card this week.
Have a fantastic day and I look forward to stamping with you next week!

So what’s this new YouTube Membership thing all about?
It’s a fun, optional way to get even more crafting content, perks, and behind-the-scenes fun!





