
If this diagonal cut tutorial doesn't convince you that vintage sketches are the ultimate glow-up, then I don't know what will! There's something deeply satisfying about taking a classic design and giving it a fresh 2026 makeover with the most gorgeous Stampin' Up! products. It's like finding your favorite jeans from five years ago and discovering they still fit perfectly, except better, because now you have better accessories.
Christina and I are about to show you how one simple diagonal cut can transform your card-making game forever. We're talking 4 different cards, all stemming from the same brilliant sketch, using the stunning Delightful Wishes collection and that swoon-worthy Hobby Haven Designer Series Paper. Plus, the NEW Fragrant Layers Bundle basically demanded to be included in this whole situation. You'll see why once we get started. Some color combinations just refuse to be ignored!
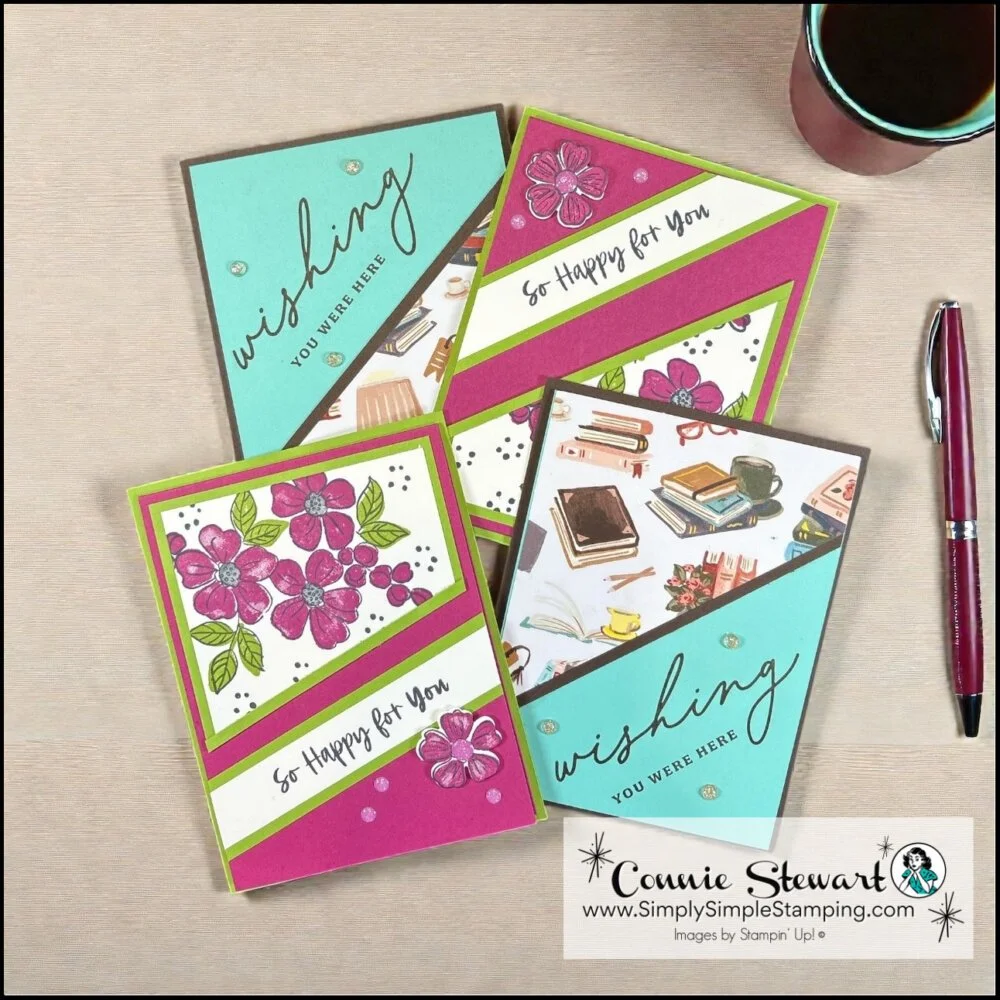
Diagonal Cut Card Video Tutorial
The best part is seeing how 4 completely different cards emerge from identical cuts. It’s one of those "wait, what just happened?" moments that make this whole technique so satisfying. It’s always amazing when you can create multiple cards at once because that means you’ll have extras for your stash, so when you are short on time someday, you still have a selection of pre-made cards to choose from!
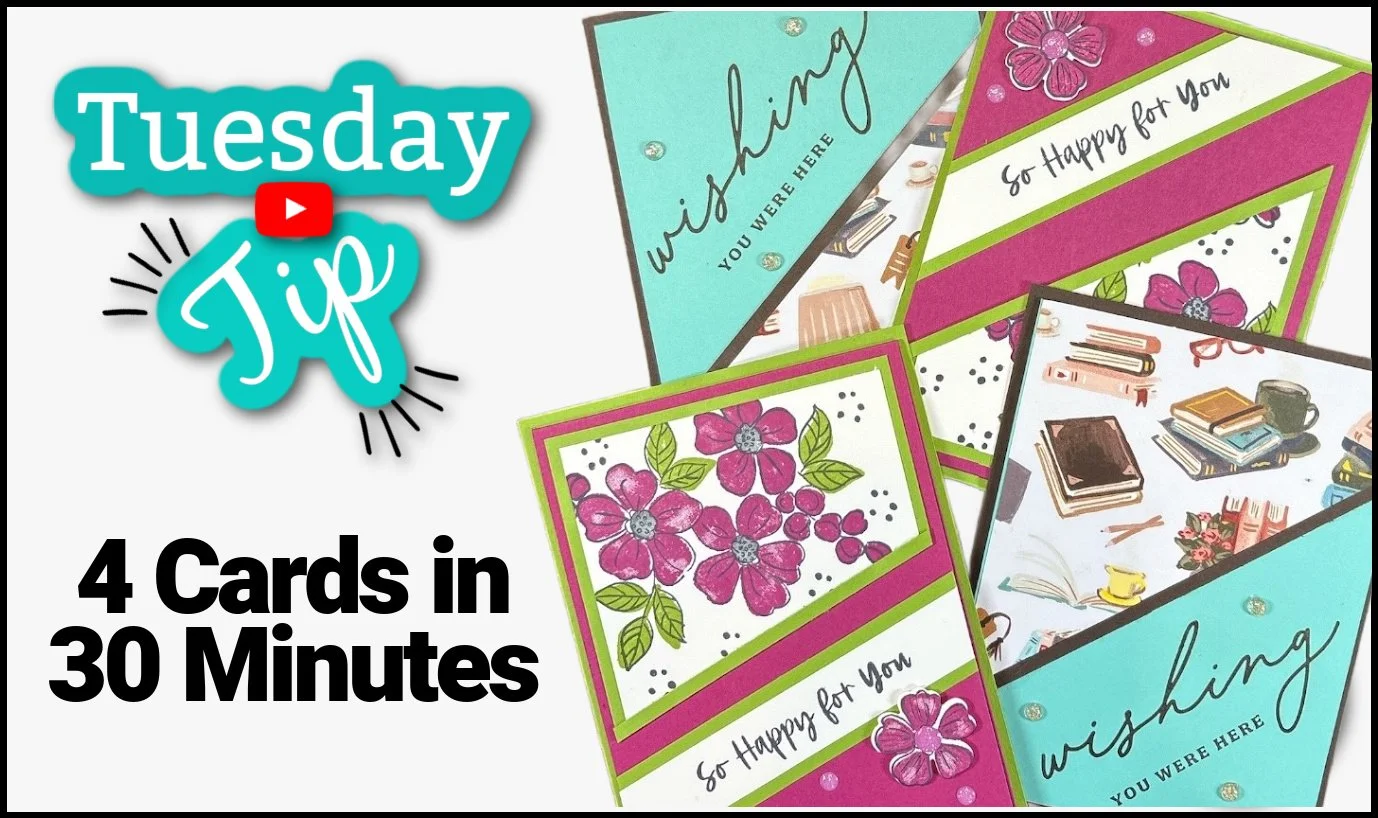
👉 Have you tried a diagonal cut tutorial before, or is this technique completely new to you? I'd love to hear which of the four cards caught your eye first!
Ready to Create these Diagonal Cut Cards?
I absolutely love the ease of these cards - one cut and instantly you're ready to create 2 cards. Make it easy on yourself and use Designer Series Paper OR stamp onto white cardstock and make your own design. Are you ready to give these cards a try?
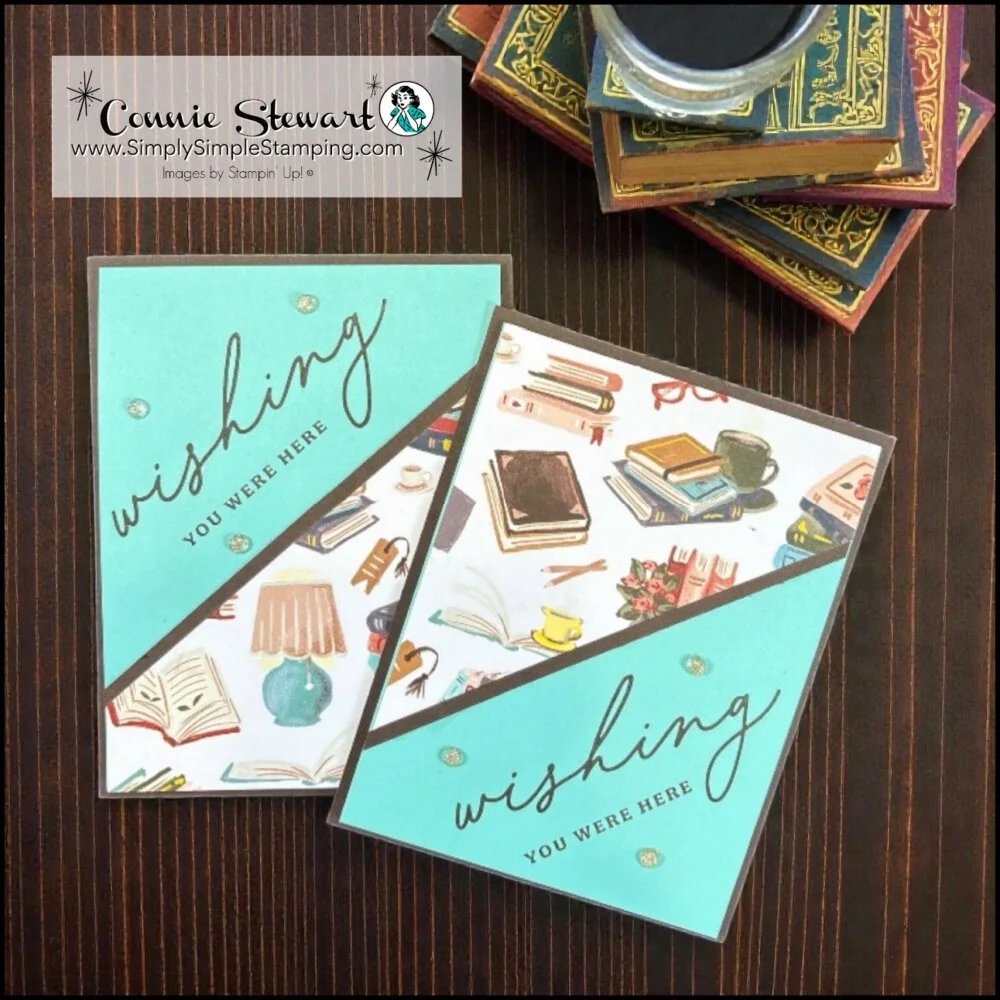
Delightful Wishes Stamp set and Hobby Haven Designer Series Paper (DSP)
Coastal Cabana: 10 ½” x 8” score 5 ¼”, cut in half at 4” (card base)
DSP: 4” x 5 ¼” (front diagonal layer)
Early Espresso:
(2) 5 ½” x ⅛” (seam cover)
(2) 4 ¼” x 5 ½” (back layer)
Petal Pink: (2) 3 ¾” x 5” (inside layer)
Basic White: 3 ½” x 4 ¾” (inside)
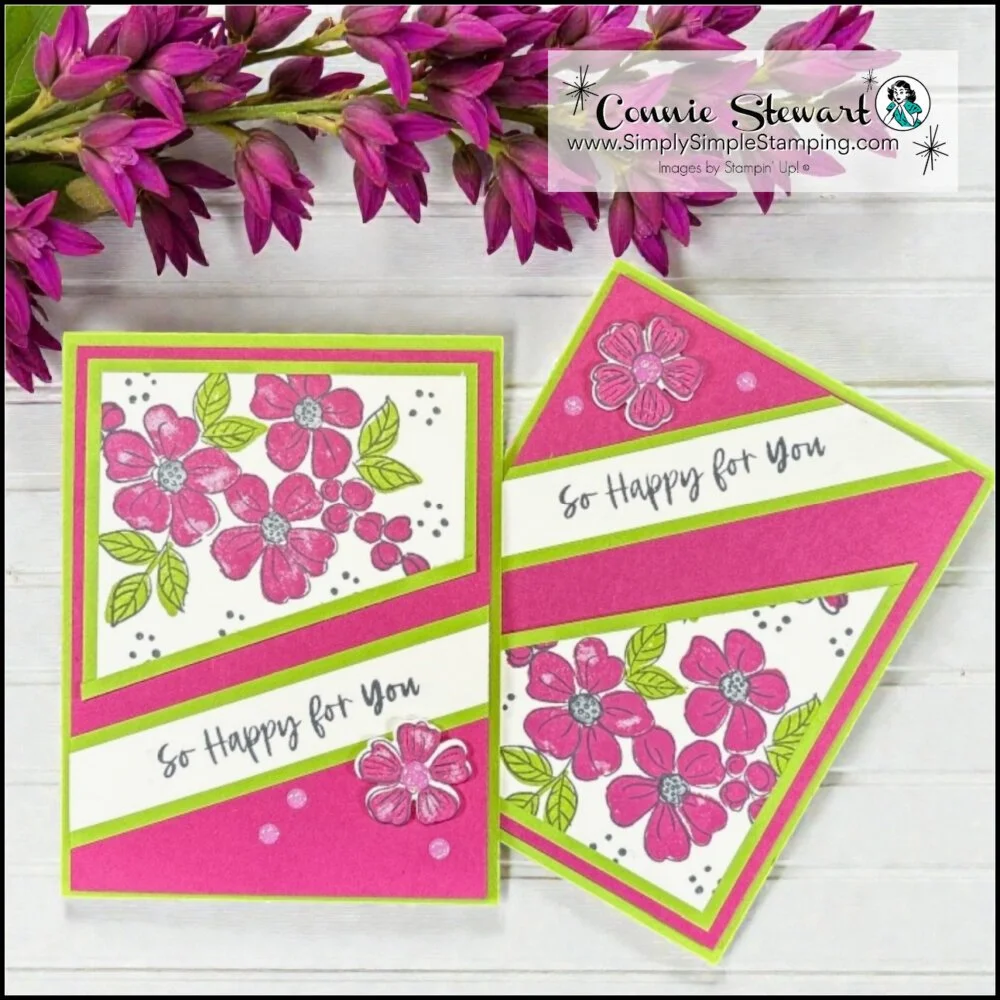
Fragrant Layers Bundle
Berry Burst: 10 ½” x 8” score 5 ¼”, cut in half at 4” (card base)
Granny Apple Green:
3 ¾” x 5” (diagonal back layer)
(2) 5 ½” x ⅛” (seam cover)
(2) 5” x 1” (greeting)
(2) 4 ¼” x 5 ½” (back layer)
Basic Black: (2) 3 ¾” x 5” (inside layer)
Basic White:
(3) 3 ½” x 4 ¾” (front diagonal layer/inside)
(2) 5” x ¾” (greeting)
* Diagrams and written tutorials are available to YouTube Members - Learn more HERE
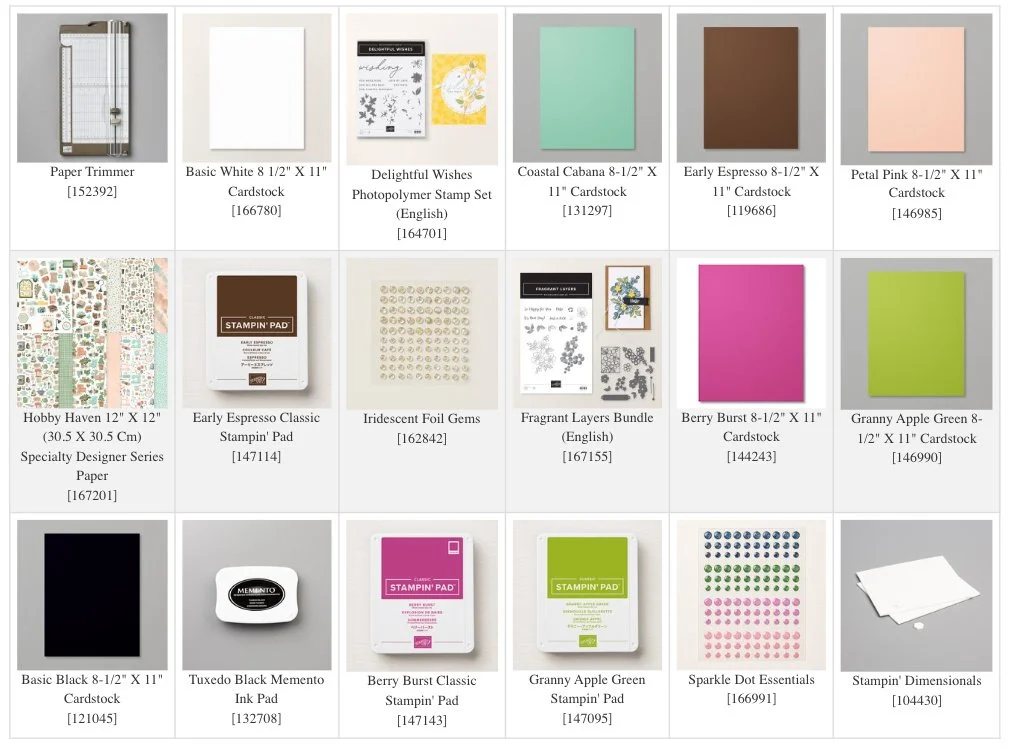
Stampin' Up! Product List for Today's Cards
Click on the picture to add to your cart
Thank you for choosing me to be your Stampin’ Up! Demonstrator!

WOW! Earn Stampin’ Rewards on orders over $20 (before tax/ship.
Spend them on your next Stampin' Up! order or save them up for a bigger purchase!
Pinterest-ing
Feel free to pin this tutorial to your favorite board so you can find it again when you're staring at a pile of Designer Series Paper, wondering what to do with it. Follow me on Pinterest for more simple techniques and beautiful handmade cards.

Join Me Thursday, January 15, 2026, for a Create with Connie YouTube Live!
9am Pacific 10am Mountain 11am Central * 12pm Eastern
Let's create a fun Pinwheel Card together!

Add Friends, I am so glad you stopped by today. I hope you enjoyed seeing Christina creating along side me. I think I will have her join me again! It was so much fun creating with her!
Hope to see you all on Thursday for the Pinwheel cards! text

So what’s this new YouTube Membership thing all about?
It’s a fun, optional way to get even more crafting content, perks, and behind-the-scenes fun!





