
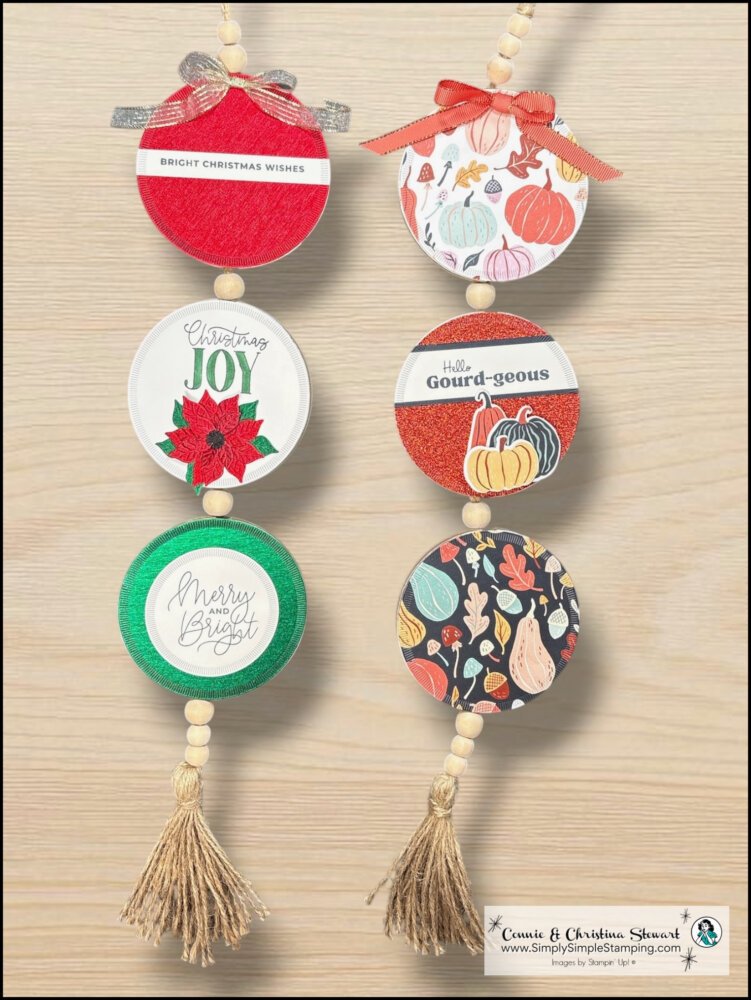
DIY Dollar Tree wall decor might be one of my favorite ways to combine bargain hunting with paper crafting! Have you ever spotted something at Dollar Tree and thought, “Well… I like the shape, but THAT design has got to go”? That’s exactly where this project started. The hanging decor itself had great bones, so Christina and I grabbed our Stampin’ Up! supplies and gave those original designs a much-needed makeover!
Since we can never resist showing you more than one way to use an idea, we went in two completely different seasonal directions. Christina created a gorgeous fall version with pumpkins, patterned paper, and plenty of sparkle, while I dressed mine up for Christmas with poinsettias and beautiful metallic touches. Same basic Dollar Tree find, two seasons, and a whole lot more personality!
Watch the DIY Dollar Tree Wall Decor Makeover
Today Christina and I are going to show you how we took these inexpensive hanging decorations and completely transformed them with our Stampin’ Up! supplies. Christina has a beautiful fall version; I’m making a Christmas version, and we’ve got lots of little tips and tricks along the way. So stay with us through the whole tutorial because you’re going to see just how easy it is to look past what something is and see what it could be!
📌 After seeing both makeovers, which DIY Dollar Tree wall decor would you make first: Christina’s colorful fall version or my poinsettia Christmas version? Tell me in the comments because I want to see which season wins!
Ready to Create your own DIY Dollar Tree Wall Decor?
I think the new version of the home decor is a winner, don't you? I was so excited that the Spotlight on Nature dies fit perfectly!
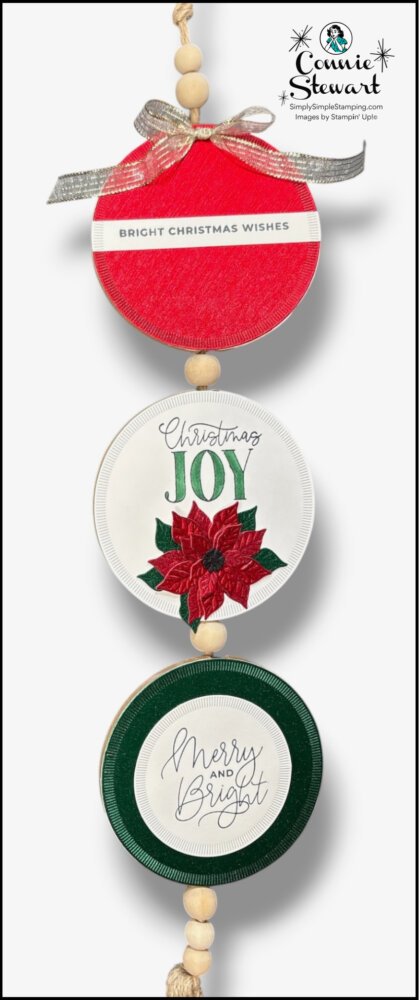
Pretty Poinsettia Bundle and Timeless Metallic Paper
Metallic Paper:
Red: (2) 4” x 4” (circle die/die cut flower)
Green: 4” x 4” (circle die/ die cut leaves)
Basic White:
4” x 4” (circle die)
4 ¼” x ½” (top greeting)
3” x 3” (bottom greeting)
Basic Black: small scrap (flower centers)
Adhesive Sheet: (3) 3 ⅞” x 3 ⅞”
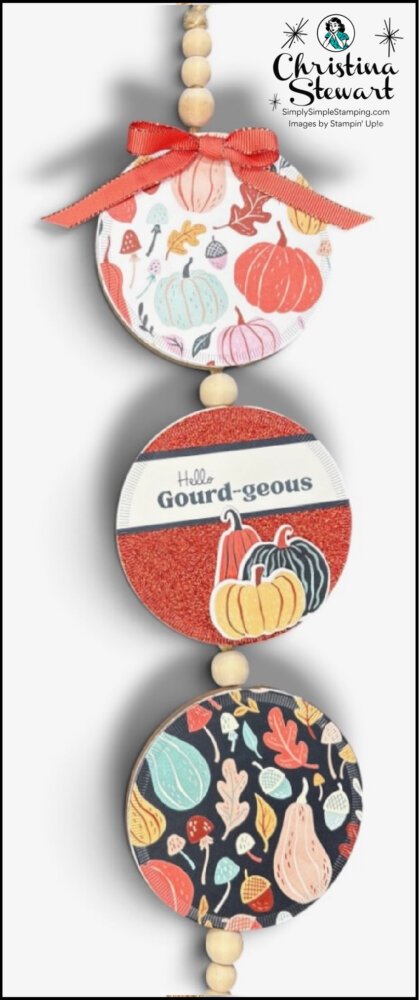
Painted Pumpkin Bundle, Painted Patch Designer Series Paper (DSP), and Autumn Woodland Glimmer Paper
DSP:
Pattern 1: 4” x 4” (circle die)
Pattern 2: 4” x 4” (circle die)
Glimmer Paper: 4” x 4” (circle die)
Secret Sea: 4 ¼” x 1 ¼” (greeting layer)
Basic White: 4 ¼” x 1” (stamped greeting)
DSP Back Board: 3 ½” x 3 ½” (backing for die cut)
Adhesive Sheet:
(3) 3 ⅞” x 3 ⅞”
3 ⅝” X 3 ⅝”
* Diagrams and written tutorials are available to YouTube Members - Learn more HERE
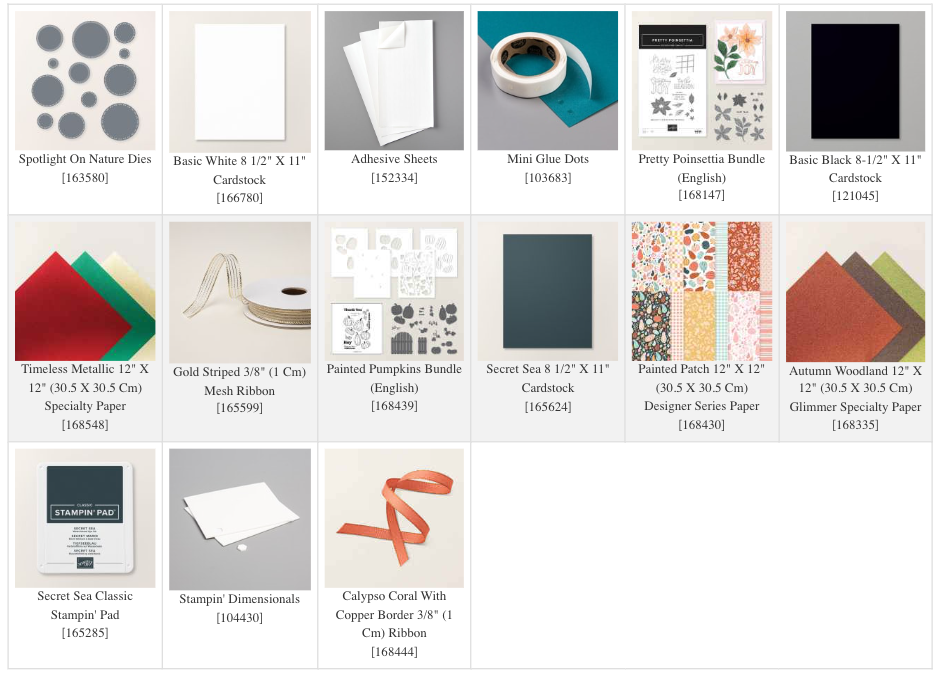
Stampin' Up! Product List for Today's Cards
Click on the picture to add to your cart
Thank you for choosing me to be your Stampin’ Up! Demonstrator!

WOW! Earn Stampin’ Rewards on orders over $20 (before tax/shipping).
Spend them on your next Stampin' Up! order or save them up for a bigger purchase!
Pinterest-ing
Don’t let this Dollar Tree makeover disappear into the internet abyss! Save the image to your fall crafts, Christmas crafts, Dollar Tree hacks, or DIY home decor Pinterest board so you can find the idea when you’re ready to go bargain hunting. Follow me on Pinterest for even more handmade cards, paper crafting projects, seasonal inspiration, and creative ideas you’ll want to save for later.

Join Me Thursday, October 1, 2026, for a Create with Connie YouTube Live!
9am Pacific 10am Mountain 11am Central * 12pm Eastern
Let's create a fun Die Cut Window Card together!

The next time you’re strolling through Dollar Tree, remember: you don’t have to love the decoration that’s already on something. Look at the shape and imagine what your Stampin’ Up! supplies could do with it! This DIY Dollar Tree wall decor was an easy way to turn an inexpensive find into something special for fall or Christmas.

So what’s this new YouTube Membership thing all about?
It’s a fun, optional way to get even more crafting content, perks, and behind-the-scenes fun!





