
Die cut window cards are one of those techniques that make me look at my dies and think, “Well, why didn’t I do THAT with you sooner?” Instead of only using your dies to cut out shapes that you glue onto a card, today we’re going to put those dies to work creating a window that becomes part of the card design. It’s easy, it’s versatile, and it gives those trusty dies in your craft room another reason to earn their keep!
The amazing things? Labels, circles, squares, florals, decorative shapes... if it can cut an opening, we can probably turn it into a window! I’ll show you how I used this simple technique on two completely different cards so you can see just how much fun you can have changing the shape, paper, colors, and embellishments.
Before you decide you need another die set, take a peek at the ones you already own. You may discover that the perfect little card window has been hiding in your craft stash all along. Grab a few favorites and let’s give those dies a new job!
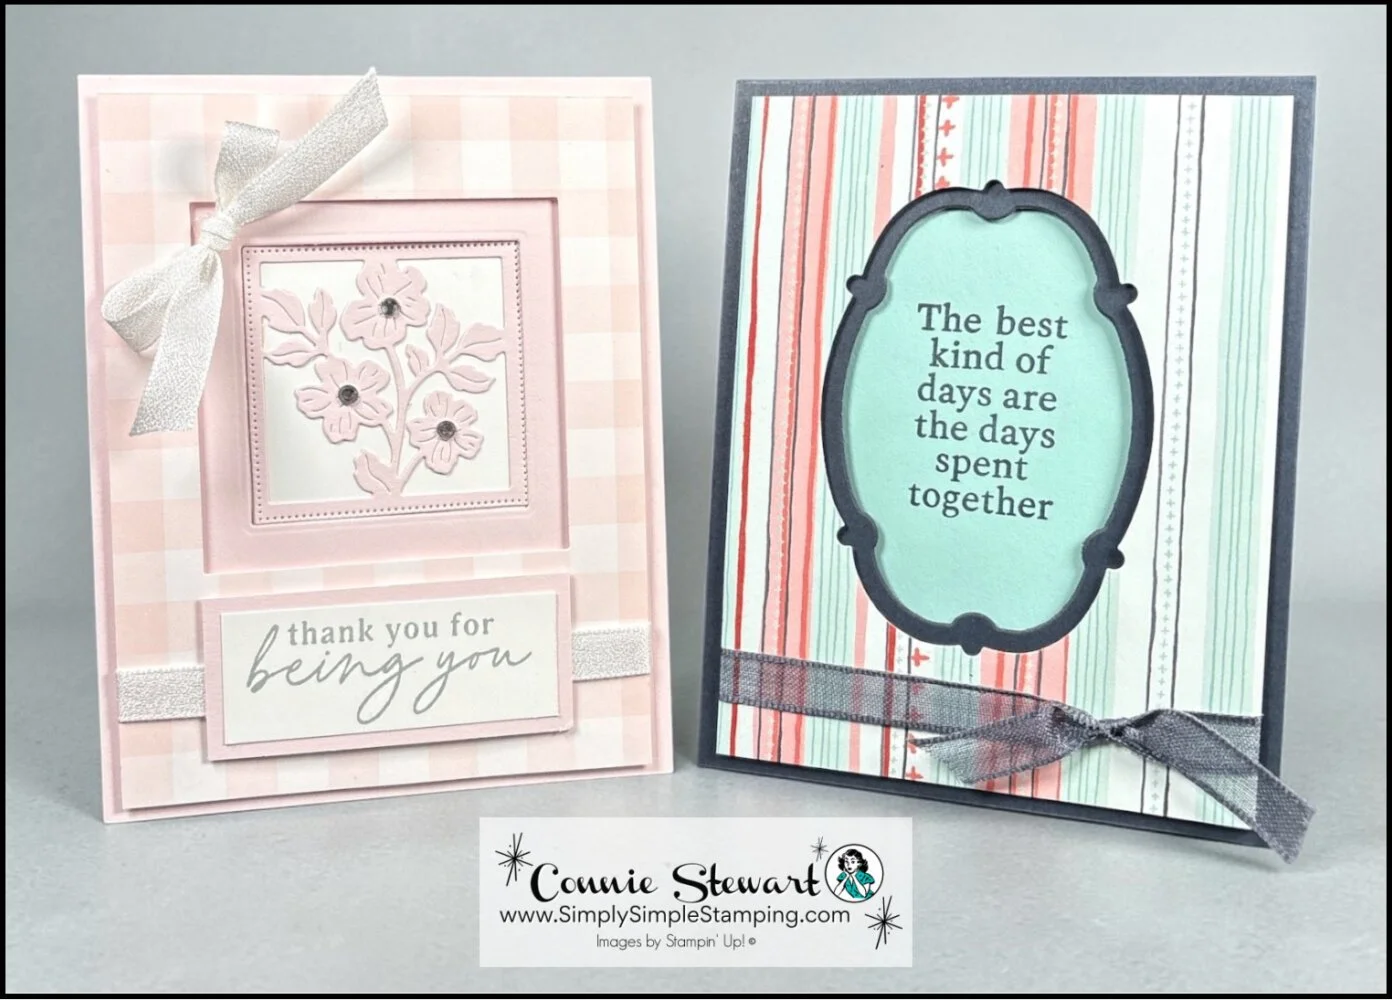
Watch How to Make an Easy Die Cut Window Card
Do you have dies sitting in your craft room that you always use the exact same way? Today we’re changing that! I’m going to show you how to use those dies to create a fun window right in the front of your card. Stick with me through the whole video because I’ve got two different cards to share, and you’ll see how one simple technique can take on a totally different personality by changing the shape, paper, and finishing touches. Let’s get those dies earning their gold medal in your craft room!
⭐️ If you were making your own die cut window card, which die in your collection would you reach for first: a basic shape, a label, a floral die, or something completely different? Tell me in the comments because I’m betting there are some clever ideas hiding in those die collections!
Ready to Create these Die Cut Window Cards?
I love how fast these cards come together. It's a really fun way to use your dies in a new way - windows! Use your favorite dies or, if you love the ones I used, order below!
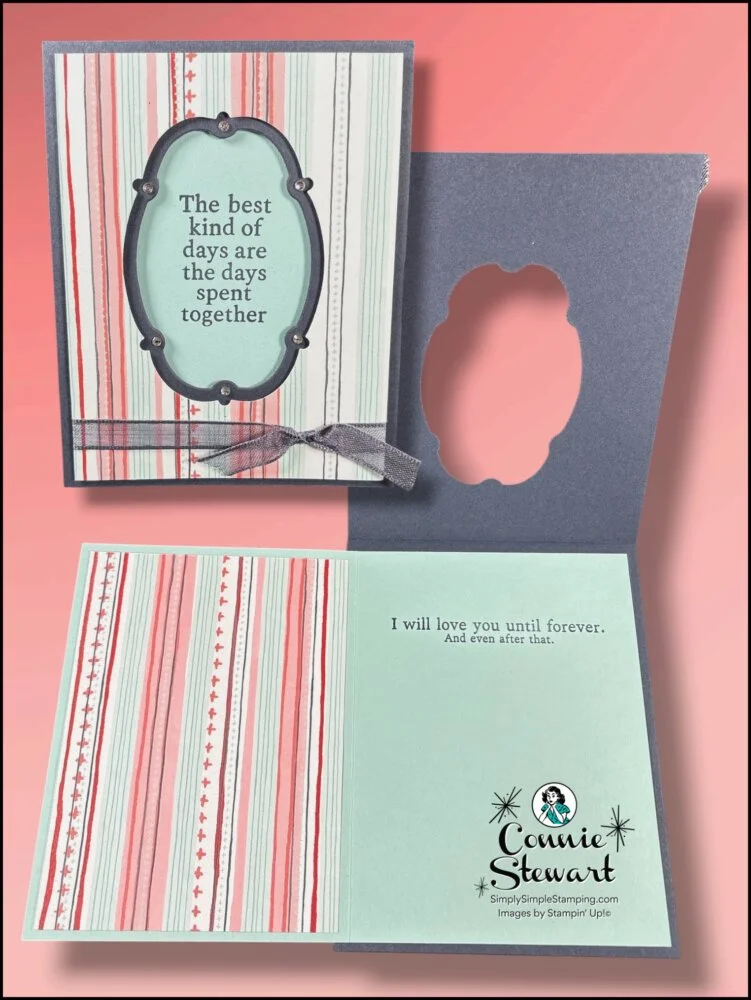
Secret Sea:
11” x 4 ¼”, score 5 ½” (card base)
Pool Party:
8” x 5 ¼”, score at 4” (inside card)
DSP:
4” x 5 ¼” (front layer)
3 ¾” x 5” (inside layer)
Ribbon: 6” and 4"
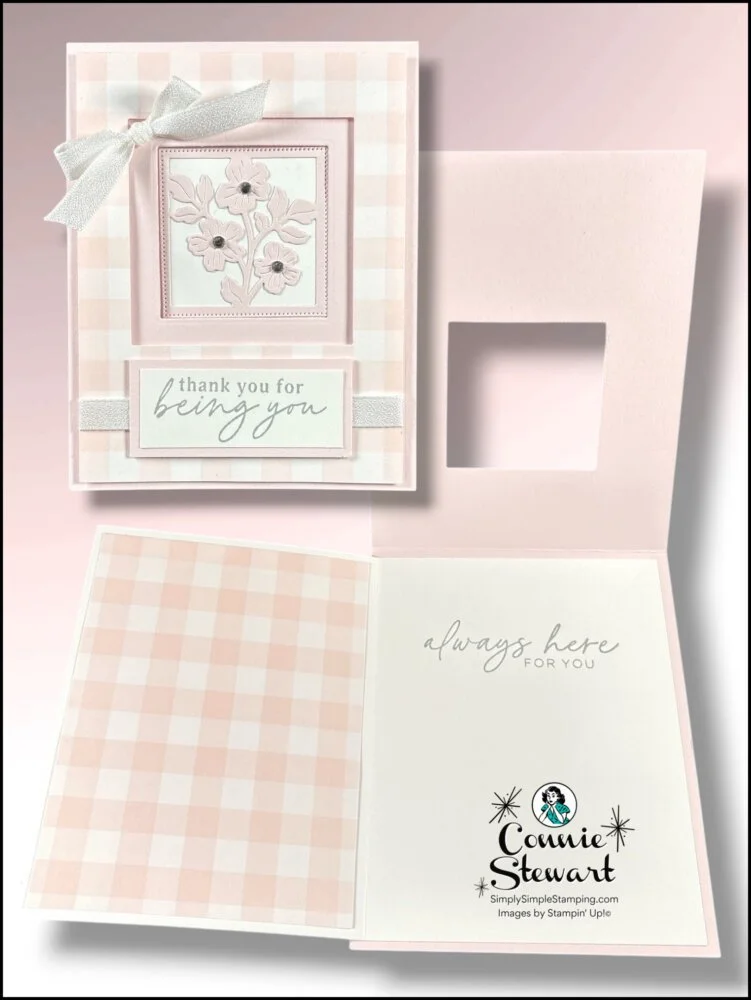
Barely Blush:
11” x 4 ¼”, score 5 ½” (card base)
2 ¾” x 1 ¼” (greeting layer)
Basic White:
8” x 5 ¼”, score at 4” (inside card)
2 ½” x 1” (stamped greeting)
DSP:
4” x 5 ¼” (front layer)
3 ¾” x 5” (inside layer)
Adhesive Sheet: 2” x 2”
Ribbon: 6”
* Diagrams and written tutorials are available to YouTube Members - Learn more HERE
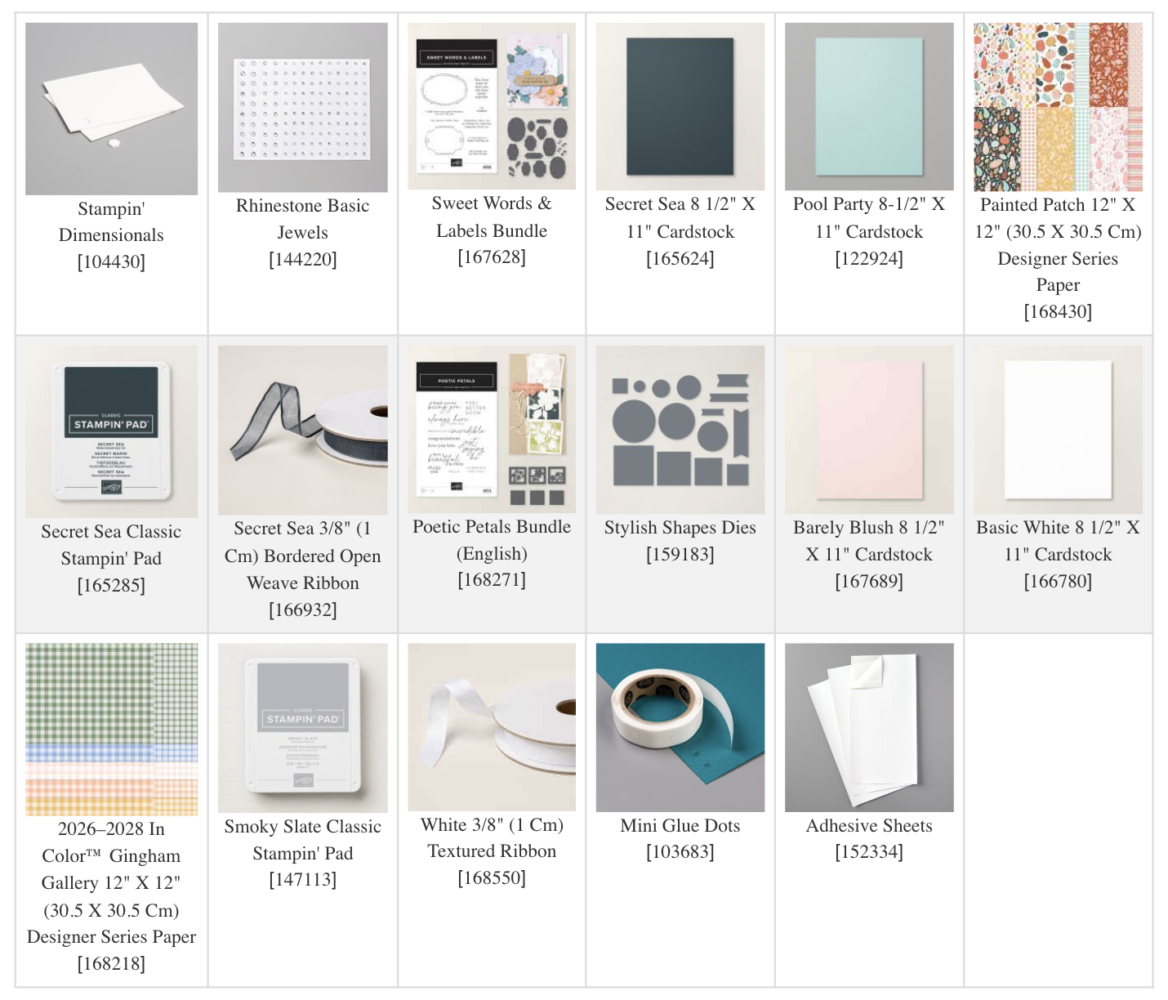
Stampin' Up! Product List for Today's Cards
Click on the picture to add to your cart
Thank you for choosing me to be your Stampin’ Up! Demonstrator!

WOW! Earn Stampin’ Rewards on orders over $20 (before tax/ship.
Spend them on your next Stampin' Up! order or save them up for a bigger purchase!
Pinterest-ing
Want to remember this die cut window card technique the next time you sit down to craft? Pin this project to your favorite cardmaking or die-cutting Pinterest boards so it’s easy to find again. Follow me on Pinterest for even more handmade card ideas, Stampin’ Up! inspiration, fun folds, techniques, and simple projects you’ll actually want to make.


I hope this die cut window card inspires you to take another look at the dies you already own and find a few new ways to use them. Sometimes one little technique is all it takes to make that craft stash feel brand new again! Be sure to come back next Tuesday for another fresh project idea. Want to keep crafting? Head over to my 5-Minute DIY Cards playlist for plenty more Simply Simple Stamping inspiration.

So what’s this new YouTube Membership thing all about?
It’s a fun, optional way to get even more crafting content, perks, and behind-the-scenes fun!





