
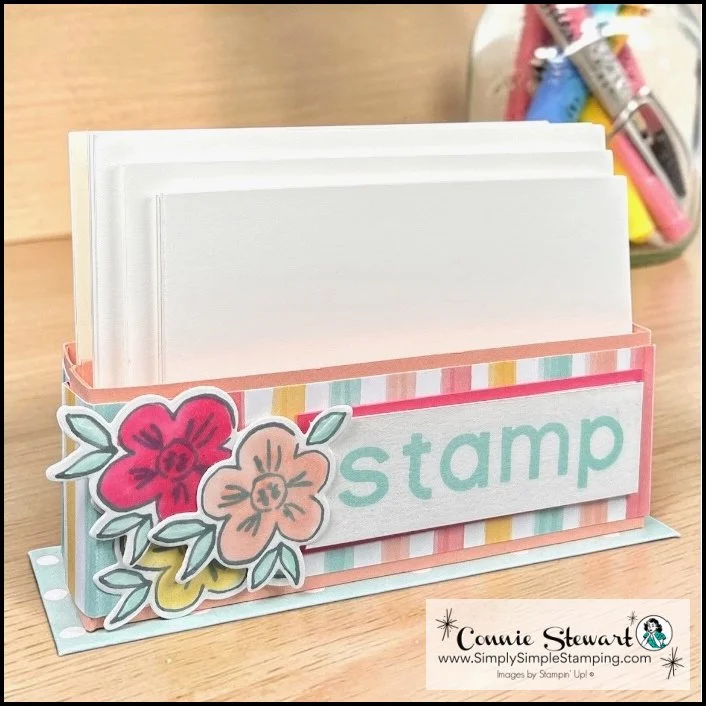
Many card makers keep stacks of pre-cut cardstock layers on their craft table, only to discover they quickly become mixed up, bent, or misplaced. A DIY card layer storage box is an easy solution that helps keep your supplies organized and ready whenever creativity strikes.
In today’s quick tutorial, I’ll show you how to create a simple card layer storage box using Stampin’ Up! Beautiful Ordinary Life Designer Series Paper, along with the Heirloom Blooms and Simple Alphabet stamp sets. This practical organizer is perfect for storing card fronts, cardstock layers, sentiments, and project pieces until you’re ready to create.
If you’re looking for a simple craft room organization idea that is both functional and beautiful, this DIY storage box is a project you’ll use again and again.
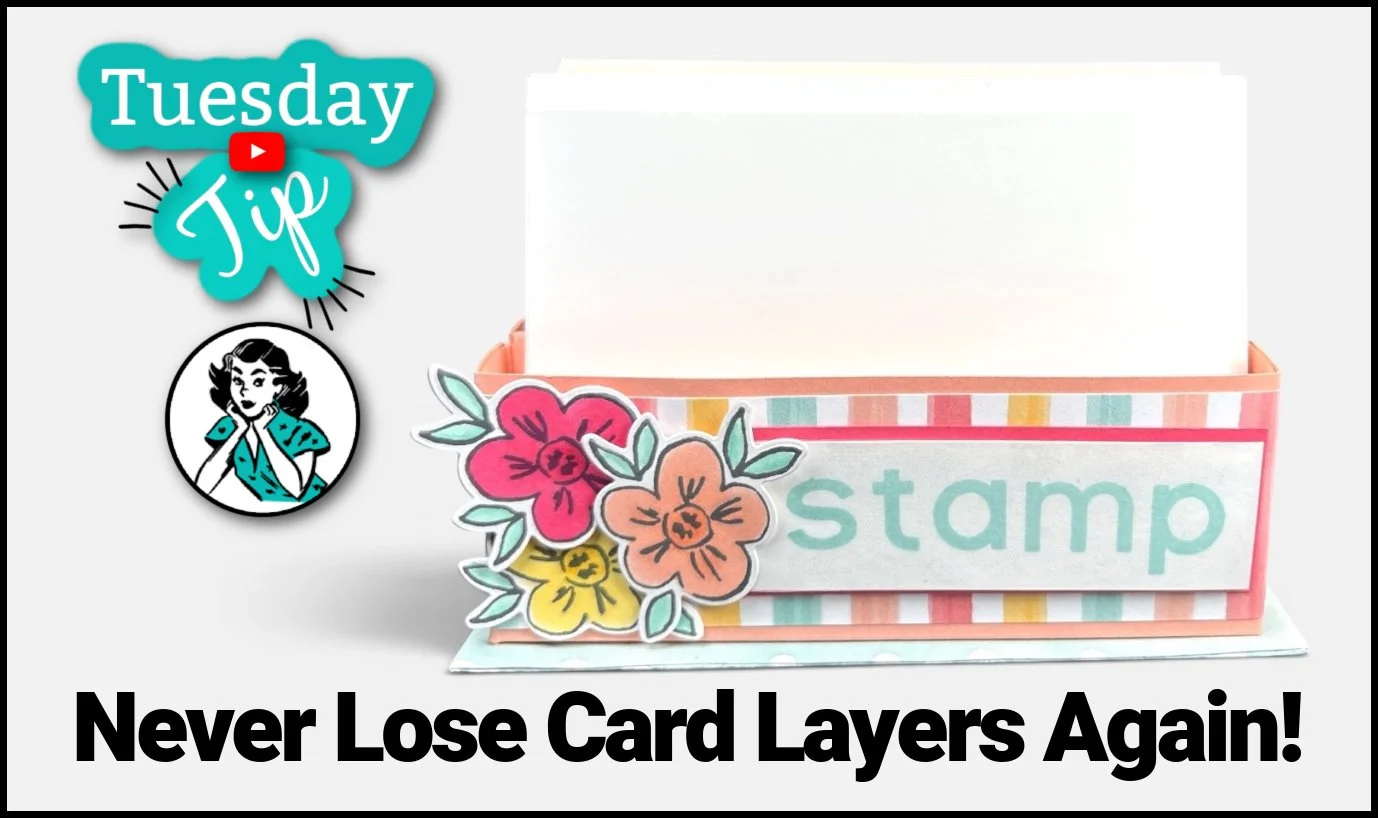
DIY Card Layer Storage Box Video Tutorial
Watch the video below to learn how to create this easy card layer storage box. I will walk you through the measurements, assembly tips, and decorating ideas so you can customize the organizer to match your own crafting style. It’s a quick project that can help keep your card-making supplies neat, organized, and within easy reach.
📌 How do you currently organize your card layers and project pieces? Would a DIY card layer storage box make your crafting space easier to use?
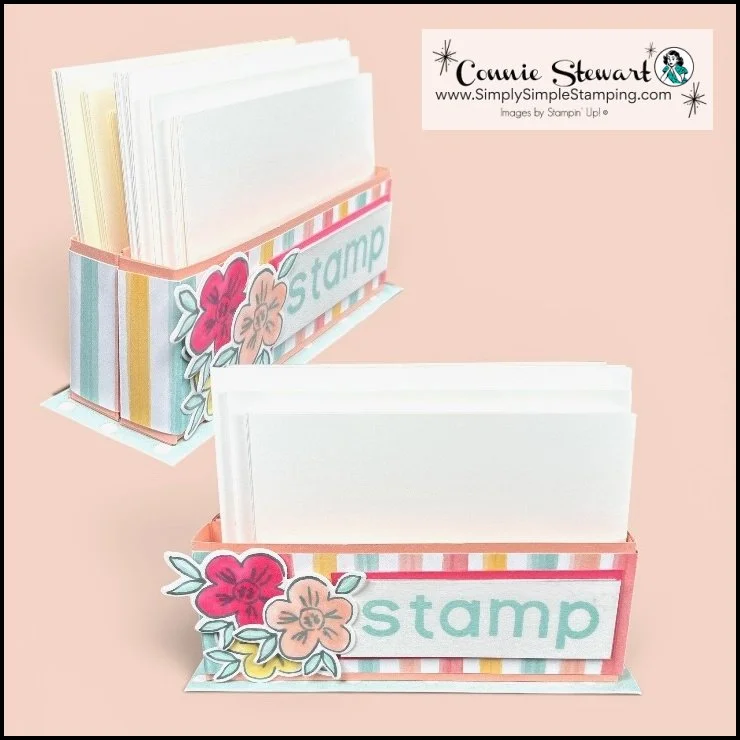
Designer Series Paper (DSP):
(2) 12” x 1 ¾” (box décor)
8” x 3” (Platform)
5 ⅞” x 1 ⅞” (Platform)
Crisp Cantaloupe:
(2) 7” x 4 ¾” (Boxes)
With the 7” at the top, score at ¾” on each side
With the 4 ¾” at the top, score 2” on each side
5 ⅜” x 4”, score in half at 2” (box connector)
Basic White:
7” x 2” (flowers)
3 ½” x 1 ⅛” (STAMP)
Strawberry Slush:
3 ⅝” x 1 ¼” (layer)
Any Color Scrap Cardstock:
6” x 2” (this won’t show)
Basic White Cardstock Layers:
4” x 5 ¼”
3 ¾” x 5″
3 ½” x 4 ¾”
Very Vanilla Cardstock Layers:
4” x 5 ¼”
3 ¾” x 5″
3 ½” x 4 ¾”
* Diagrams and written tutorials are available to YouTube Members - Learn more HERE
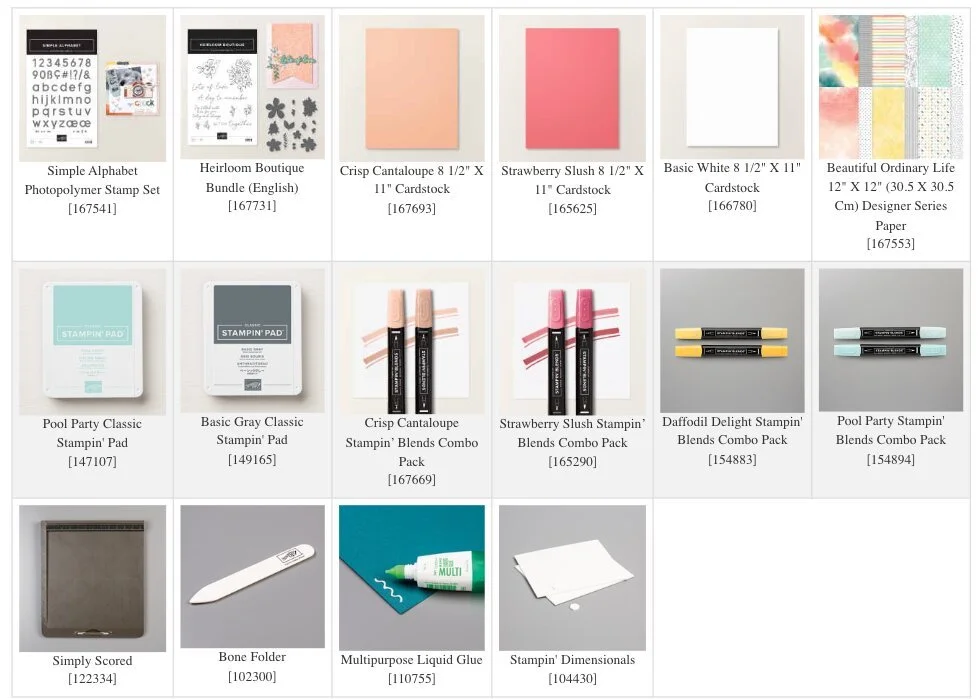
Stampin' Up! Product List for Today's Cards
Click on the picture to add to your cart
Thank you for choosing me to be your Stampin’ Up! Demonstrator!

WOW! Earn Stampin’ Rewards on orders over $20 (before tax/ship.
Spend them on your next Stampin' Up! order or save them up for a bigger purchase!
Pinterest-ing
Love practical craft room organization ideas? Be sure to follow me on Pinterest and save this DIY card layer storage box tutorial to your favorite paper crafting and organization boards. It’s an easy project you’ll want to revisit whenever your cardstock layers start piling up.

Join Me Thursday, July 23, 2026, for a Create with Connie YouTube Live!
9am Pacific 10am Mountain 11am Central * 12pm Eastern
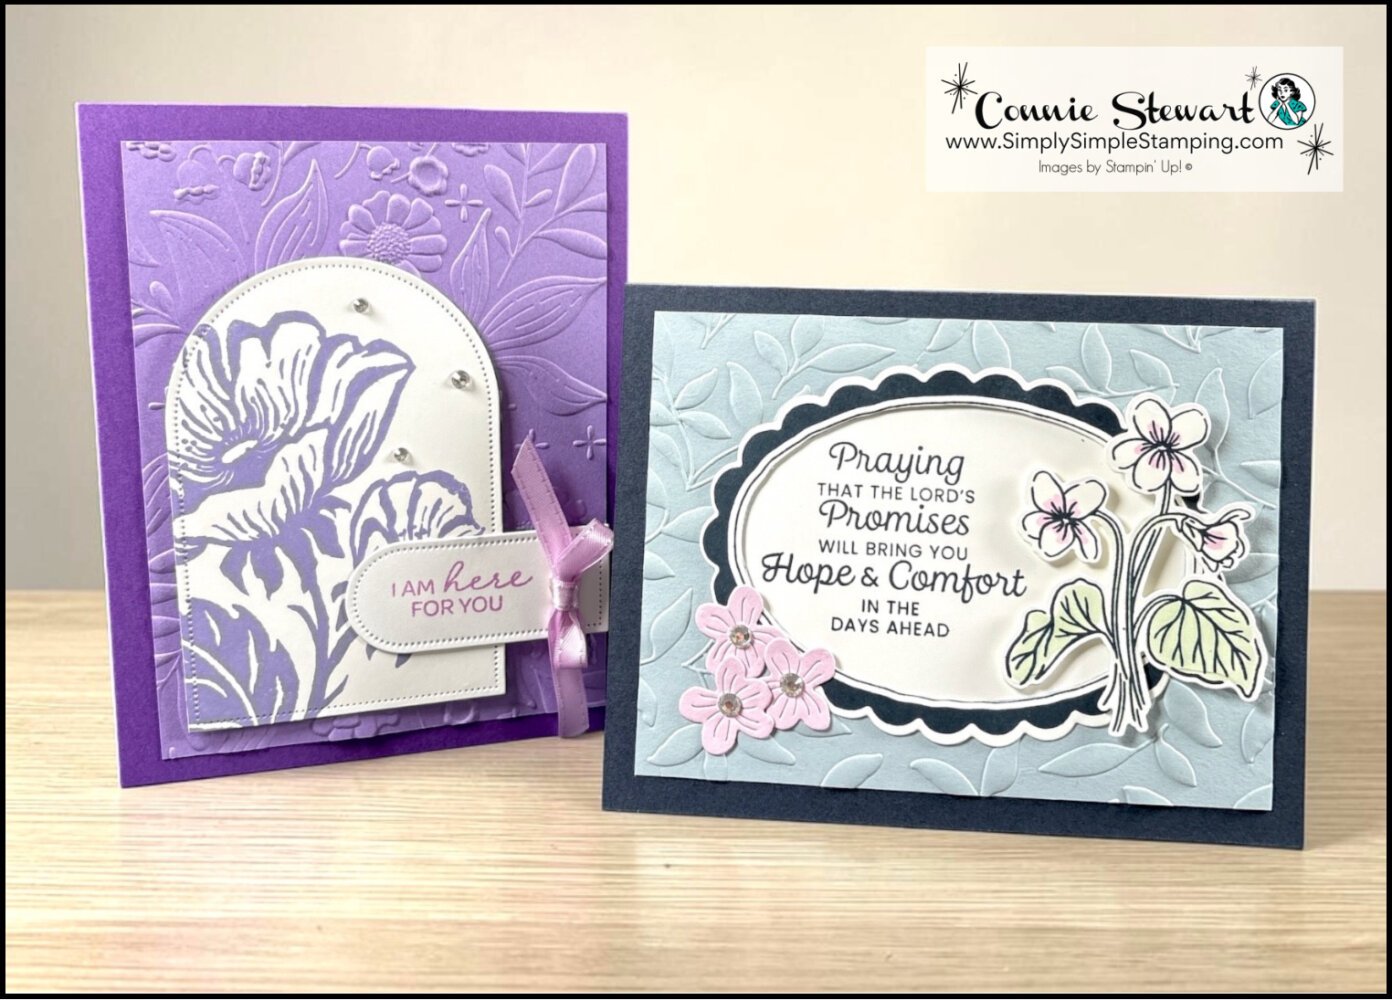
Let’s create these 5-Minutes to Fabulous Cards together!

I hope this card layer storage idea inspires you to create an organizer that keeps your crafting space neat and your pre-cut cardstock layers ready whenever creativity strikes! A simple organization can make a big difference in your card-making, helping you spend less time cutting layers and more time creating.
Be sure to stop back Thursday for another fun Stampin’ Up! project!

So what’s this new YouTube Membership thing all about?
It’s a fun, optional way to get even more crafting content, perks, and behind-the-scenes fun!





