
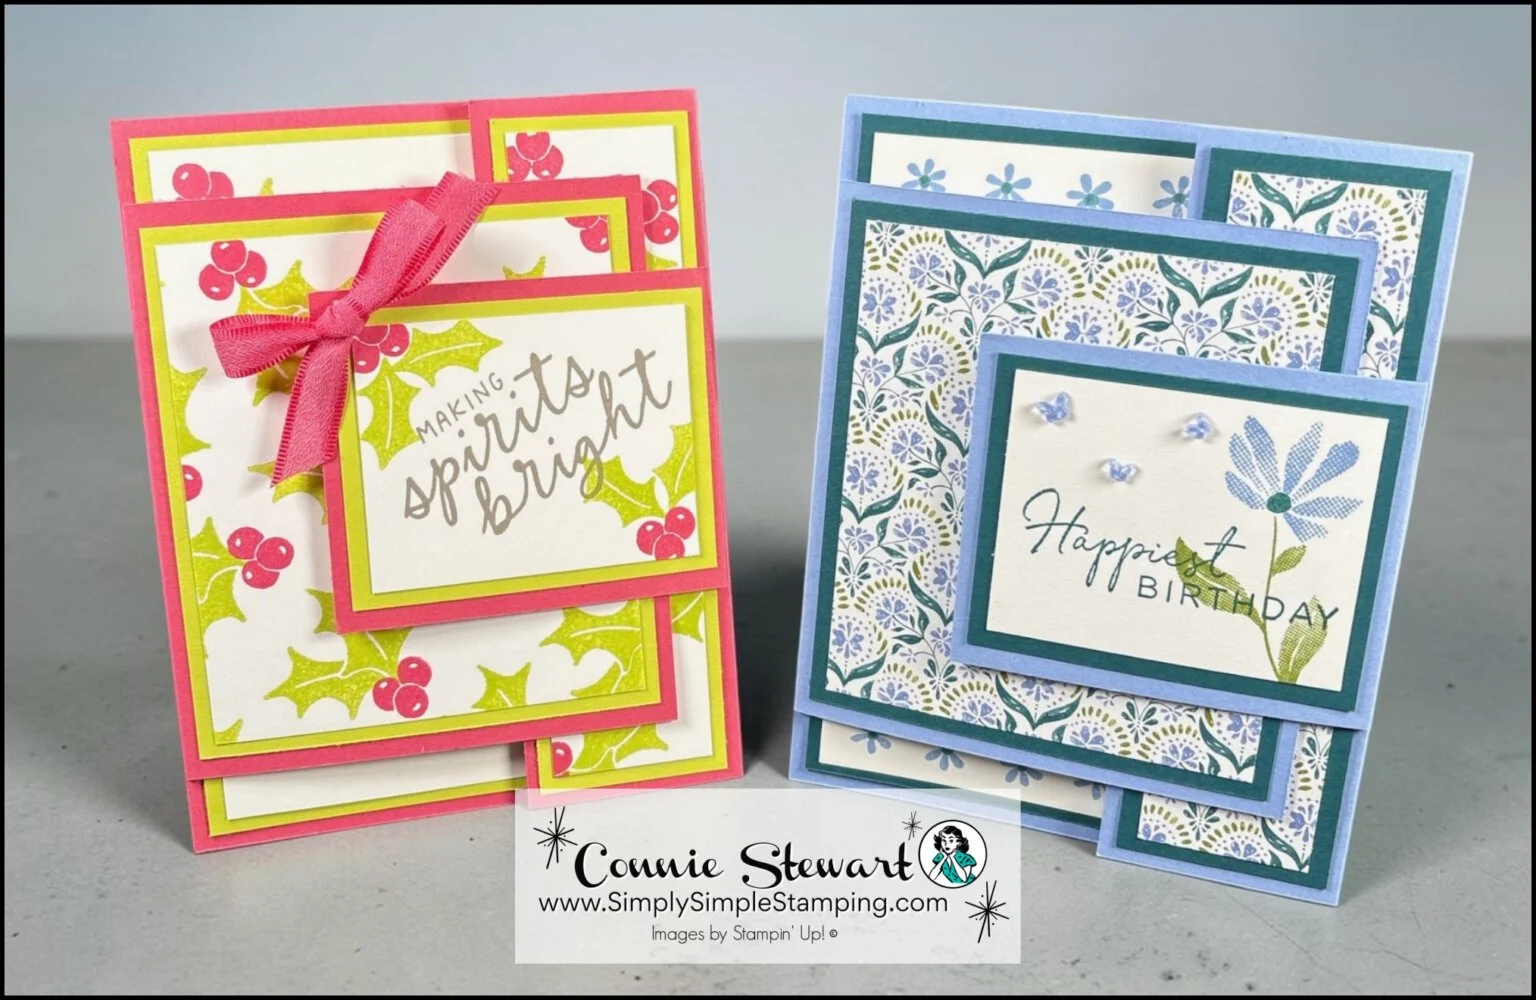
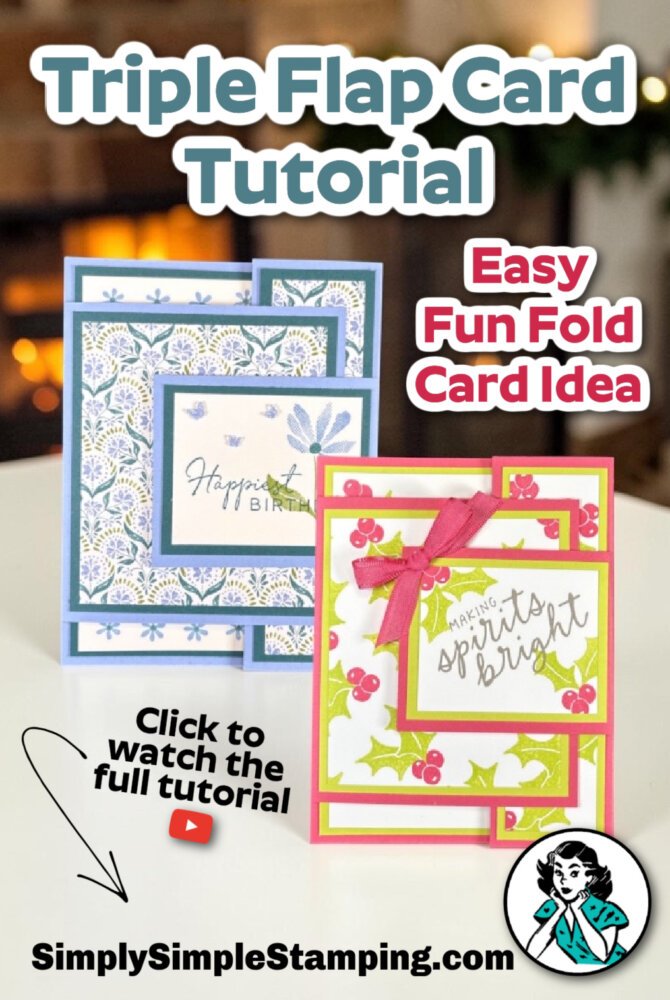
A triple flap card tutorial is exactly what you need when you want a fun fold with plenty of WOW but without spending the afternoon wondering which flap is supposed to go where. This card has layers, movement, and lots of room to show off your favorite Designer Series Paper, which checks several very important boxes in my craft room!
For my first version, I went straight for Christmas cheer with the Scalloped Christmas Cheer Stamp Set. The bright holly-and-berry design gives this card such a happy holiday feel, and those overlapping panels make the pattern peek out from just about every direction.
I wasn’t about to let Christmas have all the fun! I created a second version using the Tile Garden Stamp Set and Mosaic Garden Designer Series Paper, and suddenly the very same fold has an entirely different personality. That’s one of my favorite things about a good fun fold: change the paper, stamps, and colors, and BOOM... brand-new card idea.
Watch the Triple Flap Card Tutorial Step by Step
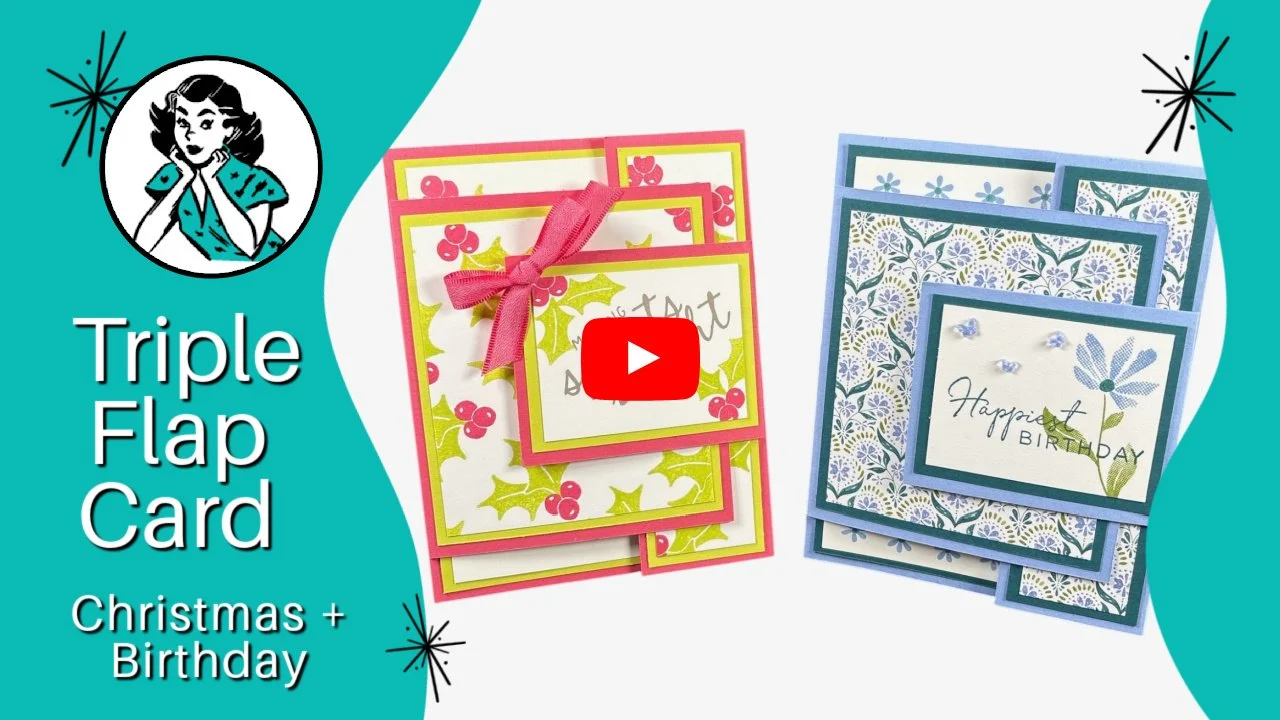
Today we’re making a Triple Flap Card, and I’ve got TWO versions because, let's face it, one flap-filled card is not enough! I’ll show you how all these layers come together, plus how easy it is to take the exact same fold from Christmas cheer to a completely different birthday look. Stick with me because once you see how this card opens and closes, I think you’re going to want to start digging through your Designer Series Paper immediately.
👉 After seeing this triple flap card tutorial, which direction would you take this fun fold: Christmas, birthday, thank-you, or something completely different? Tell me your occasion in the comments because I have a feeling this card could get a LOT of mileage!
Ready to Create a Triple Flap Card?
I love all the fun layers that come with this card design! You can make your own pretty paper or use your favorite Designer Series Paper! Get creative!
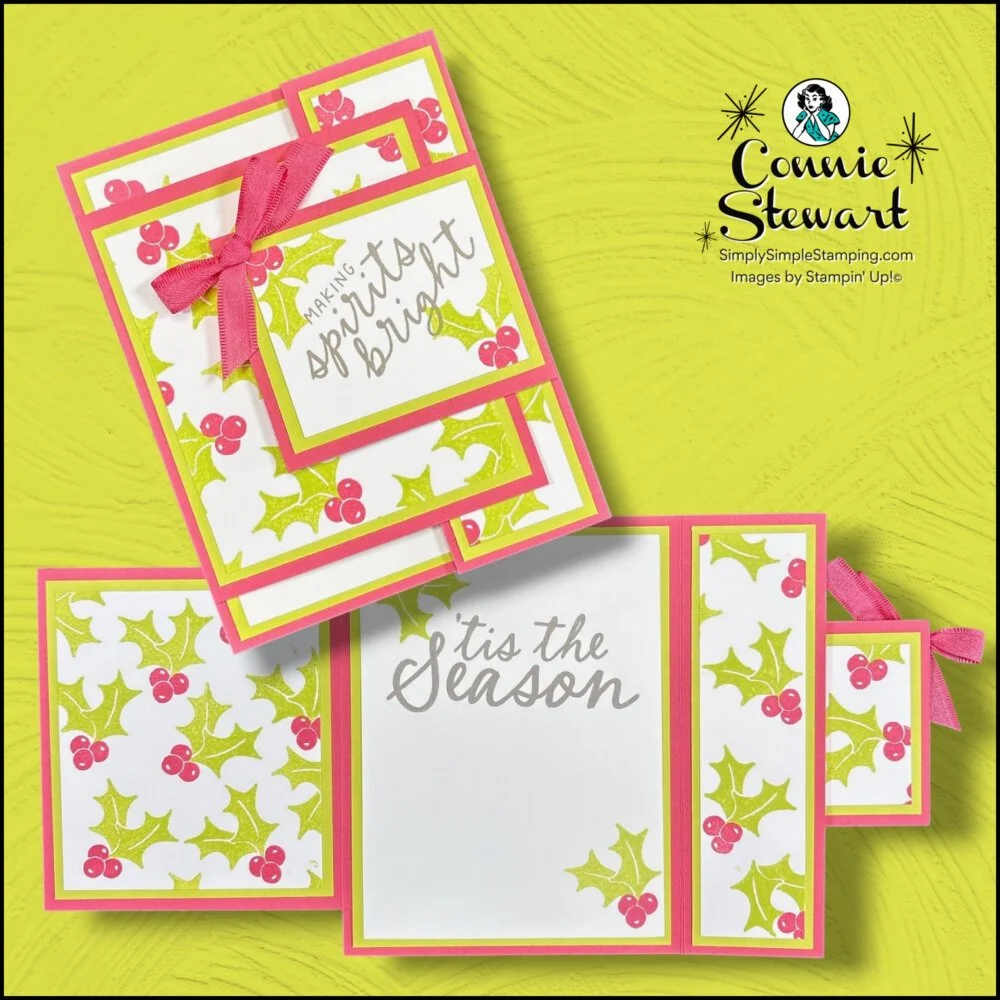
Scalloped Christmas Cheer Stamp Set
Strawberry Slush:
5 ½” x 6”, score at 4 ¼” (card base/flap1)
4 ¼” x 4 ¼”, score at 3 ¾” (flap 2)
3 ½” x 2 ½”, score at 3” (flap 3)
Lemon Lime Twist:
(2) 1 ½” x 5 ¼” (flap 1 front/back)
(2) 3 ½” x 4” (flap 2 front/back)
(2) 2 ¾” x 2 ¼” (flap 3 front/back)
Basic White:
(2) 1 ¼” x 5” (flap 1 front/back)
(2) 3 ¼” x 3 ¾” (flap 2 front/back)
2 ½” x 2” (flap 3 back)
2 ½” x 2” (front greeting)
3 ¾” x 5” (inside message)
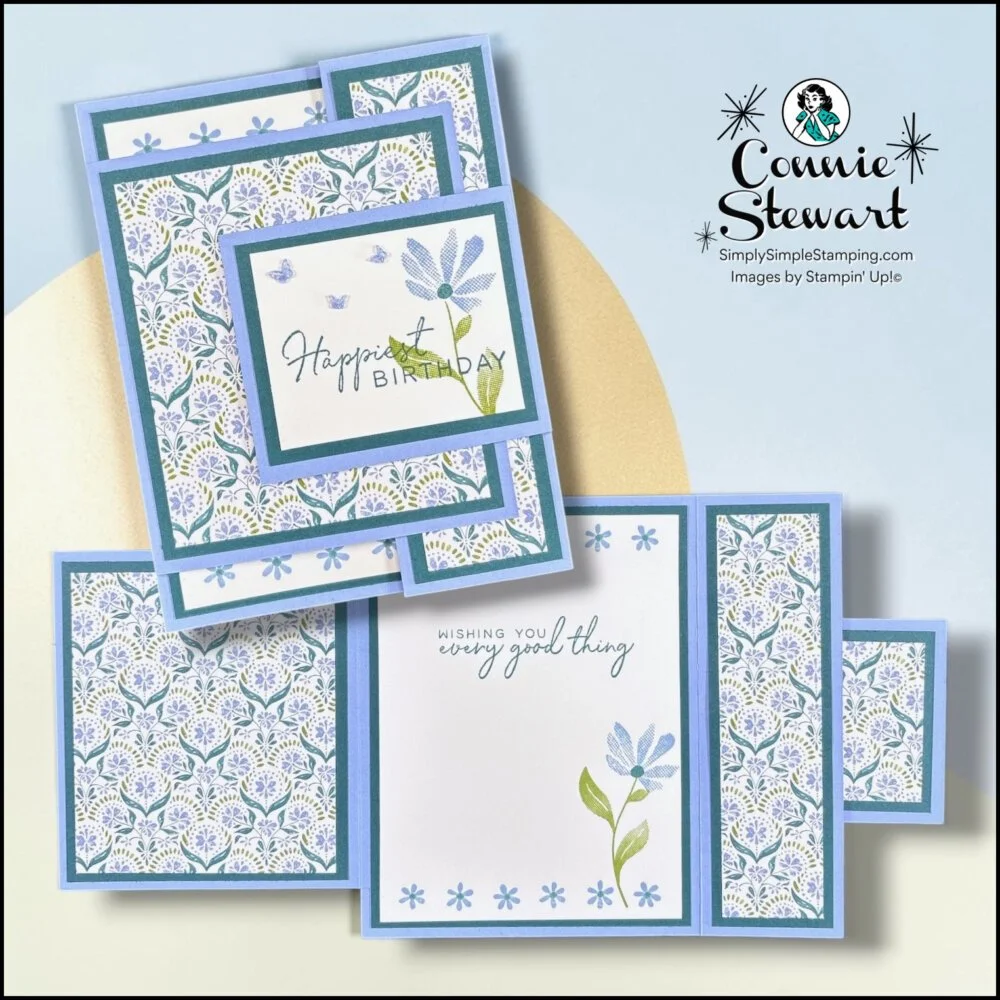
Tile Garden Stamp Set
Hydrangea Hue:
5 ½” x 6”, score at 4 ¼” (card base/flap1)
4 ¼” x 4 ¼”, score at 3 ¾” (flap 2)
3 ½” x 2 ½”, score at 3” (flap 3)
Pretty Peacock:
(2) 1 ½” x 5 ¼” (flap 1 front/back)
(2) 3 ½” x 4” (flap 2 front/back)
(2) 2 ¾” x 2 ¼” (flap 3 front/back)
DSP:
(2) 1 ¼” x 5” (flap 1 front/back)
(2) 3 ¼” x 3 ¾” (flap 2 front/back)
2 ½” x 2” (flap 3 back)
Basic White:
2 ½” x 2” (front greeting)
3 ¾” x 5” (inside message)
* Diagrams and written tutorials are available to YouTube Members - Learn more HERE
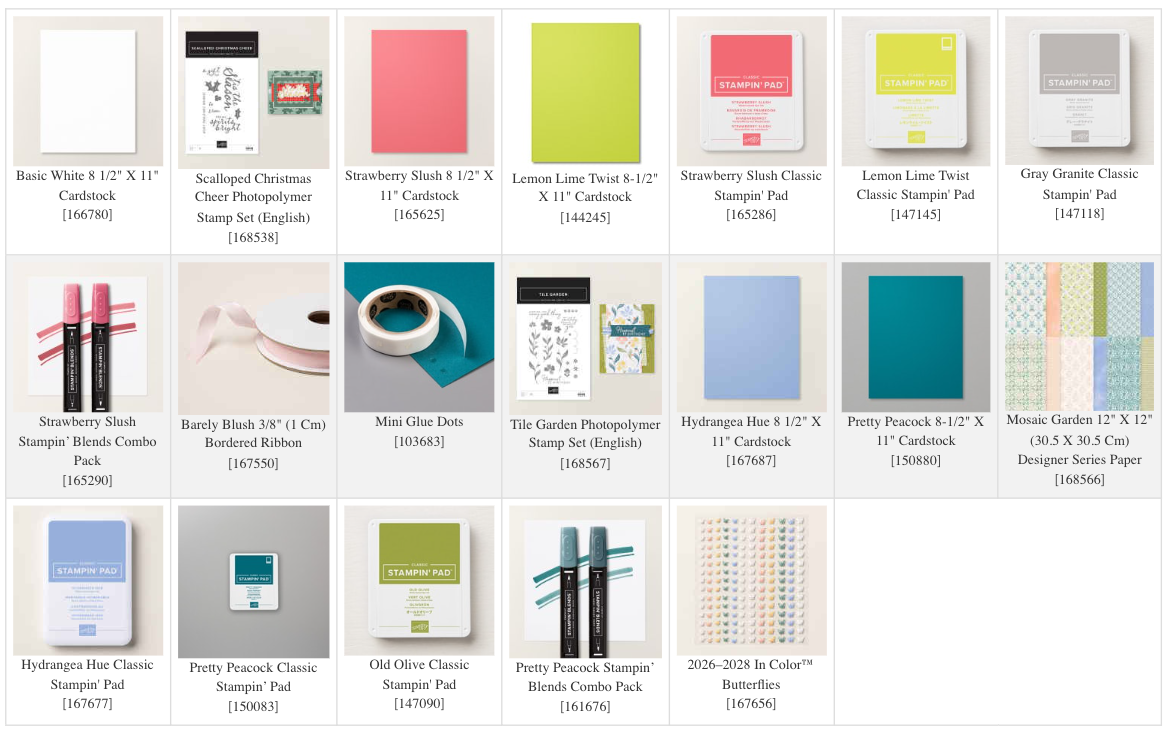
Stampin' Up! Product List for Today's Cards
Click on the picture to add to your cart
Thank you for choosing me to be your Stampin’ Up! Demonstrator!

WOW! Earn Stampin’ Rewards on orders over $20 (before tax/ship.
Spend them on your next Stampin' Up! order or save them up for a bigger purchase!
Pinterest-ing
Be sure to pin this project so you can come back to it the next time you need a fun fold that works for more than one occasion! This Triple Flap Card is great to save because you can switch up the stamps, paper, and colors for Christmas, birthdays, and more. If you love collecting card ideas for later, follow me on Pinterest so you don’t miss even more creative inspiration.

I hope this Triple Flap Card Tutorial has inspired you to try this fun fold with your favorite stamps and papers. Whether you’re making Christmas cards, birthday cards, or something in between, this design is such a fun way to add extra interest to your handmade cards. Be sure to tune in Tuesday for a brand-new project.

So what’s this new YouTube Membership thing all about?
It’s a fun, optional way to get even more crafting content, perks, and behind-the-scenes fun!





