
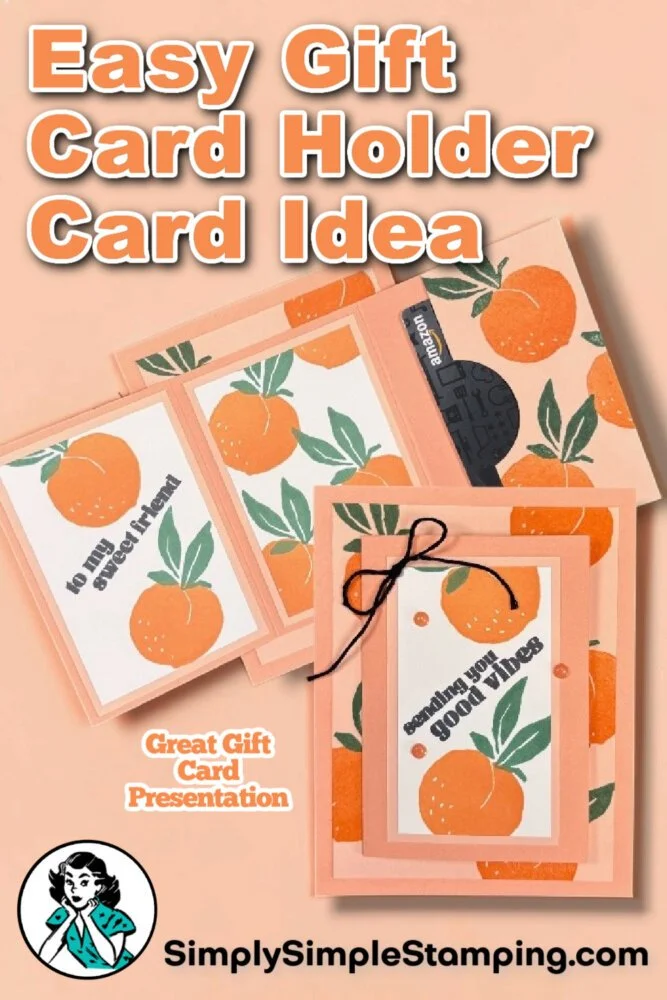
Tri-fold gift card holder card designs are what happen when a greeting card decides it’s not content to just sit there looking pretty; it wants a job. This one folds open like a little story, revealing a tucked-away pocket that can hold a gift card or a handwritten note, depending on your mood (or how last-minute your planning was). Add in these fruit-themed handmade cards with their strawberries and peaches, and suddenly your “quick project” feels like it came with personality baked right in.
If you’ve been on the hunt for an easy gift card holder idea that doesn’t feel like a backup plan, this design earns its keep. The tri-fold structure gives it that satisfying “ooh, what’s next?” factor without requiring a ruler, a protractor, and a deep sigh. Whether you think of it as a DIY gift card holder card or a fun fold gift card holder card, it strikes that rare balance between thoughtful and doable, which, let’s be honest, is the sweet spot we’re all chasing.
The best part? It plays well with whatever you already have on your craft table. That designer series paper you’ve been saving because it’s “too cute to cut”? This is its moment. Dress it up, keep it simple, lean into the fruit theme, or swap it out entirely. The pocket does the heavy lifting, and you get to take the credit.
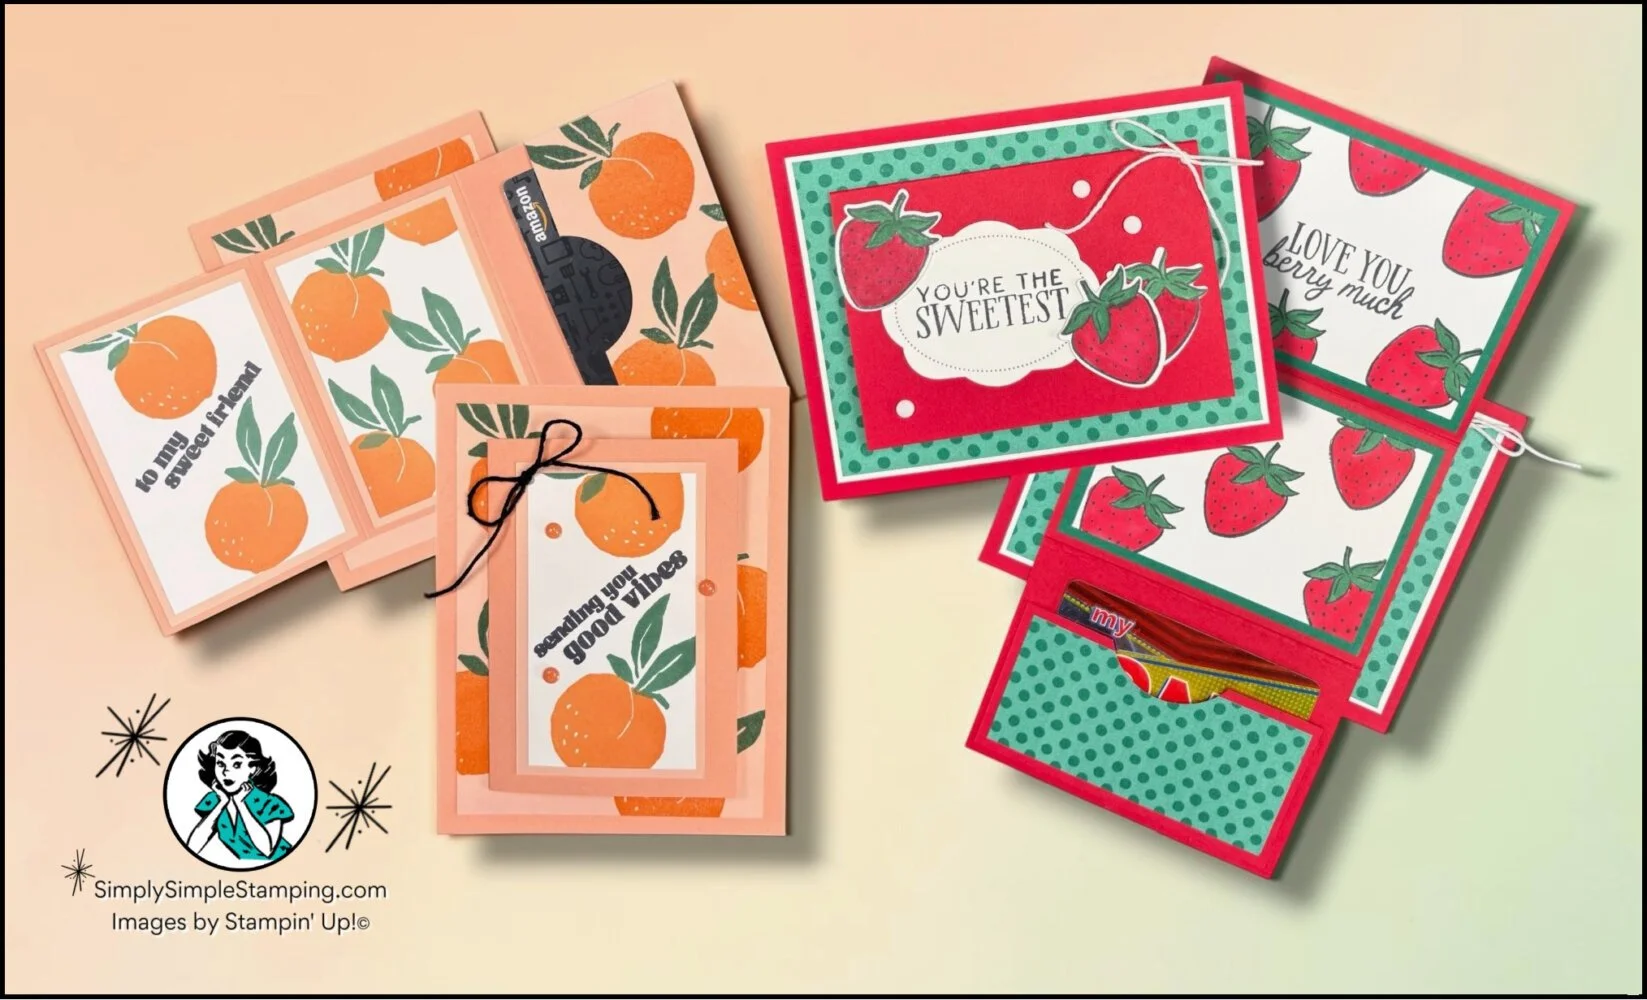
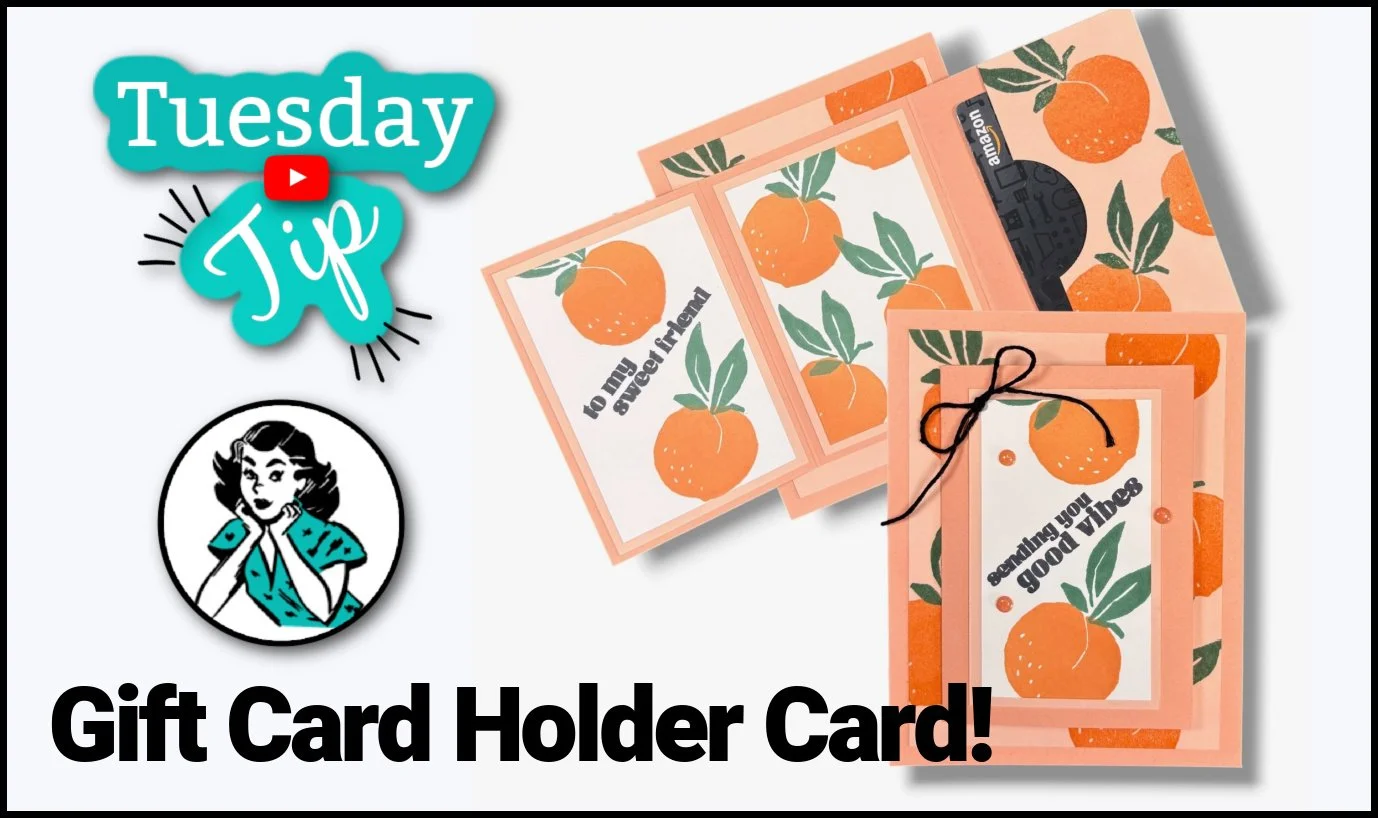
Tri-Fold Gift Card Holder Card | Video Tutorial:
If you’re the kind of person who wants your gift card to feel a little less “last-minute grab” and a little more “I planned this,” you’ll want to watch this one all the way through. I’ll show you exactly how this tri-fold design comes together, how the pocket works (it’s simpler than it looks), and a few easy ways to make it your own using whatever you already have on your craft table.
🍑 🍓 What would you put inside your tri-fold gift card holder card? A gift card, a handwritten note, or a mix of both?
Ready to Create these Tri-Fold Gift Card Holders?
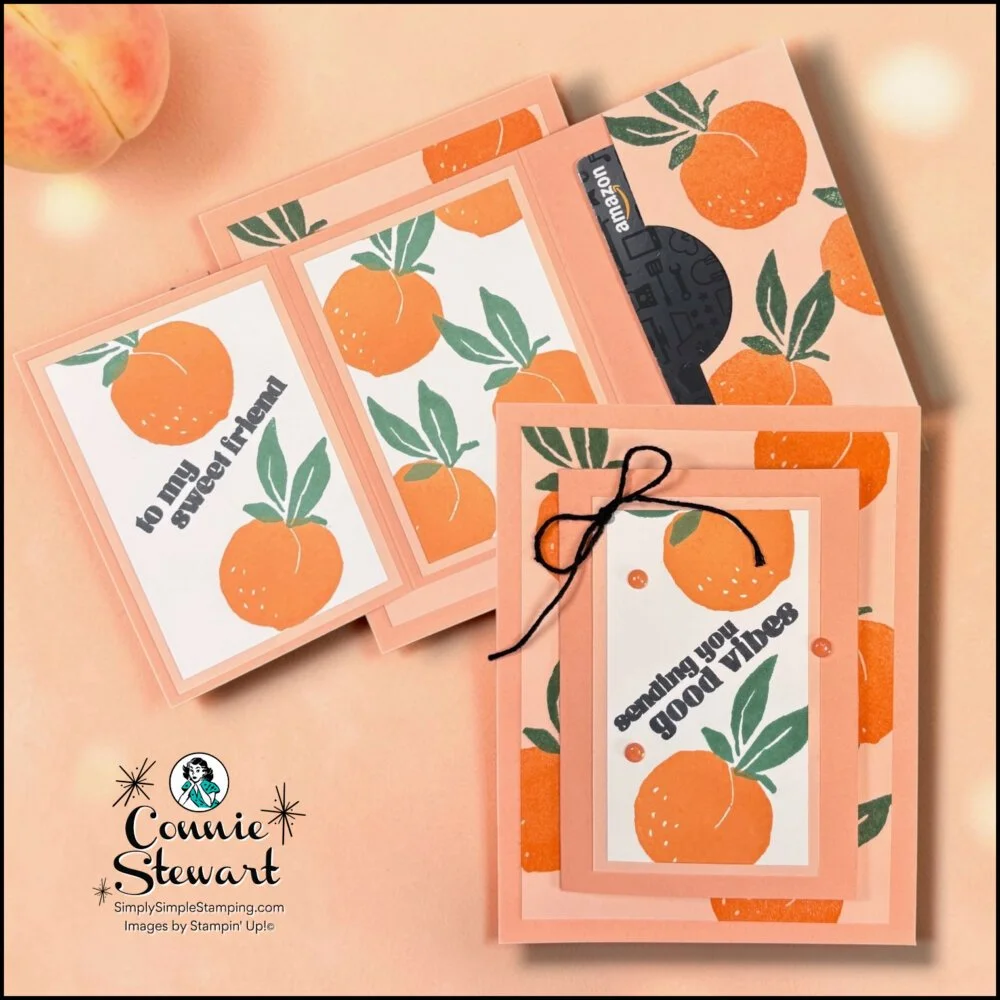
Just Peachy Stamp set
PORTRAIT
Crisp Cantaloupe:
11” x 4 ¼” (card base)
Cut off 2” x 4 ¼” (gift card holder)
Score 9” x 4 ¼” at 3” and 6” (card)
4 ¼” x 5 ½” (card back)
Petal Pink:
3 ¾” x 5” (card front layer)
(2) 2 ¾” x 4” (inside layers)
2 ¼” x 3 ¾” (card front layer)
4” x 1 ¾” (gift card holder layer)
White:
2” x 3 ½” (stamped focal image)
(2) 2 ½” x 3 ¾” (inside)
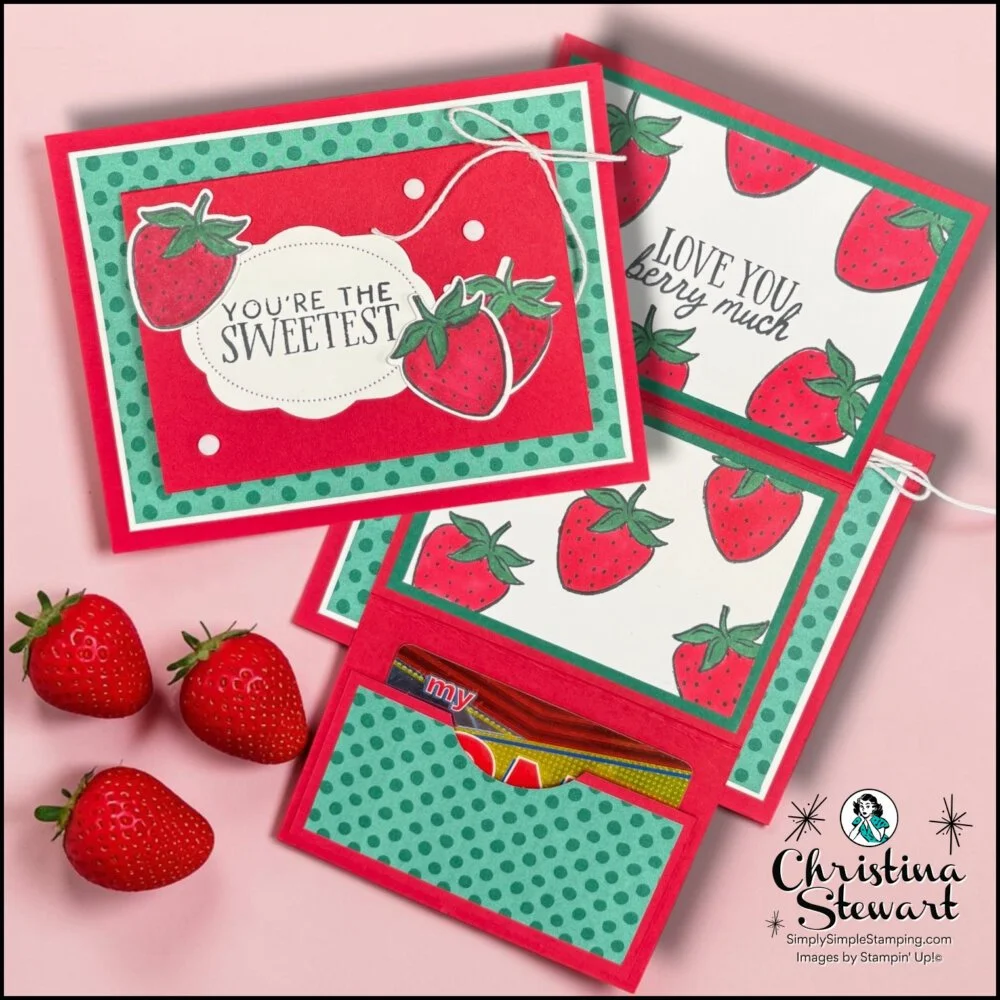
Filled with Sweetness Bundle
LANDSCAPE
Shaded Spruce: (2) 4” x 2 ¾” (inside layers)
Real Red:
11” x 4 ¼” (card base)
Cut off 2” x 4 ¼” (gift card holder)
Score 9” x 4 ¼” at 3” and 6” (card)
5 ½” x 4 ¼” (card back)
DSP (Shaded Spruce):
5” x 3 ¾” (card front layer)
4” x 1 ¾” (gift card holder layer)
White:
5 ⅛” x 3 ⅞” (card front layer + stamping)
(2) 3 ¾” x 2 ½” (inside)
* Diagrams and written tutorials are available to YouTube Members - Learn more HERE
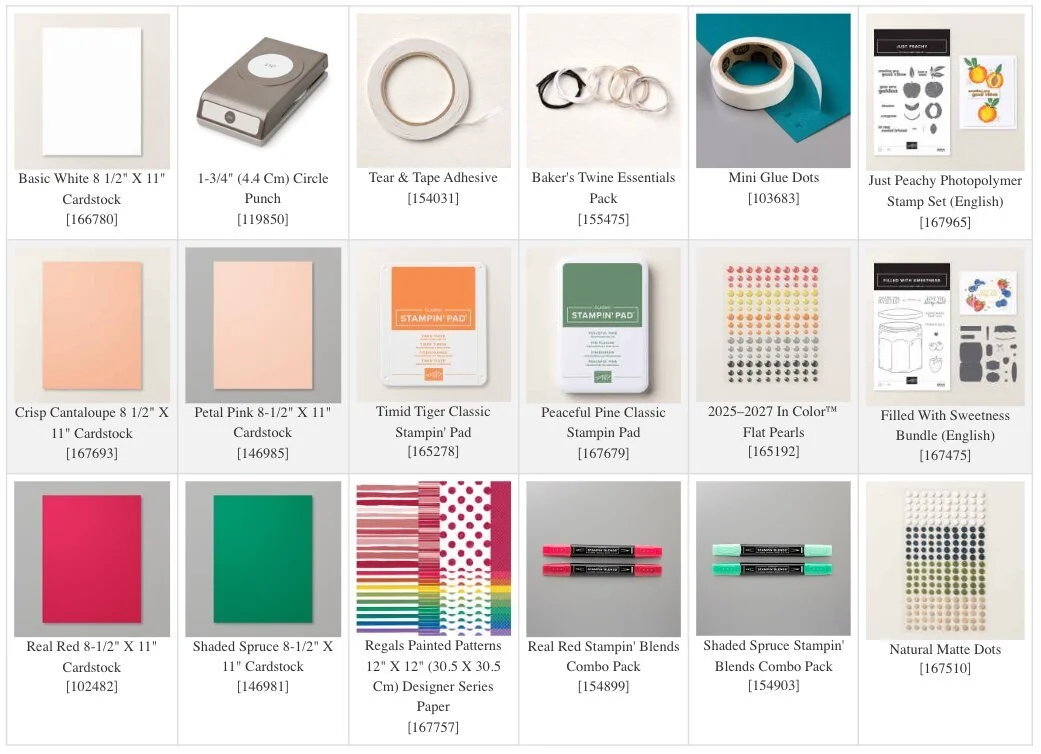
Stampin' Up! Product List for Today's Cards
Click on the picture to add to your cart
Thank you for choosing me to be your Stampin’ Up! Demonstrator!

WOW! Earn Stampin’ Rewards on orders over $20 (before tax/ship.
Spend them on your next Stampin' Up! order or save them up for a bigger purchase!
Pinterest-ing
If this idea sparked a future project or helped solve your “what do I do with a gift card?” dilemma, don’t forget to save it for later. Pin this to your card making or gift ideas boards so it’s easy to find when you need it! Be sure to follow me on Pinterest for more creative, easy-to-make card designs that actually get used.
Join Me Thursday, May 28, 2026, for a Create with Connie YouTube Live!
9am Pacific 10am Mountain 11am Central * 12pm Eastern
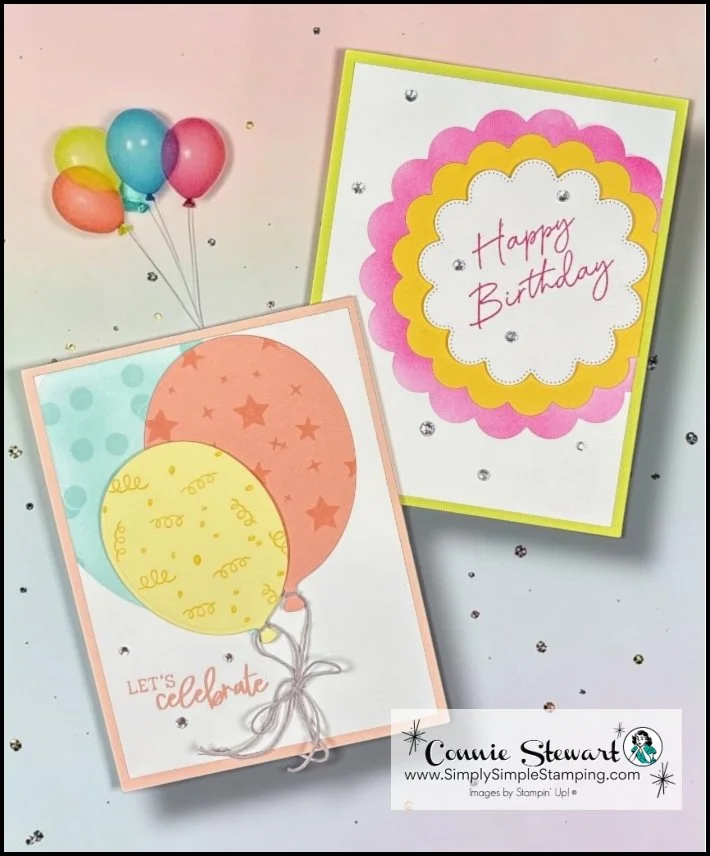
Let's learn to mask with LARGE dies together!

Now you’ve got a tri-fold gift card holder that looks thoughtful, feels personal, and comes together without overcomplicating things. This is really the dream, isn’t it? My friends, I hope your week is off to a great start. Be sure to join me on Thursday for a brand new YouTube Live!

So what’s this new YouTube Membership thing all about?
It’s a fun, optional way to get even more crafting content, perks, and behind-the-scenes fun!





