
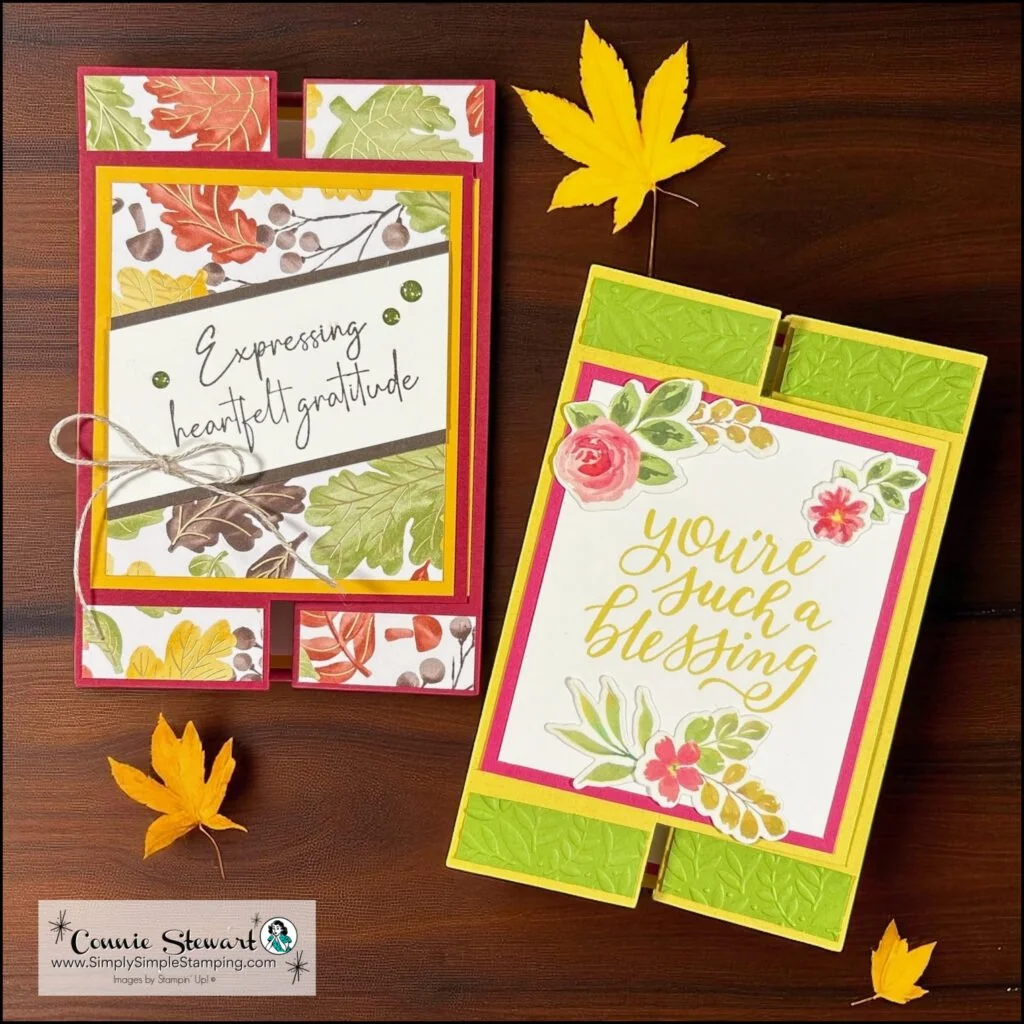
This shutter fold card tutorial is about to become your new fall obsession, and honestly, I'm not even sorry about it! You know that feeling when you discover a card technique that's so satisfying to make AND so impressive to give that you want to shout it from the rooftops? That's exactly what happened when I perfected this autumn version of the classic shutter fold. It's like the cozy sweater of the card-making world: comfortable to create, stylish to share, and guaranteed to make people go "ooh, I'll treasure this even beyond the season!"
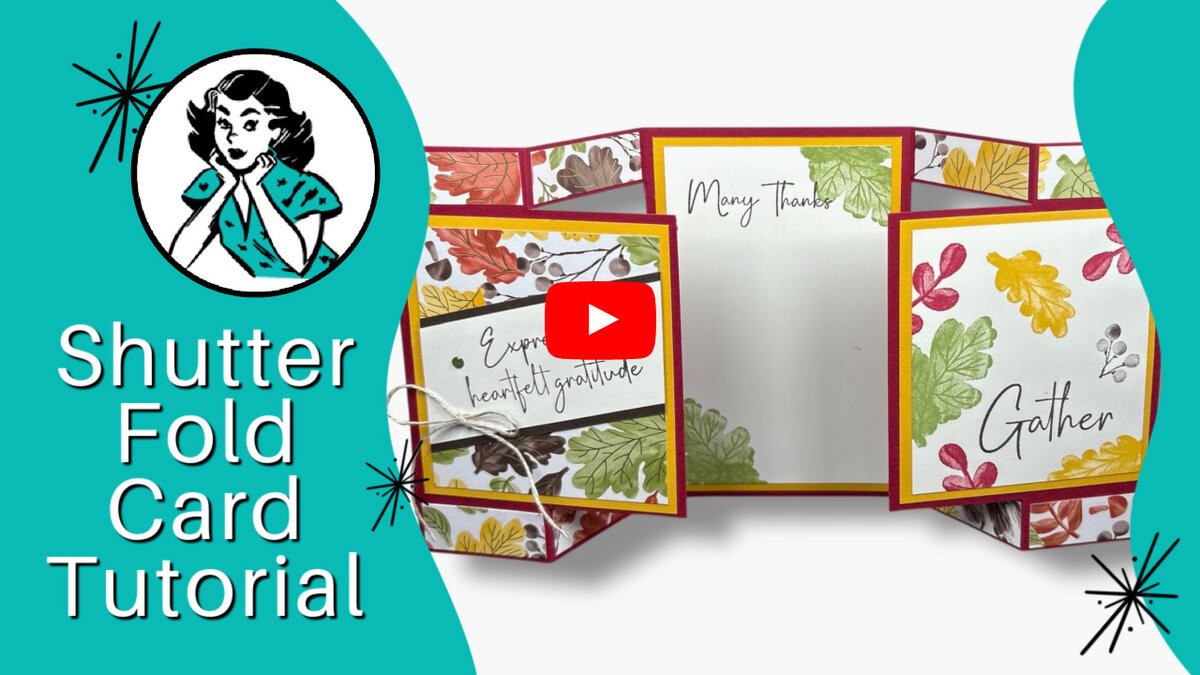
Shutter Fold Card Video Tutorial
The step-by-step video below guides you through the entire process, providing clear instructions to follow along. Seeing the card come together in real-time is oddly satisfying and totally worth it!
🍁 What's your favorite fall color combo for shutter fold cards – are you team warm yellows and deep reds, or do you lean toward those deep orange and gold vibes?
Ready to Create these Shutter Fold Cards?
These cards are such a WOW and stand up beautifully too. The addition on the shutters on the sides are just amazing! It's a very simple cut on the sides. If you are new to this type of fun fold, practice with a piece of copy paper first. You will be glad you did. Then, when you go to create with your cardstock, you will be a pro!
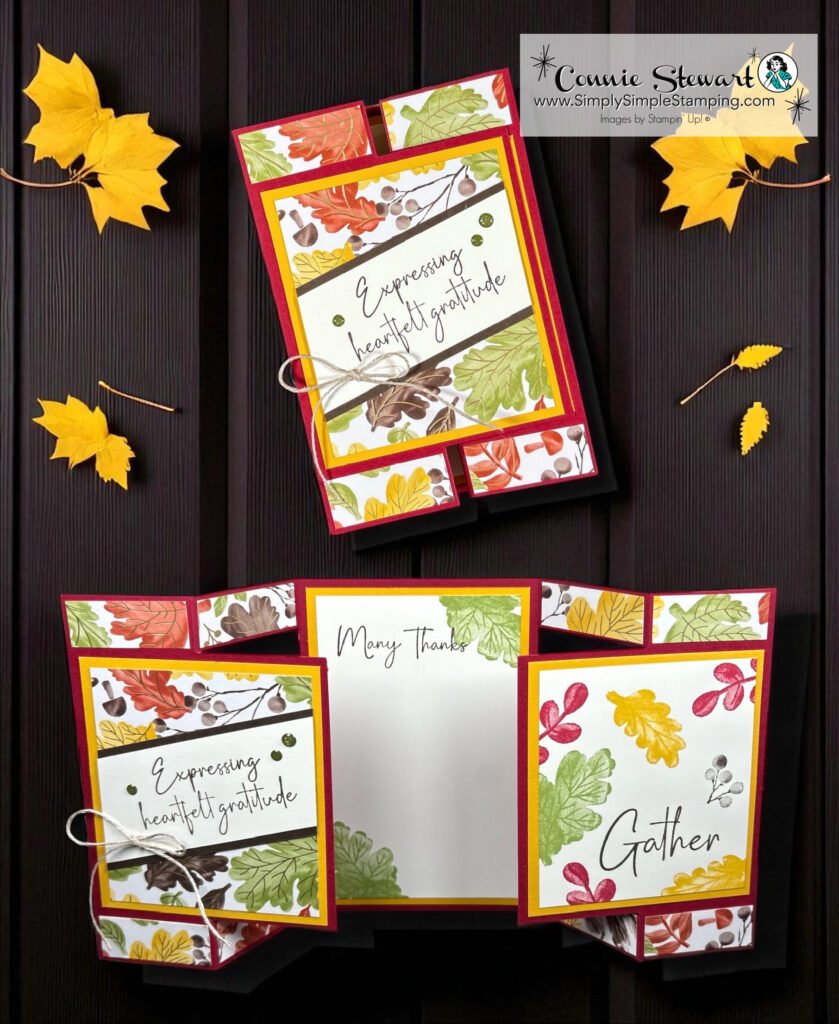
Gathering Moments Stamp Set
Cherry Cobbler: 5 ½” x 10 ½” (card base)
With the 10 ½” at the top, LIGHTLY score at 1 ¾” and 3 ½”; rotate cardstock 180° and LIGHTLY score at 1 ¾” and 3 ½”
With the 5 ½” at the top, line up at 4 ¾” and cut between the score lines; rotate the cardstock 180° and repeat
With the 10 ½” at the top, line up at 3 ½” and cut between the cuts; rotate the cardstock 180° and repeat
Crushed Curry:
3 ¼” x 5 ¼” (inside)
(2) 3 ¼” x 3 ¾” (shutters)
Early Espresso: 3 ¾” x 1 ⅝” (greeting layer)
Basic White:
3” x 5” (inside)
3” x 3 ½” (right shutter)
3 ¾” x 1 ⅜” (greeting)
DSP:
(8) 1 ⅝” x ⅝” (card layers)
3” x 3 ½” (left shutter)
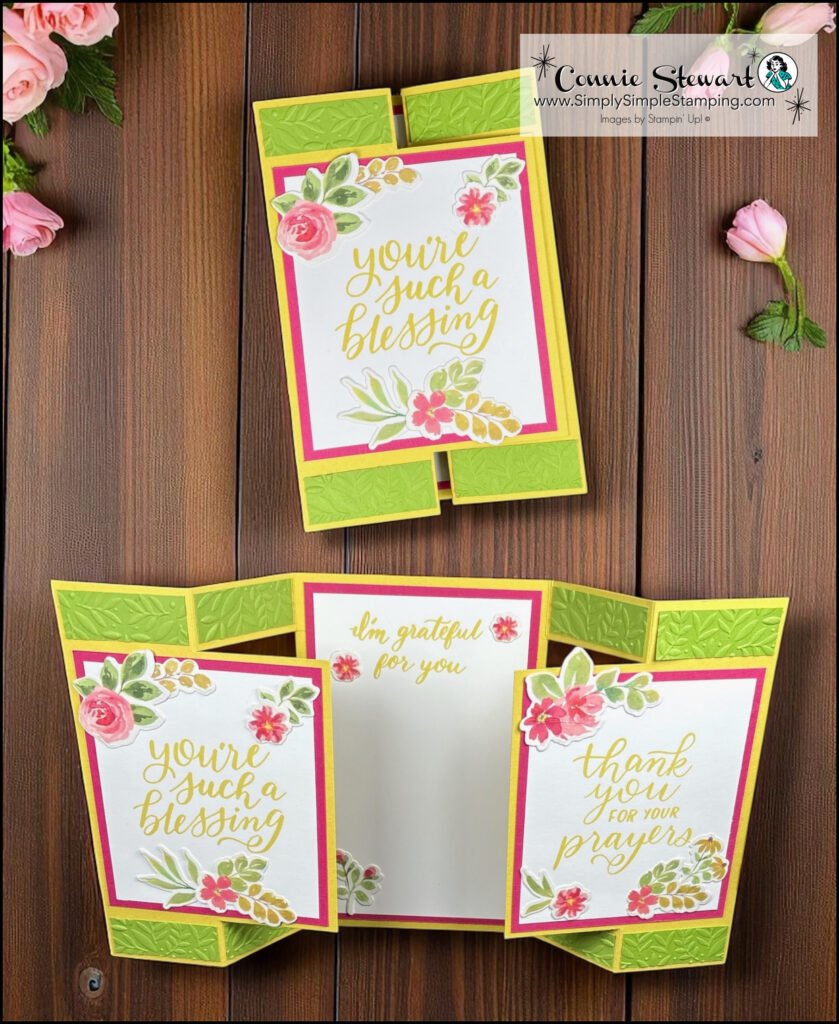
Grateful Blessing Stamp Set
Darling Duckling: 5 ½” x 10 ½” (card base)
With the 10 ½” at the top, LIGHTLY score at 1 ¾” and 3 ½”; rotate cardstock 180° and LIGHTLY score at 1 ¾” and 3 ½”
With the 5 ½” at the top, line up at 4 ¾” and cut between the score lines; rotate the cardstock 180° and repeat
With the 10 ½” at the top, line up at 3 ½” and cut between the cuts; rotate the cardstock 180° and repeat
Melon Mambo:
3 ¼” x 5 ¼” (inside)
(2) 3 ¼” x 3 ¾” (shutters)
Basic White:
3” x 5” (inside)
(2) 3” x 3 ½” (shutters)
5 ½” x 3 ½” (flowers)
Granny Apple Green: (8) 1 ⅝” x ⅝” (card layers)
* Diagrams and written tutorials are available to YouTube Members - Learn more HERE
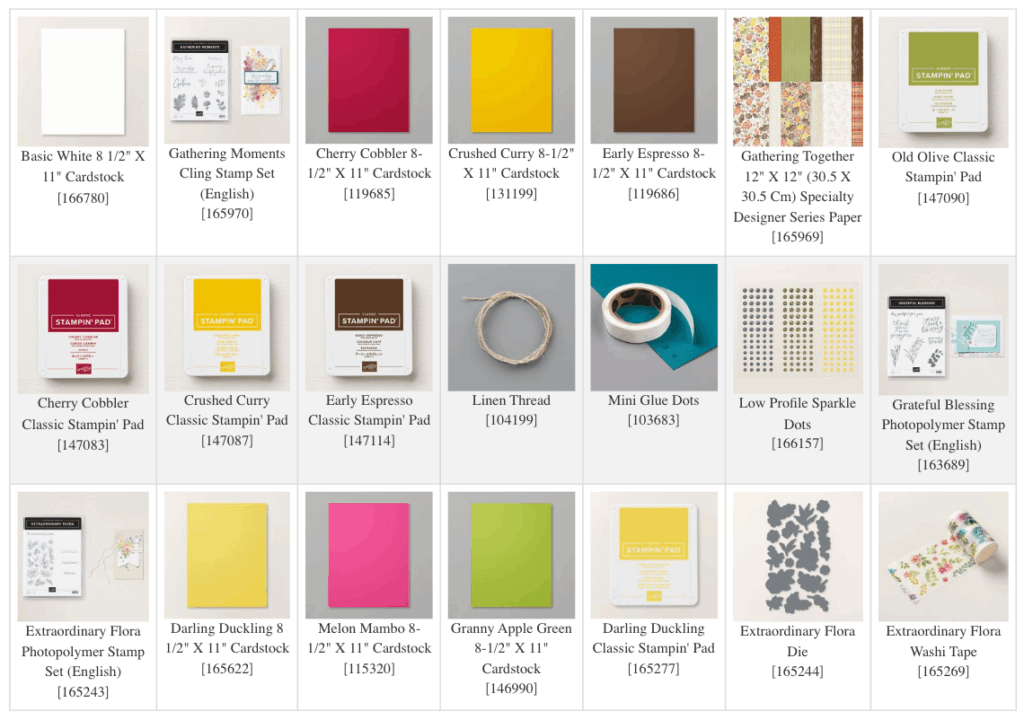
Stampin' Up! Product List for Today's Cards
Click on the picture to add to your cart
Thank you for choosing me to be your Stampin’ Up! Demonstrator!

WOW! Earn Stampin’ Rewards on orders over $20 (before tax/ship.
Spend them on your next Stampin' Up! order or save them up for a bigger purchase!
Pinterest-ing
Follow me on Pinterest and save this image to your Fun Fold and Autumn Card Design boards, because you'll want to have it saved for that inevitable moment when you need to make something impressive and all you have is Tuesday evening and a mild caffeine buzz!


I hope you enjoyed the creativity of this fun fold card. No matter the season, this layout is perfect!
Have a great rest of your week, my friends!

So what’s this new YouTube Membership thing all about?
It’s a fun, optional way to get even more crafting content, perks, and behind-the-scenes fun!





