
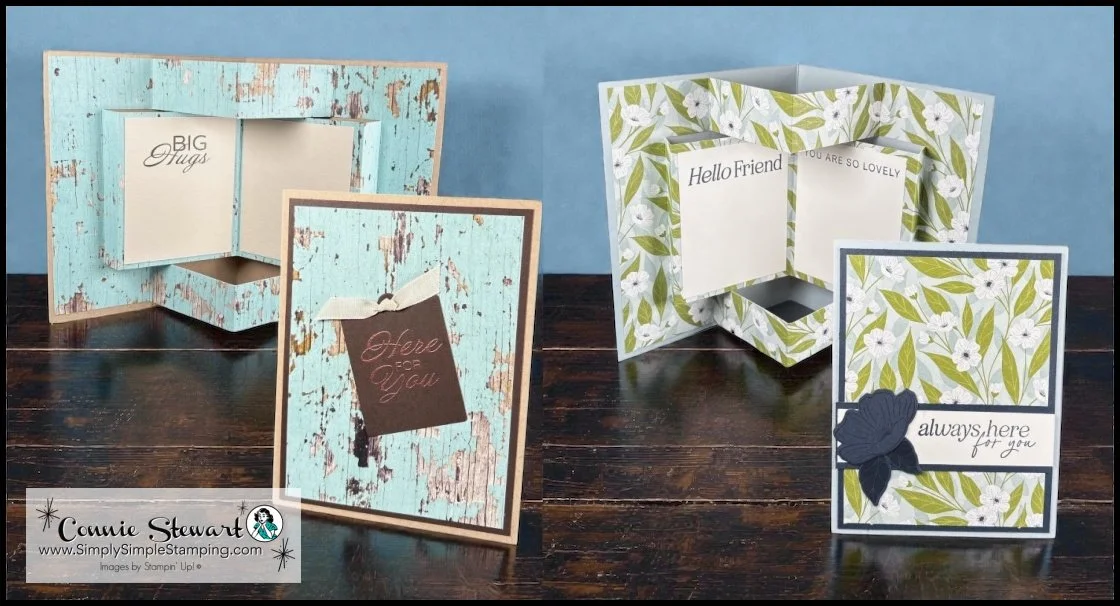
Learning how to make a pop-up book card is one of the best ways to create cards that make people's jaws drop when they open them, and you're in the right place to master this technique. Today I'm showing you how to make this gorgeous pop-up book card using some of my favorite Stampin' Up! supplies – the Lovely Arrangements stamp set paired with that stunning Lovely Blossoms designer series paper.
This isn't your typical flat card tutorial. We're diving into a dimensional technique that creates this beautiful book-style pop-up effect. You'll be hooked on making these impressive cards.
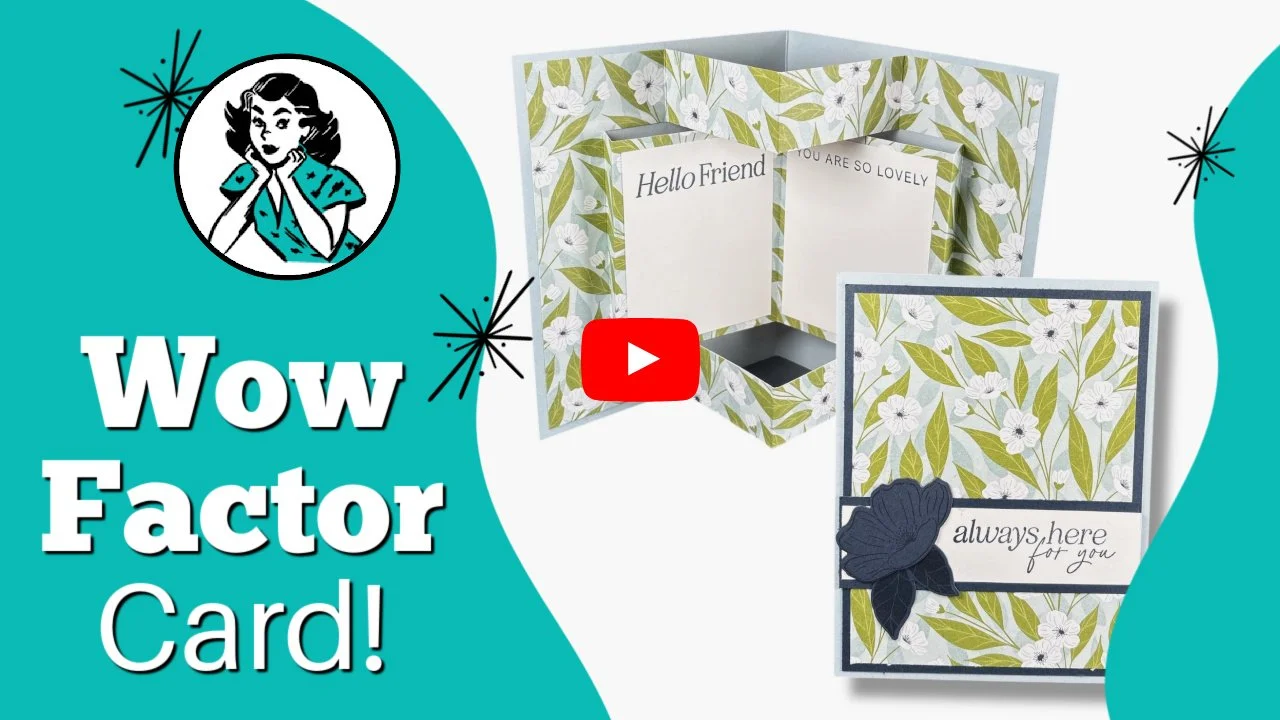
Pop-Up Book Card Video Tutorial
I'm about to show you a folding technique that's going to make people think you've been hiding some next-level skills, when really, it's just cardstock with clever folds that do all the heavy lifting for you.
📖 Will you make a Pop-Up Book Card this week? What occasion will you make your card for? I love reading about your ideas!
Ready to Create this Pop-Up Book Card?
I know that those cuts in the middle might be intimidating so I recommend you practice it first with copy paper. Once you have practiced it, you will have the confidence to cut into your pretty Designer Series Paper.
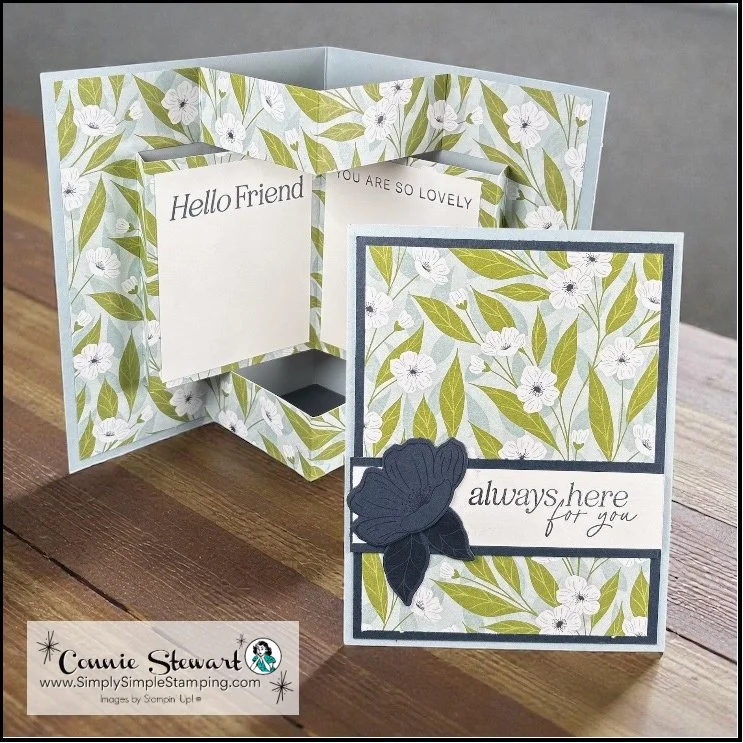
Lovely Arrangements Bundle
Cloud Cover: 8 ½” x 5 ½”, score at 4 ¼” (card base)
DSP: 12” x 5 ¼” (landscape)
Cut to 8 ¼” x 5 ¼” (pop-out)
With the 8 ¼” at the top, score at 4 ⅛”
With the 5 ¼” at the top, line up at 1” and cut in-between 1” to 7 ¼”. Repeat on both sides
With the 8 ¼” at the top, line up at 1” and score at 1” and 1 ½” in-between the long cuts. Score at 2” at the top and bottom 1” areas. Repeat on the other side
Cut remaining to 3 ¾” x 5” (front)
Secret Sea:
4” x 5 ¼” (front layer)
4” x 1 ¼” (front greeting)
Basic White:
(2) 2 ⅜” x 3” (pop-out message)
4” x 1” (front greeting)
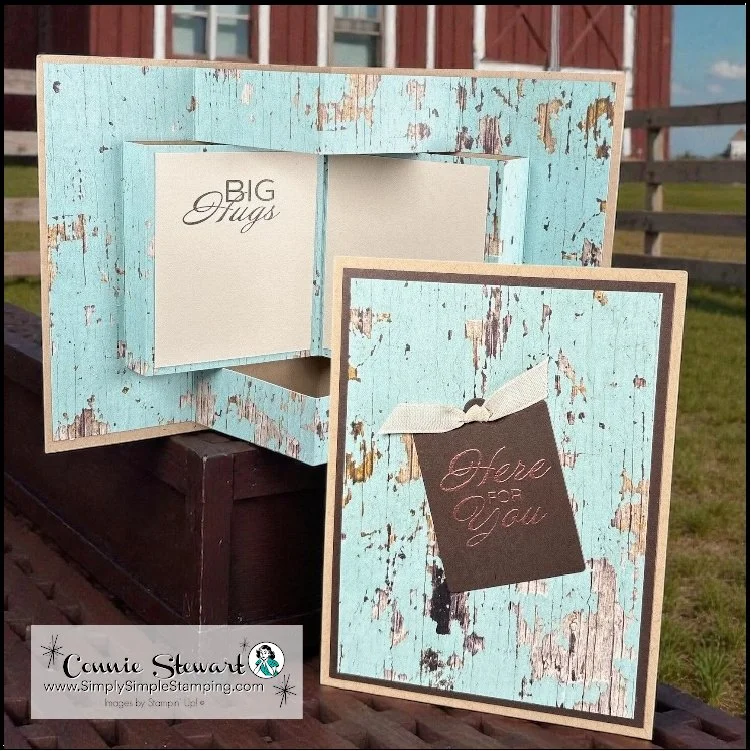
Delicate Framing Stamp Set
Crumb Cake: 8 ½” x 5 ½”, score at 4 ¼” (card base)
DSP: 12” x 5 ¼” (landscape)
Cut to 8 ¼” x 5 ¼” (pop-out)
With the 8 ¼” at the top, score at 4 ⅛”
With the 5 ¼” at the top, line up at 1” and cut in-between 1” to 7 ¼”. Repeat on both sides
With the 8 ¼” at the top, line up at 1” and score at 1” and 1 ½” in-between the long cuts. Score at 2” at the top and bottom 1” areas. Repeat on the other side
Cut remaining to 3 ¾” x 5” (front)
Early Espresso: 4” x 5 ¼” (front layer and stamped embossed die cut)
Basic Beige: (2) 2 ⅜” x 3” (pop-out message)
* Diagrams and written tutorials are available to YouTube Members - Learn more HERE
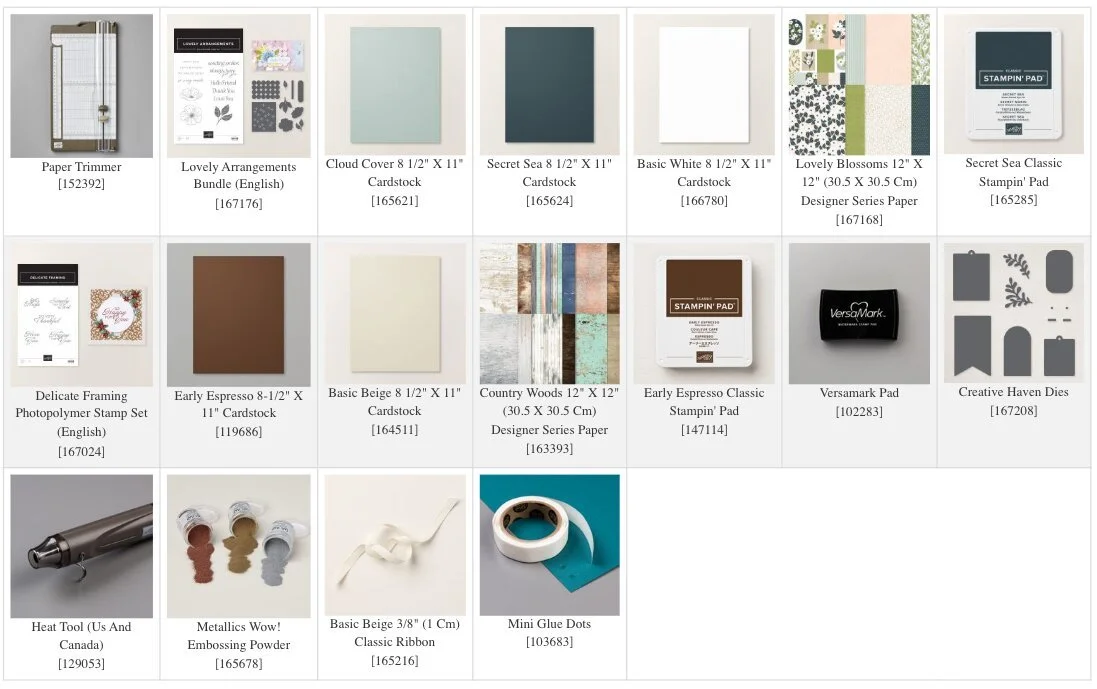
Stampin' Up! Product List for Today's Cards
Click on the picture to add to your cart
Thank you for choosing me to be your Stampin’ Up! Demonstrator!

WOW! Earn Stampin’ Rewards on orders over $20 (before tax/ship.
Spend them on your next Stampin' Up! order or save them up for a bigger purchase!
Pinterest-ing
Your craft boards need this tutorial, especially if you're the type of person who gets a little thrill from making something that looks impossible. This fold technique has become my go-to for when I want to remind people that handmade doesn't mean amateur. Follow me on Pinterest for more tutorials that give you maximum wow factor with reasonable effort.


Thanks for joining me today, my stampin' friends! I hope you'll have fun creating some Pop-Up! book cards this weekend!
Have a fabulous one!

So what’s this new YouTube Membership thing all about?
It’s a fun, optional way to get even more crafting content, perks, and behind-the-scenes fun!





