
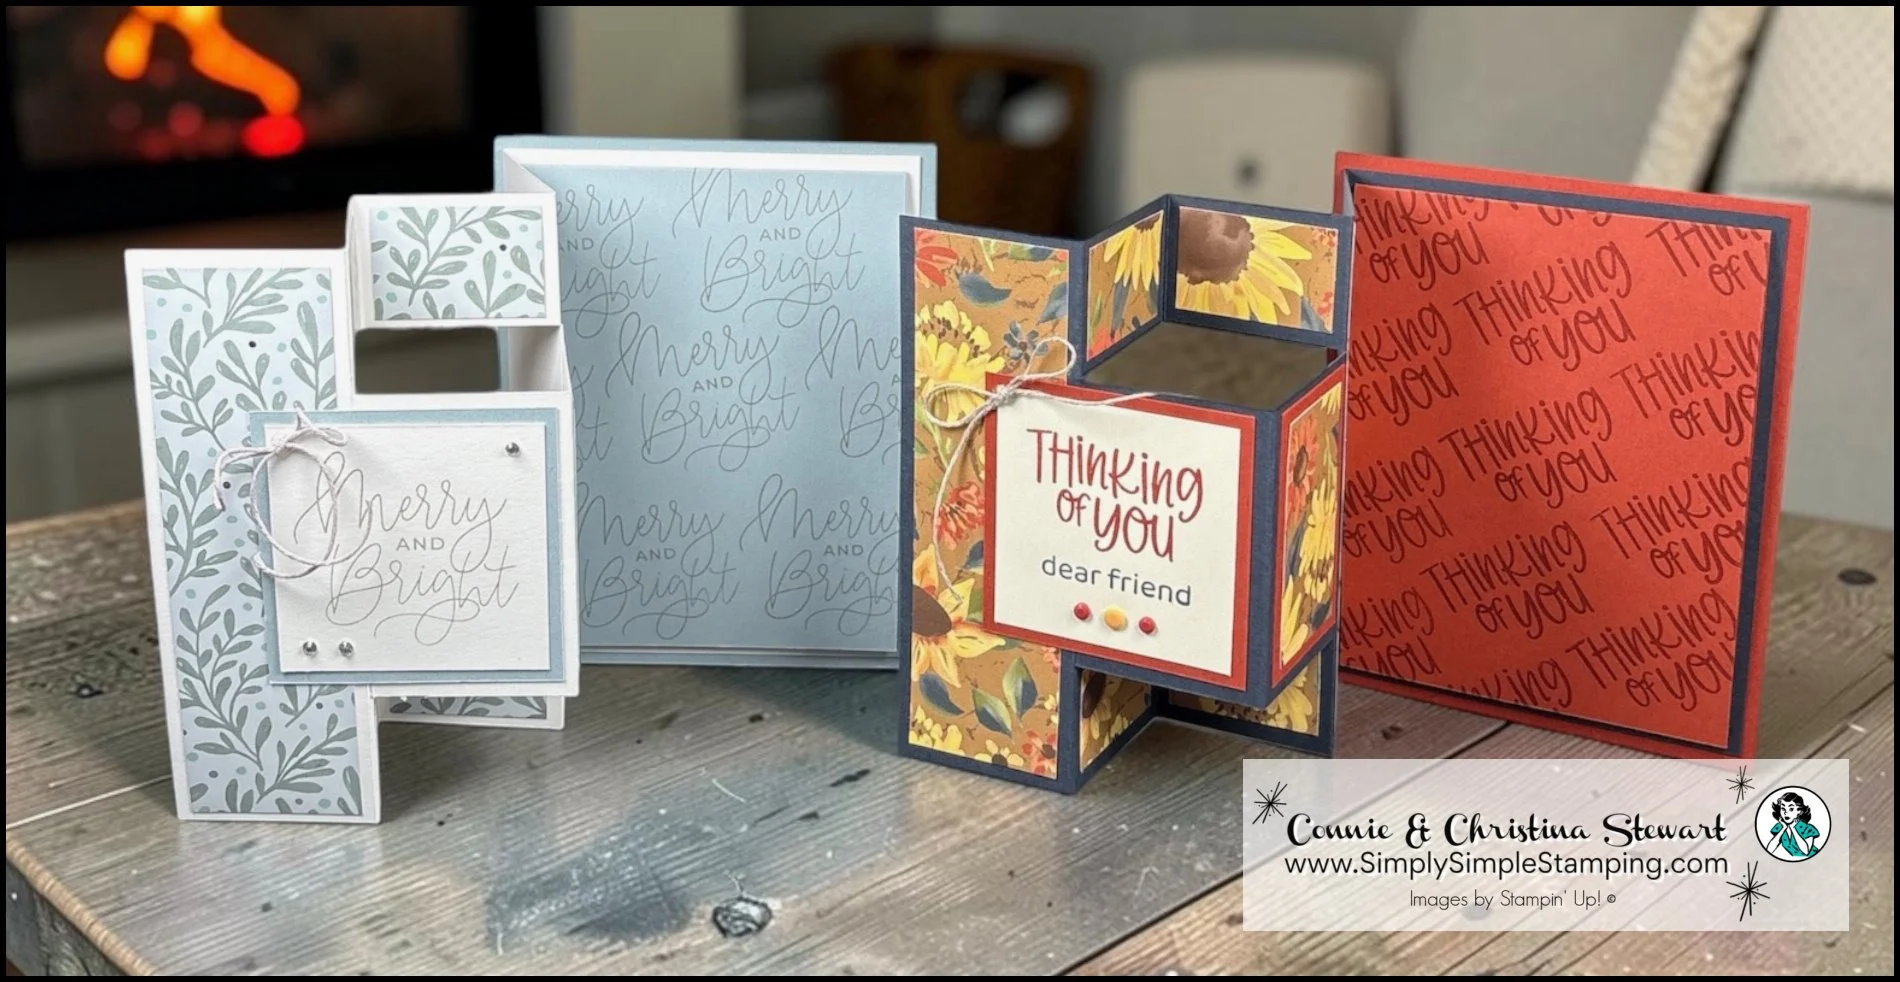
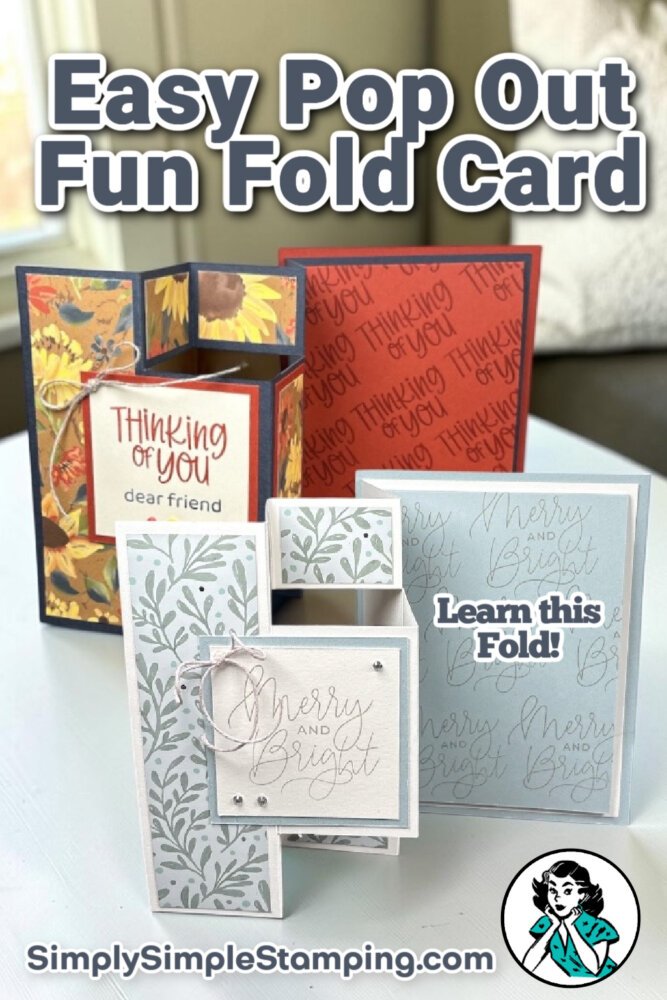
A pop-out fun fold card tutorial that takes about 10 minutes? Yes, my friends, we can absolutely do that! This card has all those folds and layers that make people wonder how many years it took you to learn how to make awesome greeting cards, while you quietly know how simple it really is.
I love showing you the same fold in two completely different styles. Today we’re going from soft and wintry with a Christmas card to rich Cajun Craze, Secret Sea, and sunflowers for a fall Thinking of You card. Same fun fold. Entirely different personality.
I didn’t stop with the pop-out. Take a peek at those card bases. Instead of leaving the cardstock plain, I repeatedly stamped the sentiments across them to create my own background. It’s such an easy trick, and suddenly that plain piece of cardstock has a little extra somethin’-somethin’.
How to Make an Easy Pop-Out Fun Fold Card
Ready to see how all those pieces come together? In the video, I’ll walk you through the cutting, scoring, folding, and assembly of this pop-out fun fold card step by step. You’ll also see how I created the stamped backgrounds and how changing nothing more than the paper, colors, and greeting gives the same fold an entirely different look. Press play and you’ll see why this one is much easier than it first appears!
📌 Once you’ve watched the pop-out fun fold card tutorial, what occasion would you make yours for first: birthday, Christmas, thinking of you, or something completely different? Tell me in the comments!
Ready to Create Your Own Pop-Out Fun Fold Cards?
10-Minutes and you'll have this amazing fun fold! It's a great way to use some 1 ¼" strips of Designer Series Paper. And don't forget about the Tuesday Tip about stamping your sentiment as a background!
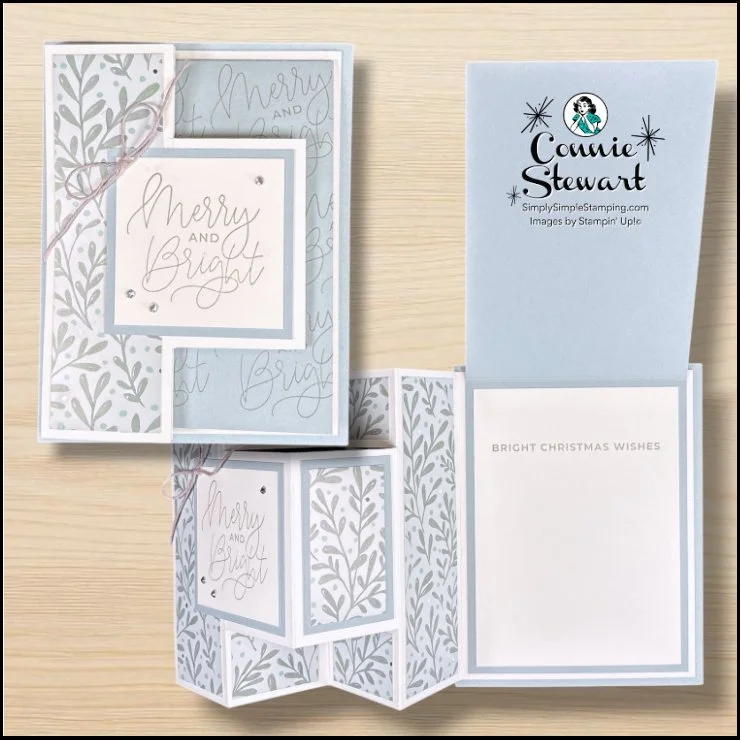
Pretty Poinsettia Stamp set and All Wrapped Up Specialty Designer Series Paper (DSP)
Basic White Thick:
5 ¼” x 11” (card base) - Score at 1 ¾”, 3 ½”, 5 ¼”, and 7″
With the 5 ¼” at the top, line up at 1 ¼” cut between the 1st and 3rd score line – flip and repeat
2 ¼” x 2 ¼” (front stamped image)
3 ½” x 4 ¾” (card message)
Cloud Cover:
2 ½” x 2 ½” (layer)
1 ½” x 2 ½” (layer)
10” x 3 ¾” – score at 5” (inside card)
4 ¼” x 5 ½” (card back)
DSP:
(2) 1 ½” x 5”
(4) 1 ½” x 1”
1 ¼” x 2 ¼”
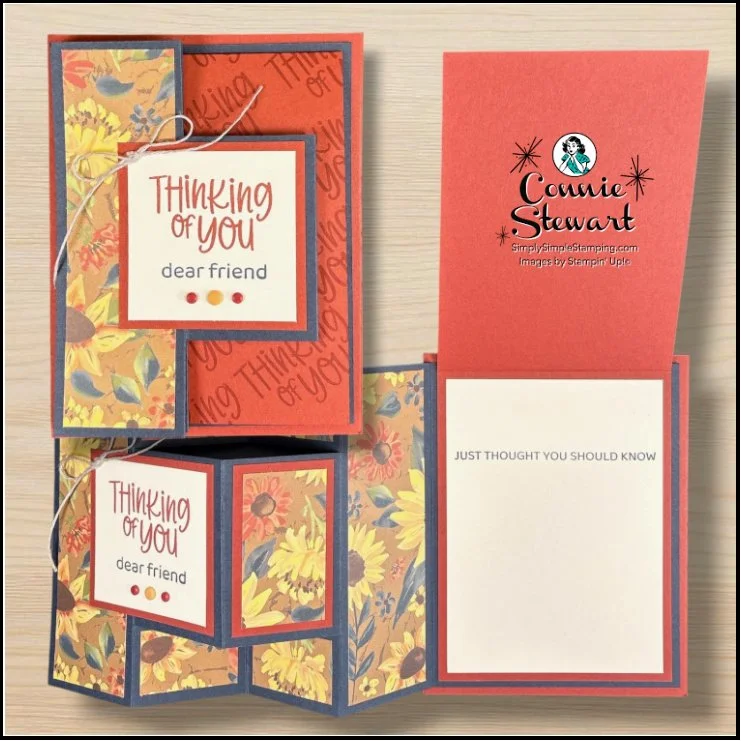
Thinking of You Stamp set and Sunflower Fields Designer Series Paper (DSP)
Secret Sea:
5 ¼” x 11” (card base) - Score at 1 ¾”, 3 ½”, 5 ¼”, and 7″
With the 5 ¼” at the top, line up at 1 ¼” cut between the 1st and 3rd score line – flip and repeat
Cajun Craze:
2 ½” x 2 ½” (layer)
1 ½” x 2 ½” (layer)
10” x 3 ¾” – score at 5” (inside card)
4 ¼” x 5 ½” (card back)
Very Vanilla:
2 ¼” x 2 ¼” (front stamped image)
3 ½” x 4 ¾” (card message)
DSP:
(2) 1 ½” x 5”
(4) 1 ½” x 1”
1 ¼” x 2 ¼”
* Diagrams and written tutorials are available to YouTube Members - Learn more HERE
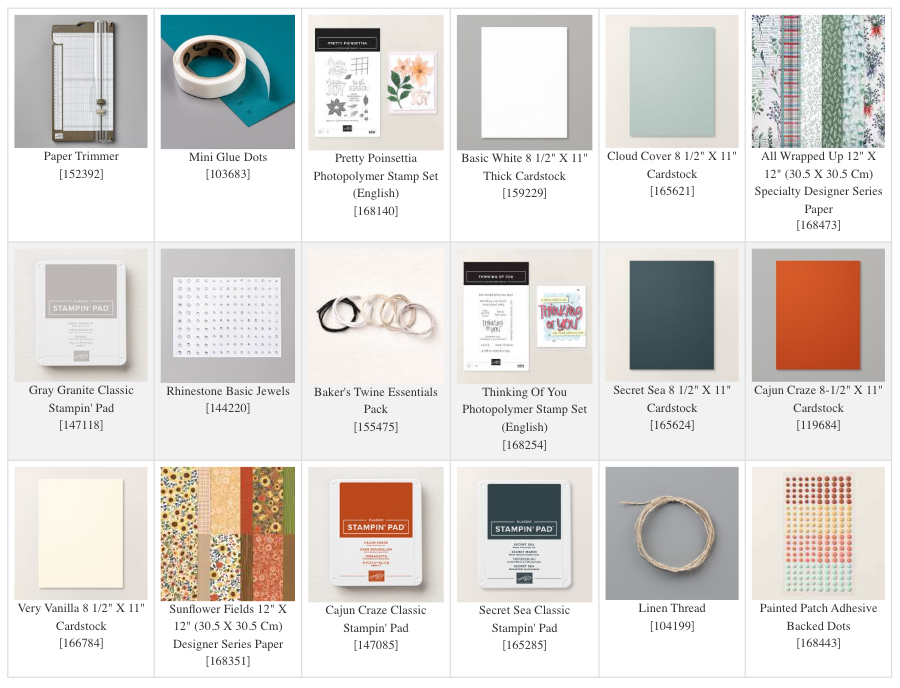
Stampin' Up! Product List for Today's Cards
Click on the picture to add to your cart
Thank you for choosing me to be your Stampin’ Up! Demonstrator!

WOW! Earn Stampin’ Rewards on orders over $20 (before tax/ship.
Spend them on your next Stampin' Up! order or save them up for a bigger purchase!
Pinterest-ing
Save this pop-out fun fold card tutorial to your favorite card making or fun fold Pinterest board so you can find the measurements and video when you’re ready to stamp. Follow me on Pinterest for more easy card making ideas, fun fold tutorials, Christmas cards, and inspiration you can tuck away for later.
Join Me Thursday, October 22, 2026, for a Create with Connie YouTube Live!
9am Pacific 10am Mountain 11am Central * 12pm Eastern

Let's create a fun Pop-Up Hershey Nugget Box together!

Once you know how to make this pop out fun fold, don’t stop with Christmas and fall. Pull out your favorite Designer Series Paper and make it work for birthdays, thank-you cards, celebrations, or whatever you need next. Then come back Thursday for a new YouTube Live project.

So what’s this new YouTube Membership thing all about?
It’s a fun, optional way to get even more crafting content, perks, and behind-the-scenes fun!





