
Ready to create something magical? The Never Ending Card (also known as an Endless or Infinity card) looks impressive but often intimidates crafters. Don't worry! I've simplified this fun fold design into an easy-to-follow tutorial that anyone can master. And unlike those never-ending meetings or your neighbor's vacation stories, this is one endless thing you'll actually enjoy!
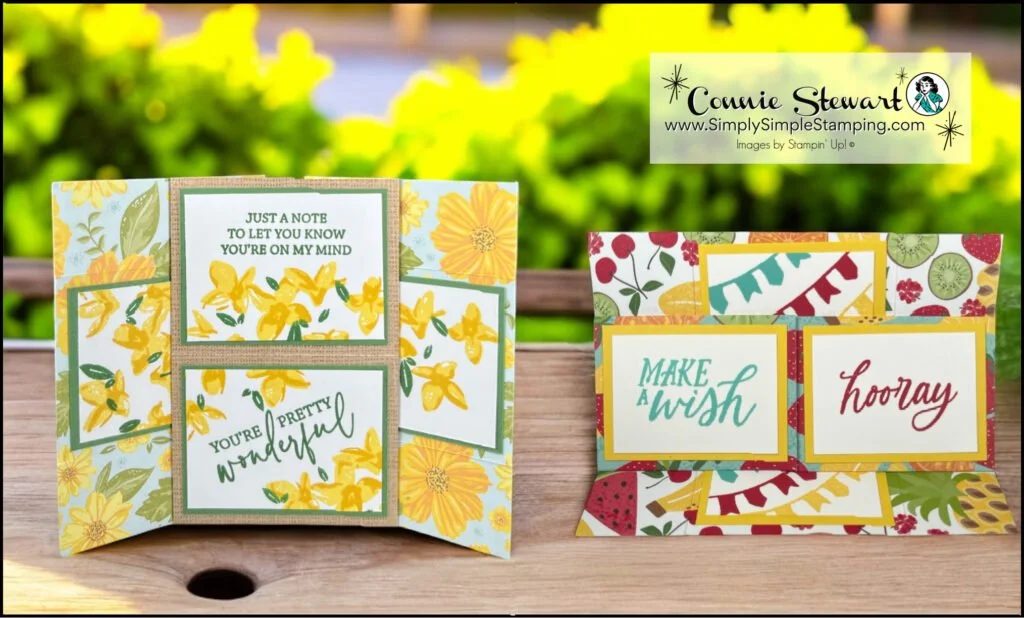
Never Ending Card Video Tutorial:
Are you intrigued? Want to watch how this card comes to life? This tutorial will guide you through each step. Unlike those confusing origami instructions that somehow leave you with a crumpled mess instead of a swan, these steps are crystal clear. This never ending card is like the famous energizer bunny that keeps going and going and going…except this is prettier!
👉 Have you ever made a Never Ending Card, or is this your first time venturing into the infinite? Drop a comment below—I promise the conversation won't be never-ending!
Supply List To Make Your Never Ending Card
To make your Never Ending card you will need the following craft supplies. Once you've gathered these you're ready to get started.
(2) 6" x 6" Designer Series Paper OR (2) 6" x 6" Cardstock
Complimentary colored layering cardstock pieces
Multipurpose Glue
Bone Folder
Stamps
Ink Pads
How to Cut Your Cardstock
If you are using Designer Series Paper, follow the diagrams to cut and score to form the body of your never ending card. If you are using cardstock, randomly stamp all over (2) 6" x 6" cardstock and then follow the diagrams.
Once all your pieces are cut, attach them together using craft glue or adhesive of your choice. I prefer Multipurpose Glue from Stampin' Up!® because of its strength for this type of project.
You should have 4 sides attached. Begin to gently fold back all the score lines; this will result in the “never ending” look of your card.
Add the Finishing Touches and Sentiments
The choices are endless because you have six panels to work with. Stamp different sentiments, add photos instead of stamping, create words of encouragement on each panel. Get creative!
Are You Ready to Make a Never Ending Card?
I hope after watching the video, you picked up on all the tips to make it an easy card to create. If you don't feel as confident as you want, start with some copy paper first and practice the fold, then move onto your cardstock.
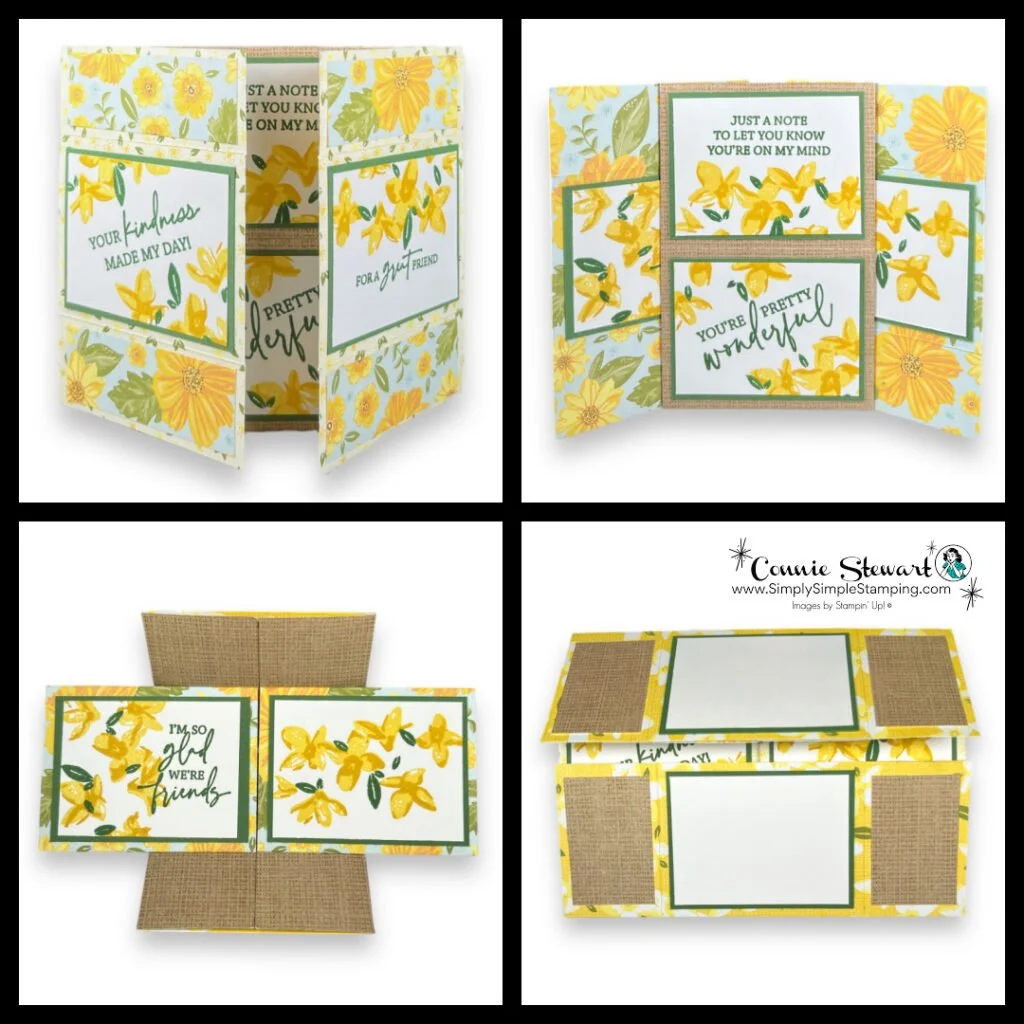
NEW! Delightful Wishes, Mixed Labels stamp sets
Floral Delight DSP – Pattern 1: 6” x 6” (Diagram A)
Floral Delight DSP – Pattern 2: 6” x 6” (Diagram B)
Garden Green: (8) 2 ½” x 1 ⅞”
Basic White: (8) 1 ¾” x 2 ⅜”
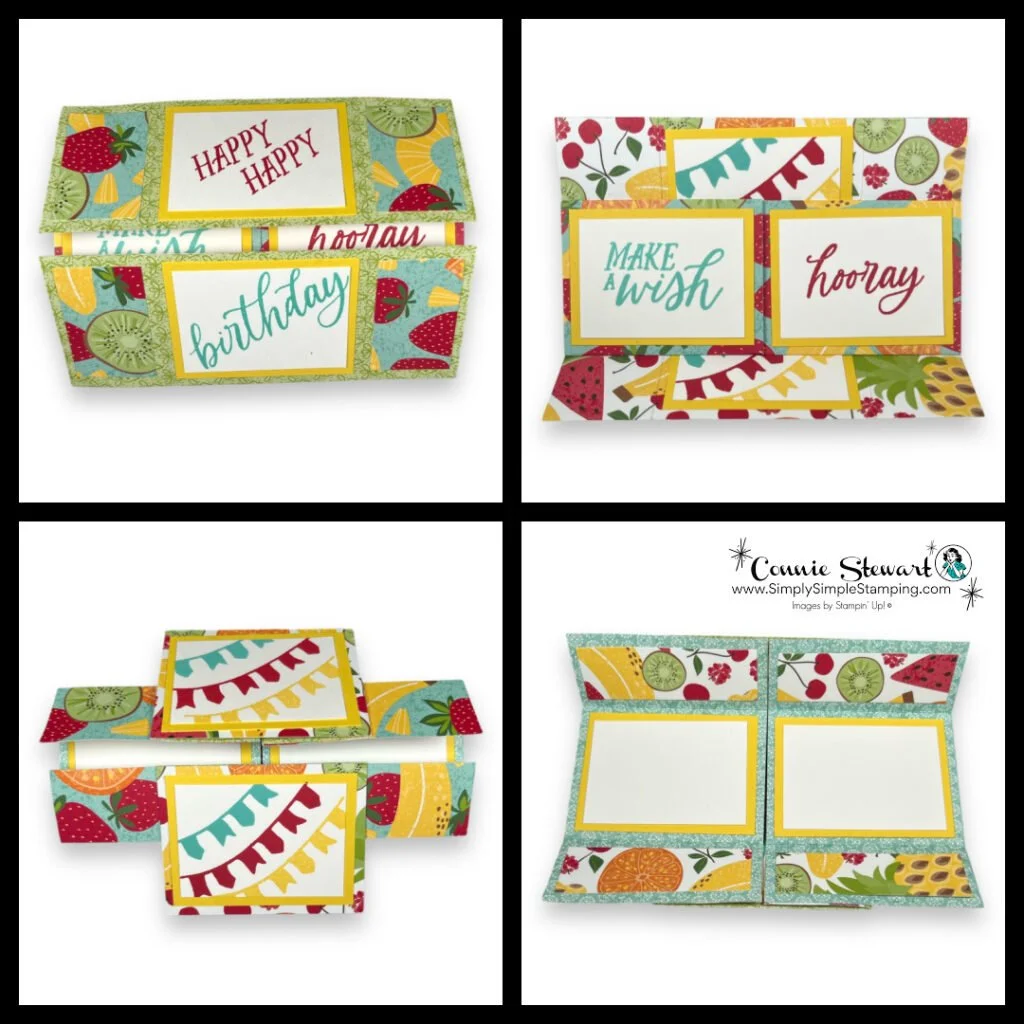
NEW! Birthday Celebrations stamp set
Fruit Salad DSP – Pattern 1: 6” x 6” (Diagram A)
Fruit Salad DSP – Pattern 2: 6” x 6” (Diagram B)
Daffodil Delight: (8) 2 ½” x 1 ⅞”
Basic White: (8) 1 ¾” x 2 ⅜”
* Diagrams and written tutorials are available to YouTube Members - Learn more HERE
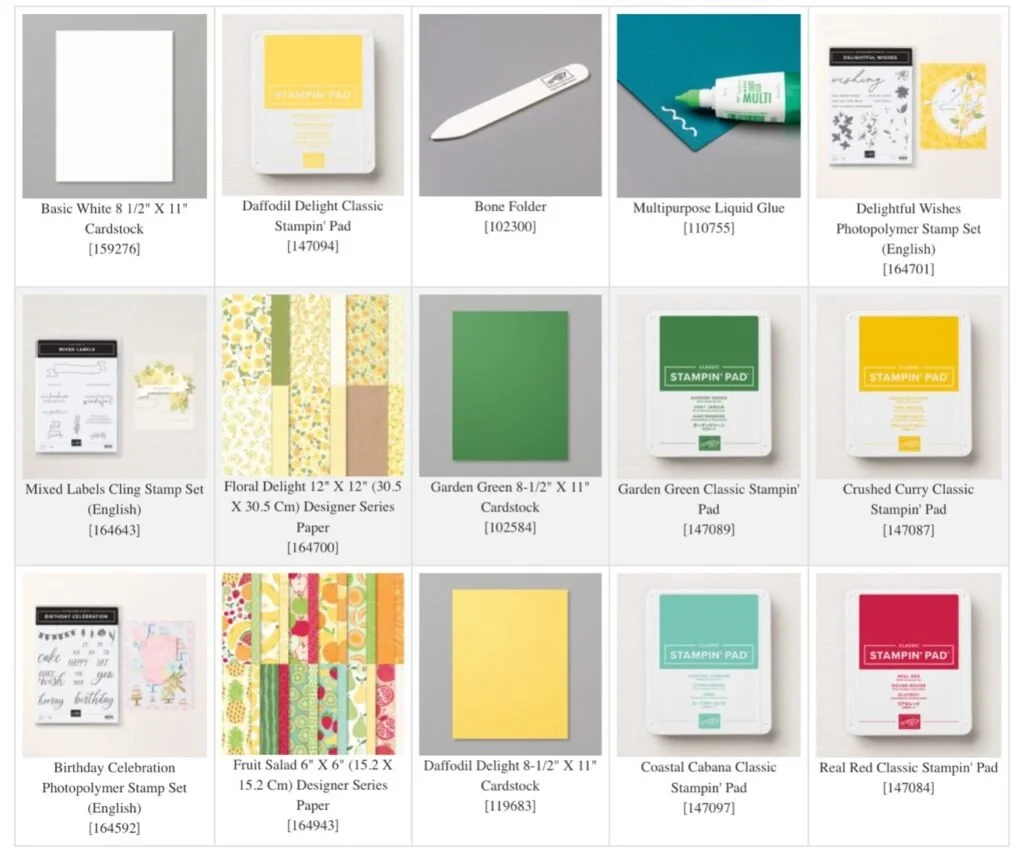
Stampin' Up! Product List for Today's Cards
Click on the picture to add to your cart
Thank you for choosing me to be your Stampin’ Up! Demonstrator!

WOW! Earn Stampin’ Rewards on orders over $20 (before tax/ship.
Spend them on your next Stampin' Up! order or save them up for a bigger purchase!
Pinterest-ing
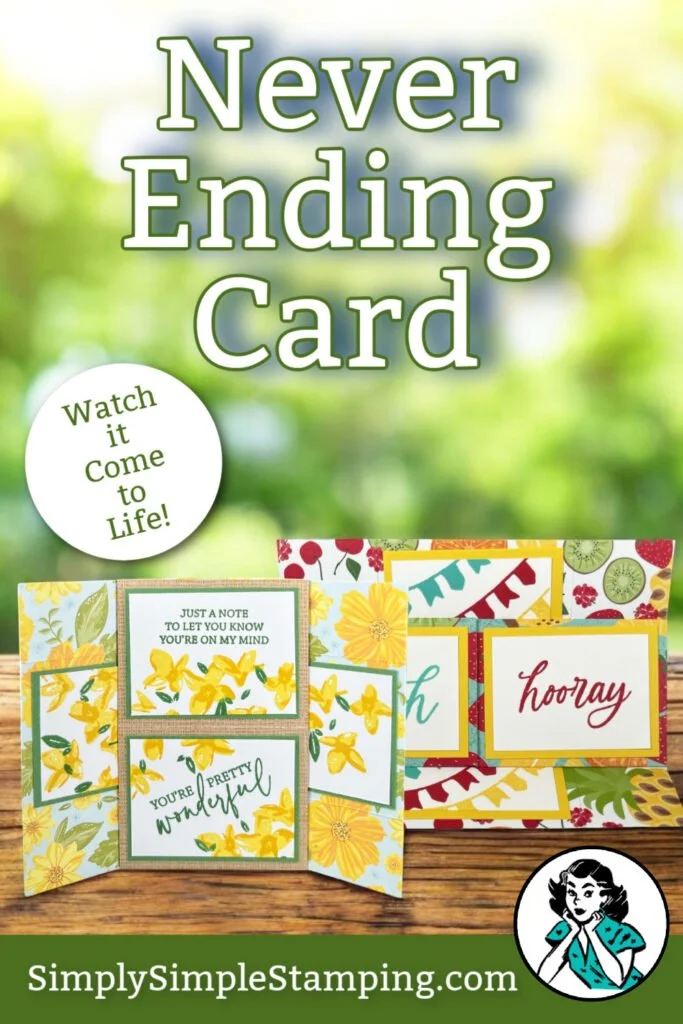
Love this Never Ending Card tutorial? Pin it for later! Your future self will thank you for saving this fun fold design.
Join Me Thursday, January 16, 2025, for a Create with Connie YouTube Live!
9am Pacific 10am Mountain 11am Central * 12pm Eastern

Let's create a Now, Wow, or HOLY COW card featuring the new Pretty Petals bundle! I hope to see you on Thursday!

I can't tell you when I have had such never ending fun creating a card! I mean, seriously, it's mind-blowing!
Thank you so much for stopping by today! Make it a fantastic day, my friends!

So what’s this new YouTube Membership thing all about?
It’s a fun, optional way to get even more crafting content, perks, and behind-the-scenes fun!





