
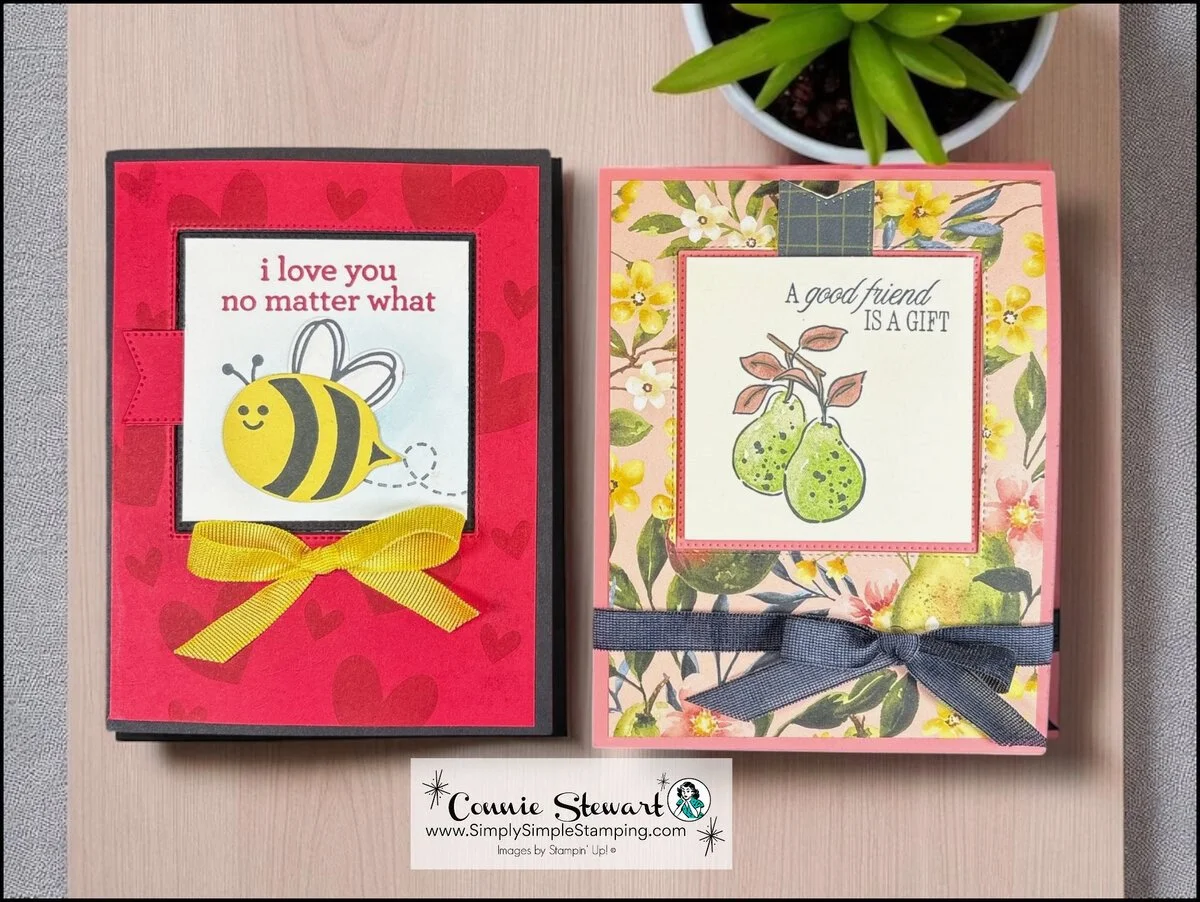
Are you ready to create an interlocking Z-fold card that's absolutely stunning and fun? This fun fold technique creates an amazing interactive card that's easier than you might think. Wow, your friends and family are going to be amazed when they see this cool design unfold!
The interlocking Z-fold card is one of those paper crafting techniques that looks incredibly complicated, but is relatively easy to master. Once you get the hang of the folding pattern, you'll be cranking out these beauties in no time!
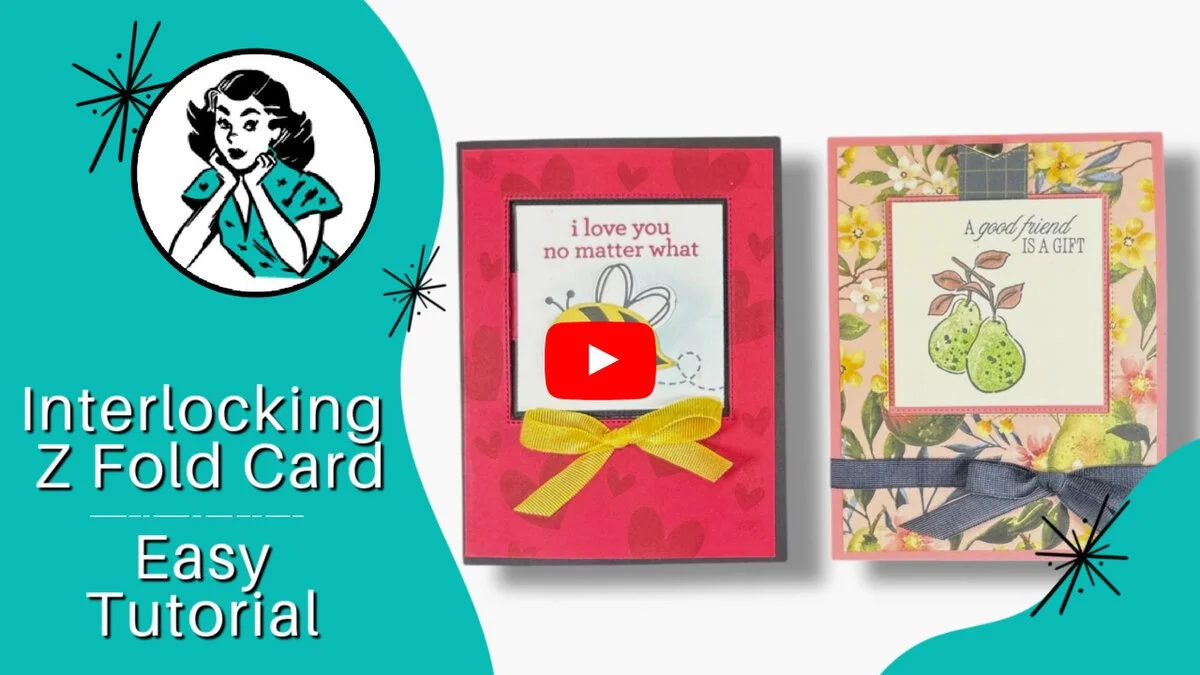
Watch the Interlocking Z Fold Card Video Tutorial
Get ready to see exactly how this nifty fold comes together! In this video, I'll guide you through each step, allowing you to follow along at home. You'll see all the measurements, folding techniques, and assembly tips you need to make your own interlocking Z-fold card masterpiece.
🐝 🍐 Have you tried making an interlocking Z-fold card before? I'd love to hear about your experience or answer any questions you have about this technique. Drop a comment below and let's chat about your card making adventures!
Gather Supplies To Make Your Card:
Before you get started creating your Z-fold card, you’ll need to gather your supplies. You will need:
A stamp that will fit in a 2 ⅝” x 2 ⅝” area
Cardstock: (2) colors and (1) Neutral like Basic White or Very Vanilla
Ink Pads
Square Dies - I used Stylish Shapes
Die Cutting Machine
Stampin' Dimensionals
Adhesive of your choice
Have fun gathering supplies! Here is what I used on my cards:
Connie's Stampin' Up! Supplies
Stamps: Bee My Valentine OR Perfectly Pears
Paper: Basic Black, Real Red, Basic White, OR Flirty Flamingo, Very Vanilla, Painterly Pears Designer Series Paper (DSP)
Ink: Memento Black, Afternoon Azure, Real Red, Darling Duckling OR Secret Sea, Granny Apple Green
Stampin’ Blends: Basic Black (dk) OR Medium Deep (SU300/SU400)
Other: Stylish Shapes, Small Blending Brush, Bee Builder Punch, Wink of Stella, Ribbon: Darling Duckling OR Secret Sea, Stampin’ Dimensionals
Ready to Create these Interlocking Z-Fold Cards?
The measurements are different for Portrait and Landscape so be sure to check them closely for the card you want to create. Like I always say, measure twice, cut once. I have the measurements for each of the interlocking Z-fold cards listed below.
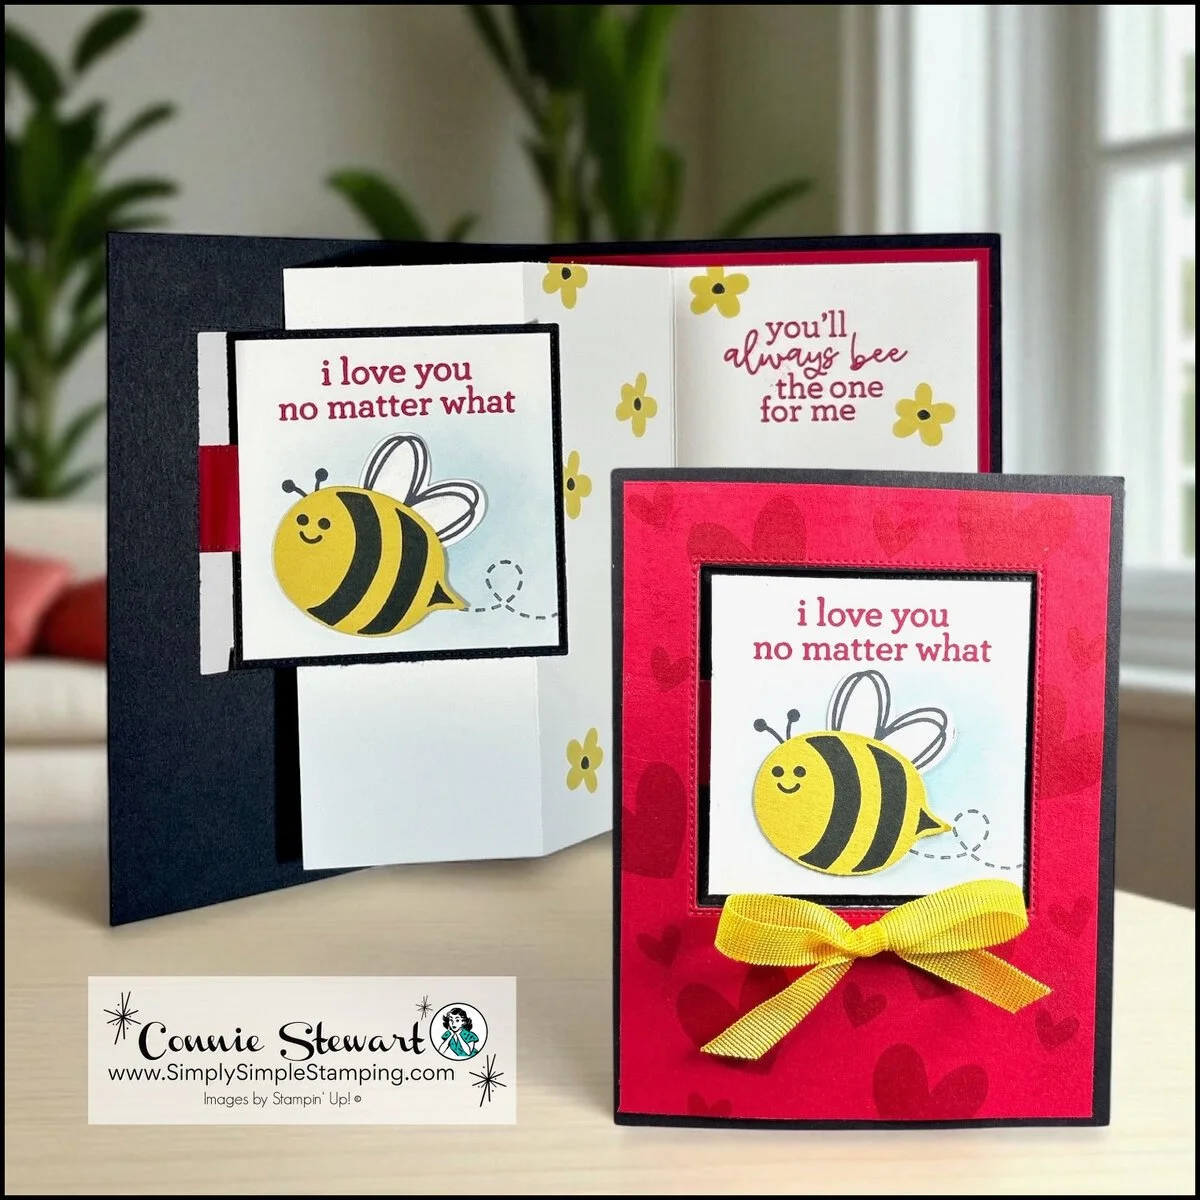
Bee My Valentine Stamp Set
Basic Black: 5 ½” x 8 ½”, score at 4 ¼”
Real Red: (2) 4” x 5 ¼” (card layers)
Basic White:
6 ¾” x 5”, with the 6 ¾” at the top, score at 2” and 4” (inside)
2 ⅝” x 2 ⅝”
Small Scrap (wings)
Darling Duckling: 2” x 2 ½” (bee)
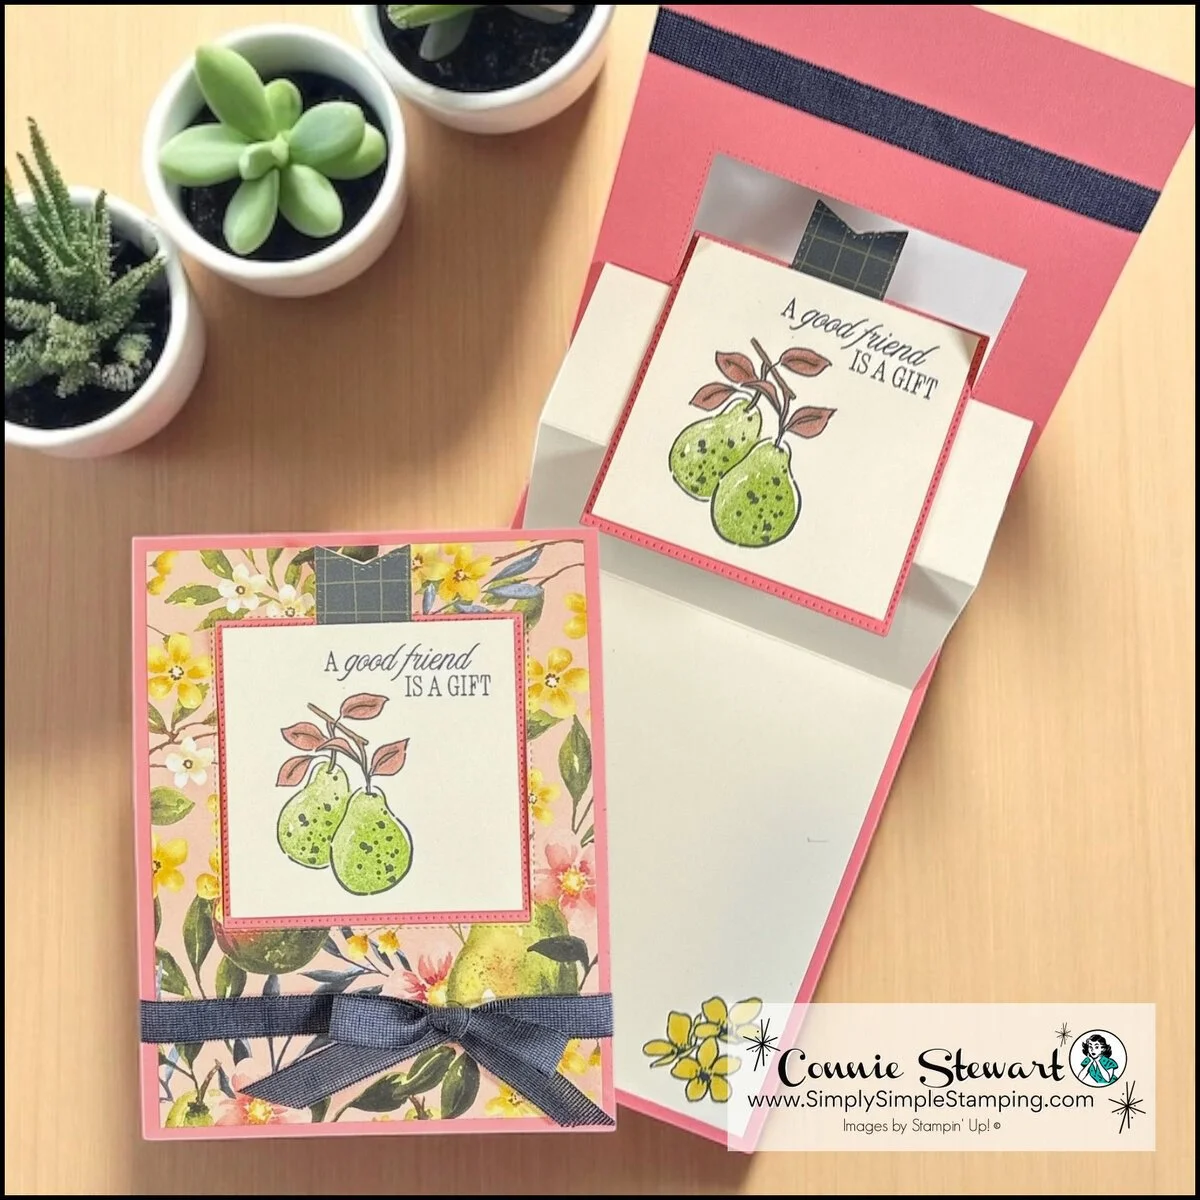
Perfectly Pears Stamp Set
Flirty Flamingo: 4 ¼” x 11”, score at 5 ½”
DSP: 4” x 5 ¼”
Very Vanilla:
4” x 8” with the 8” at the top, score at 1 ½” and 3 ½”
2 ⅝” x 2 ⅝”
* Diagrams and written tutorials are available to YouTube Members - Learn more HERE
Once you have all your supplies cut and ready to get to the fun!
Design Your Card Any Way You Wish
After you have your pieces cut, it’s time to stamp them with whatever design you would like. To save time and add some texture, use Designer Series Paper, do some heat embossing, or choose a large background stamp. You can always use different colors of ink and paper if you’re looking for some extra visual interest.
How To Assemble The Interlocking Z Fold Card
Now that all the pieces have been cut, stamped and scored, it’s time to assemble your card! be sure to watch the video so you can follow along. I have tips to share to help creating this card easy peasy double cheesy.
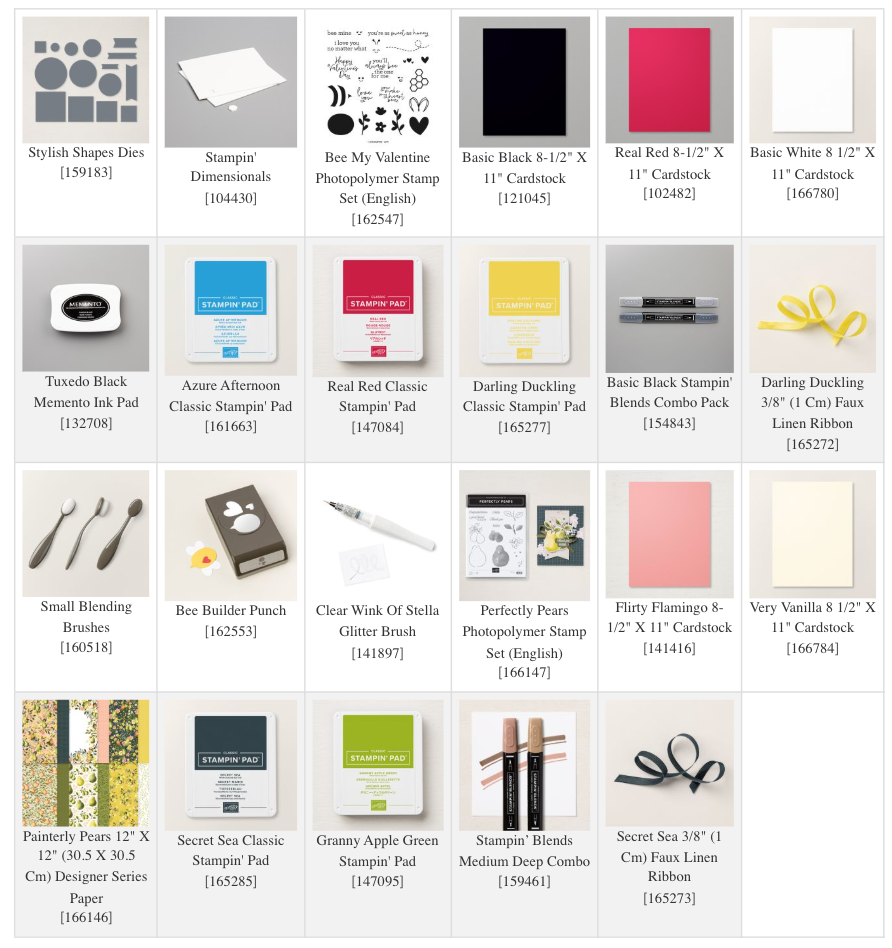
Stampin' Up! Product List for Today's Cards
Click on the picture to add to your cart
Thank you for choosing me to be your Stampin’ Up! Demonstrator!

WOW! Earn Stampin’ Rewards on orders over $20 (before tax/ship.
Spend them on your next Stampin' Up! order or save them up for a bigger purchase!
Pinterest-ing
Follow me on Pinterest and save this image to your fun fold card making board so that you'll have this tutorial ready whenever inspiration strikes for your next handmade greeting card project!


I hope you all know how much I appreciate you being a part of Simply Simple Stamping. I absolutely LOVE sharing with you here each week. YOU are the reason I do what I do. Thank you!

So what’s this new YouTube Membership thing all about?
It’s a fun, optional way to get even more crafting content, perks, and behind-the-scenes fun!





