
Handmade card interior designs transform a simple greeting into a personalized work of art that recipients treasure long after the occasion has passed. When you've poured your creativity into crafting the perfect card front, the inside deserves equal attention—yet this space often becomes an afterthought, leaving many crafters staring at blank cardstock wondering how to continue their artistic story. Today, I'm sharing ten stunning techniques that will elevate your card interiors from overlooked to unforgettable, ensuring your handmade creations delight from cover to close.

10 Handmade Card Interior Designs | Video Tutorial
Ever found yourself creating a gorgeous card front only to freeze when it comes to the inside? You're definitely not alone! In today's tutorial, I'm walking you through ten game-changing techniques for designing card interiors that will make your handmade creations stand out completely. These aren't your basic "stamp a sentiment and call it done" approaches—these are techniques I've refined over years that add that professional touch your recipients will notice.
⭐️ I'd love to hear which of these handmade card interior designs you're excited to try or any variations you've discovered!
Let's Looks at All 10 Ways to Design the Inside of Greeting Cards
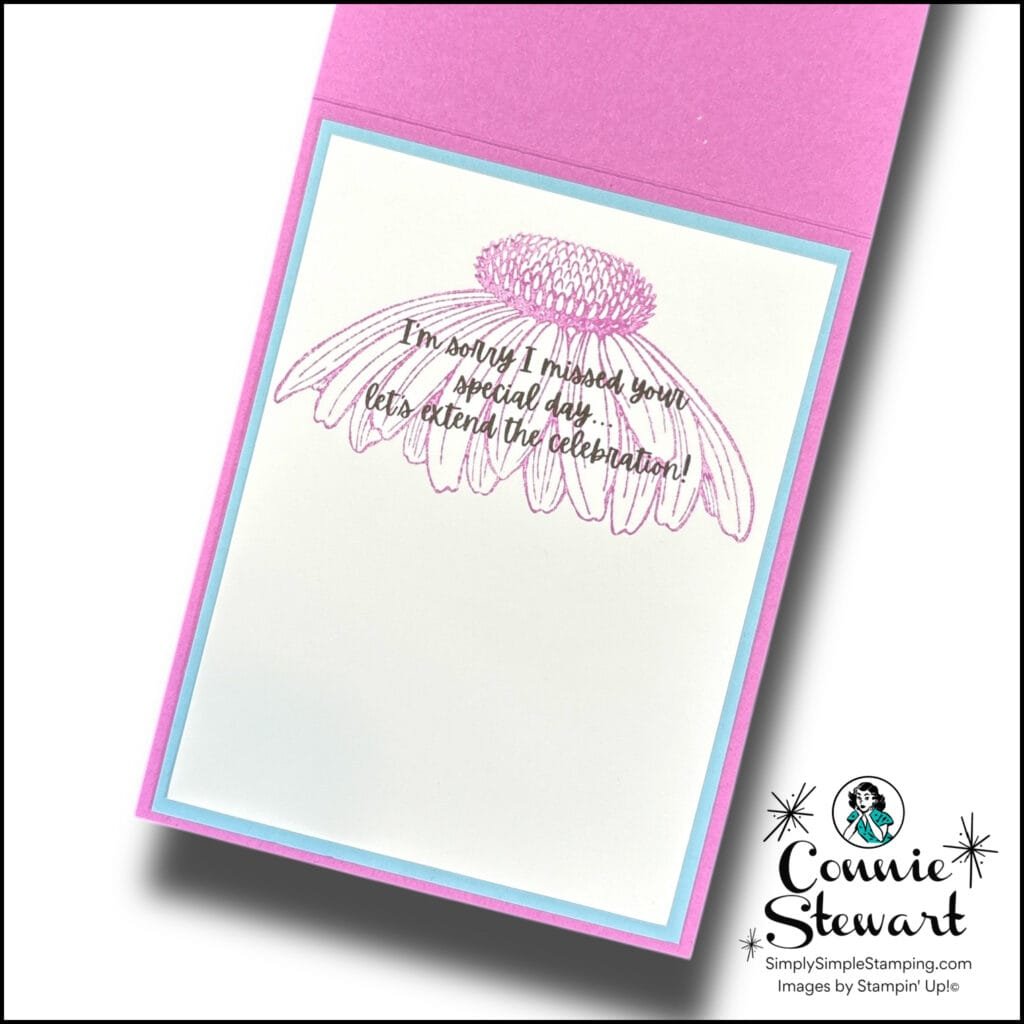
Stamp a large image for the inside of your card and stamp your sentiment right over the previous image.
Coneflower Celebrations stamp set
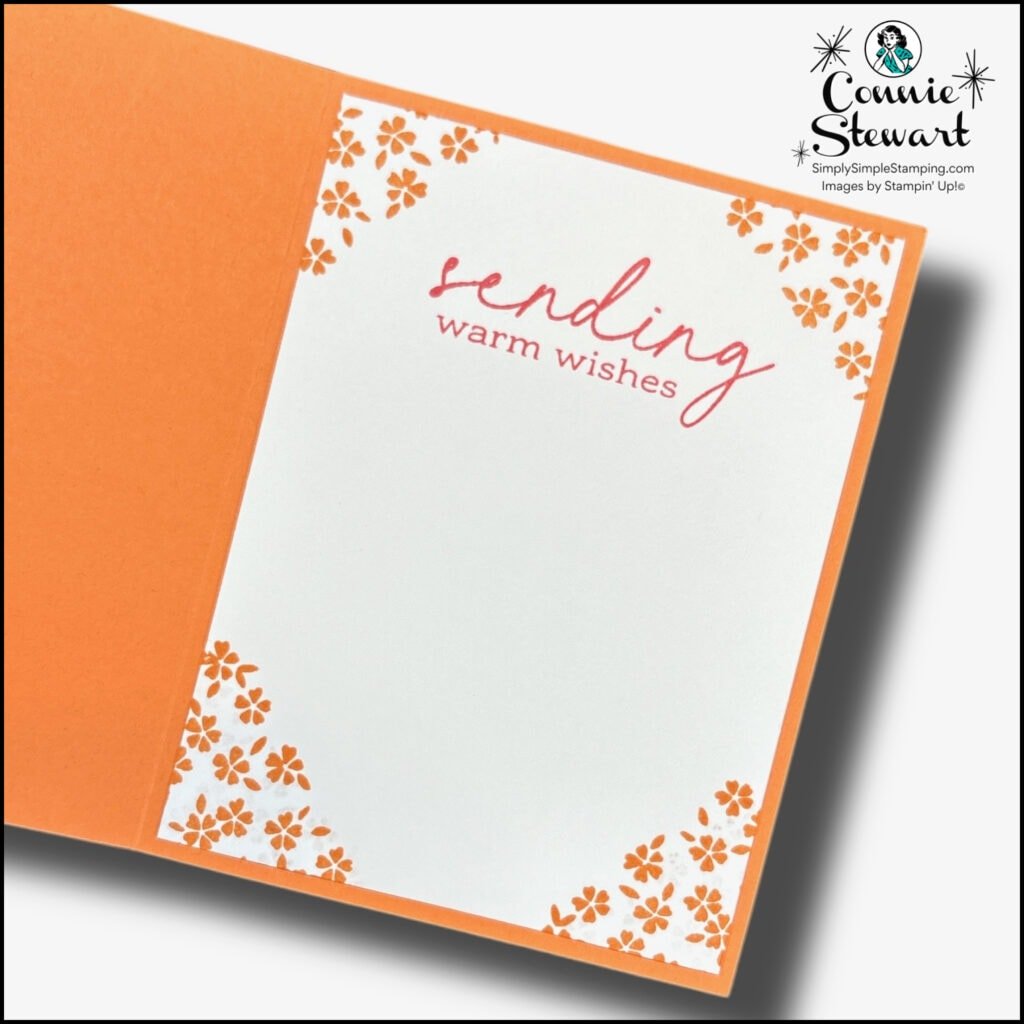
Stamping the corners of your cardstock and your sentiment in the middle.
Notes & Totes stamp set
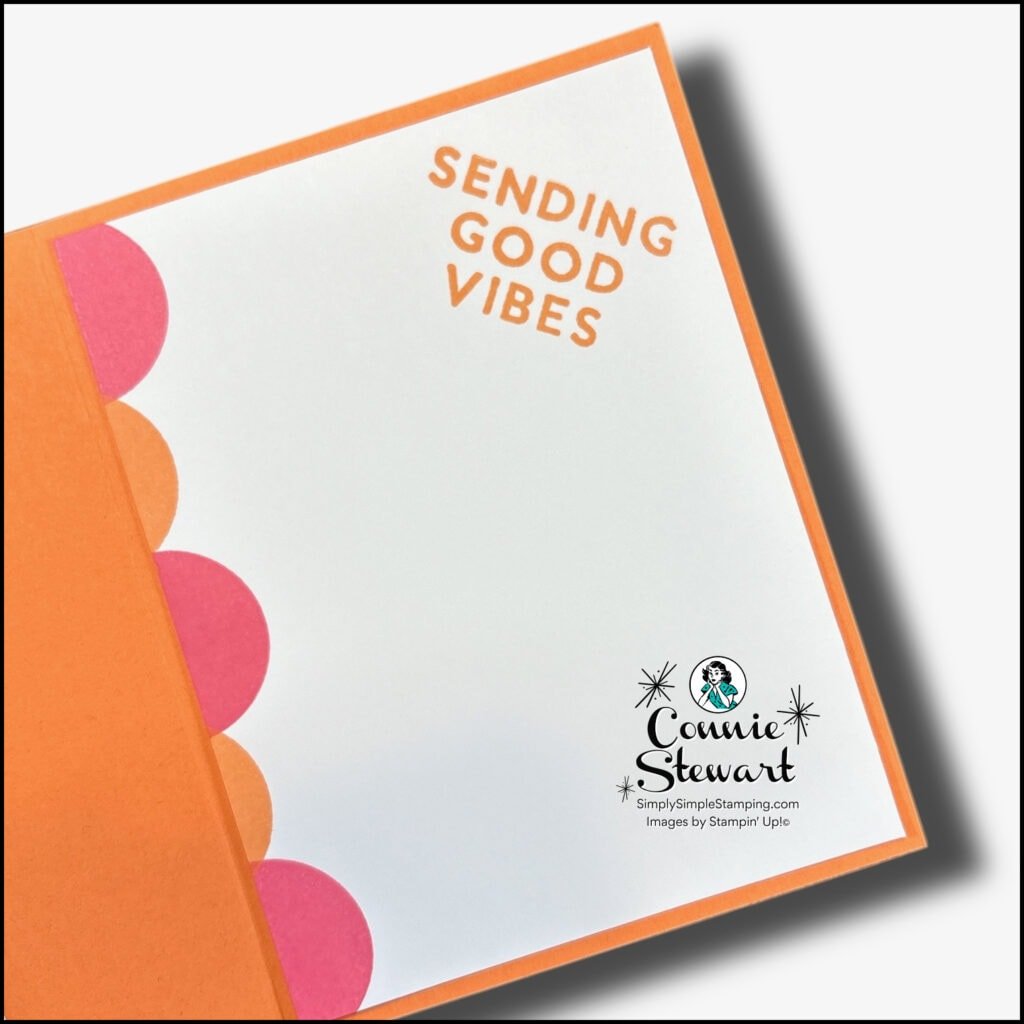
Use circle stamps to create a border down the side of your card. Stamp them in different colors for a unique look.
Sunshine Vibes stamp set
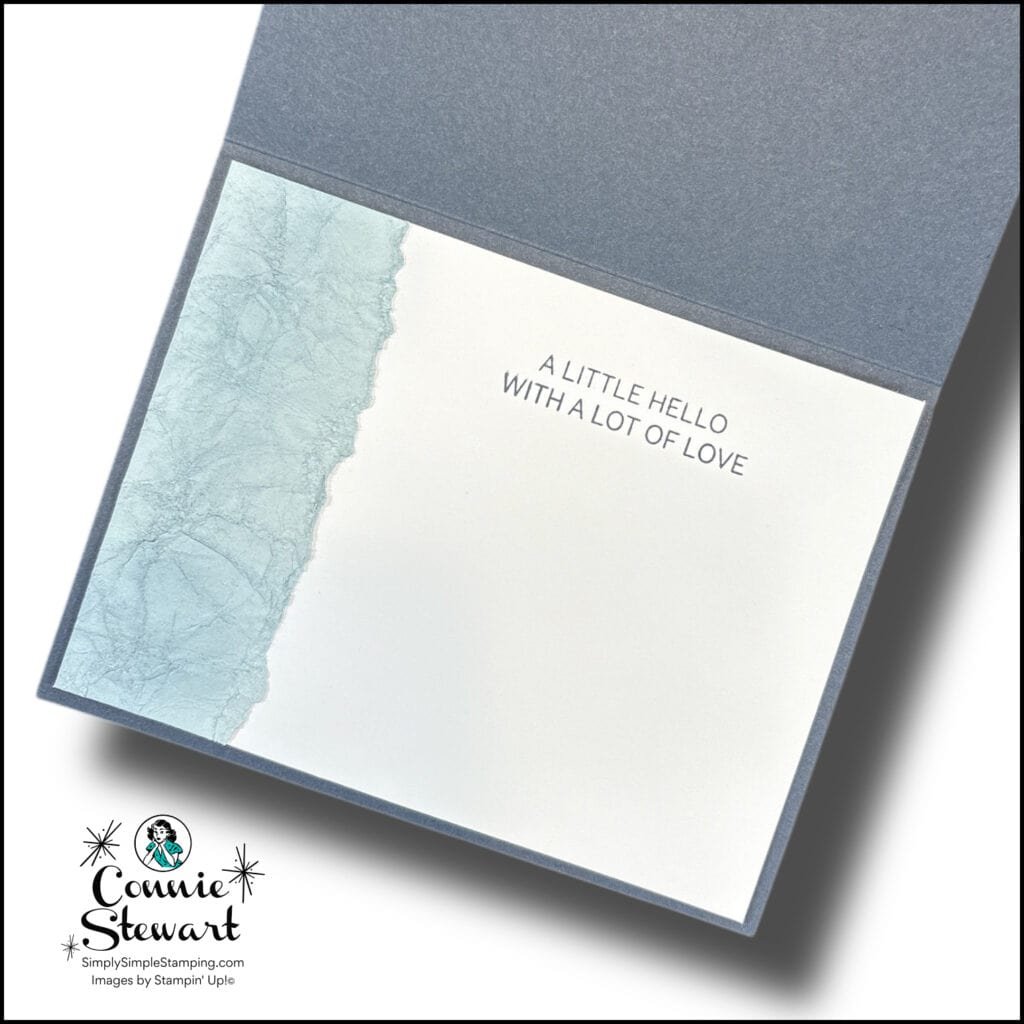
Create faux leather with your torn cardstock.
Fancy Border stamp set
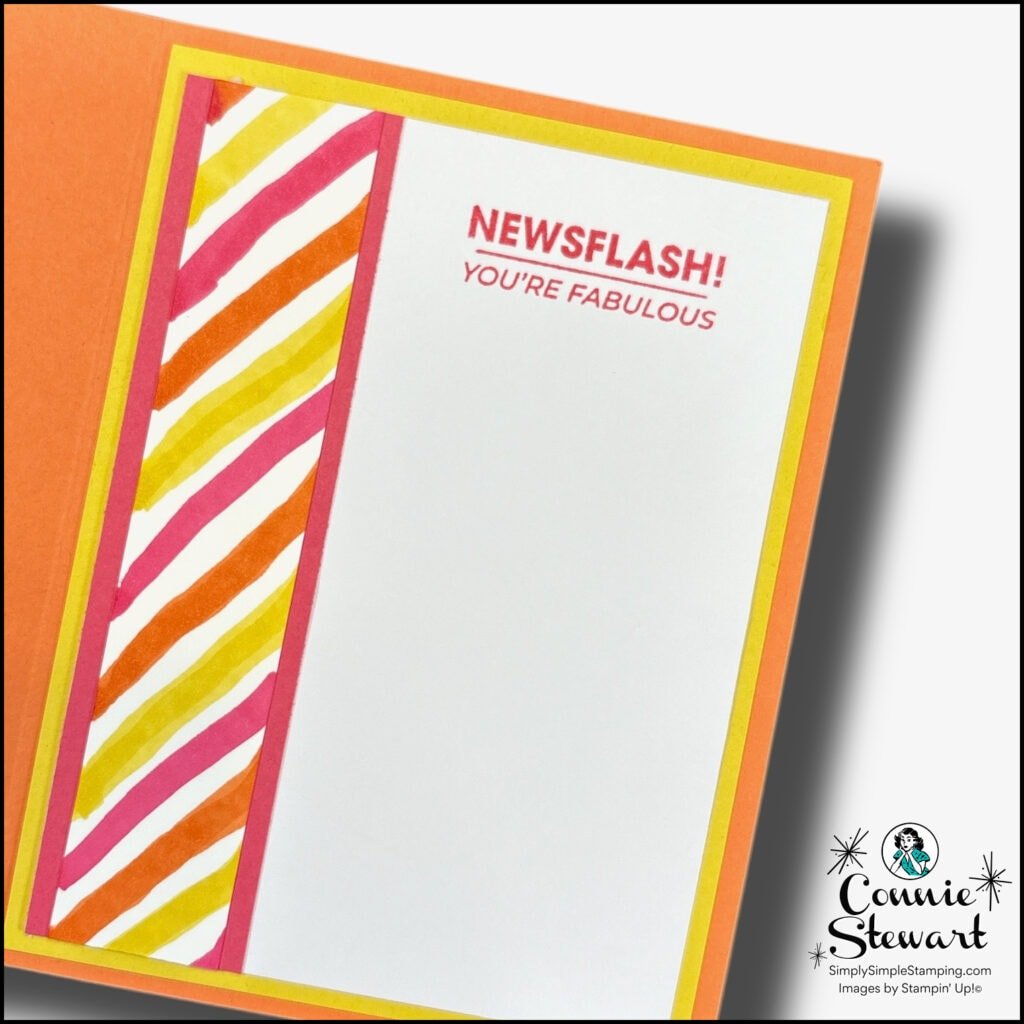
Stampin’ Blends – draw lines either at an angle, up and down, or even squiggles.
Notes & Totes stamp set and Stampin' Blends
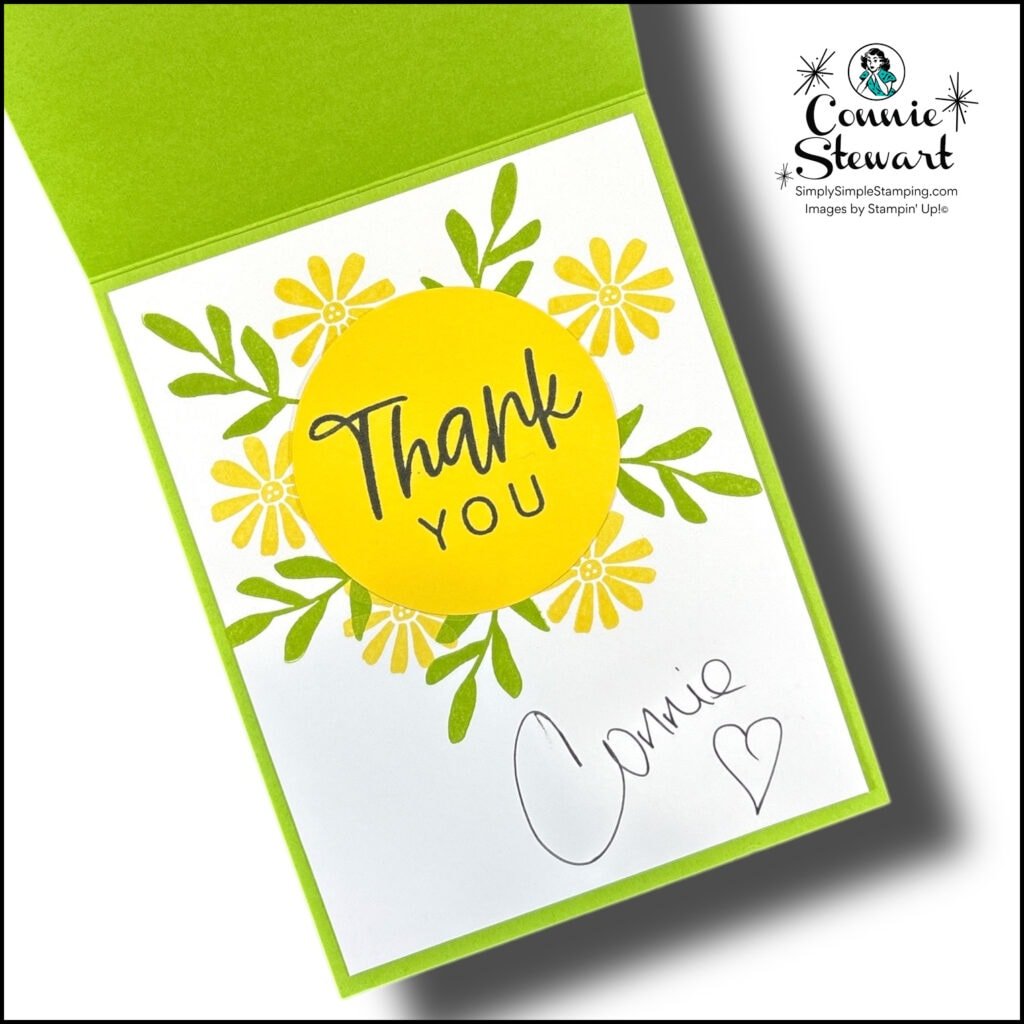
Stamp a sentiment in a circle punch. Stamp leaves and flowers and layer a circle punch on top for another great look.
With You In Mind stamp set
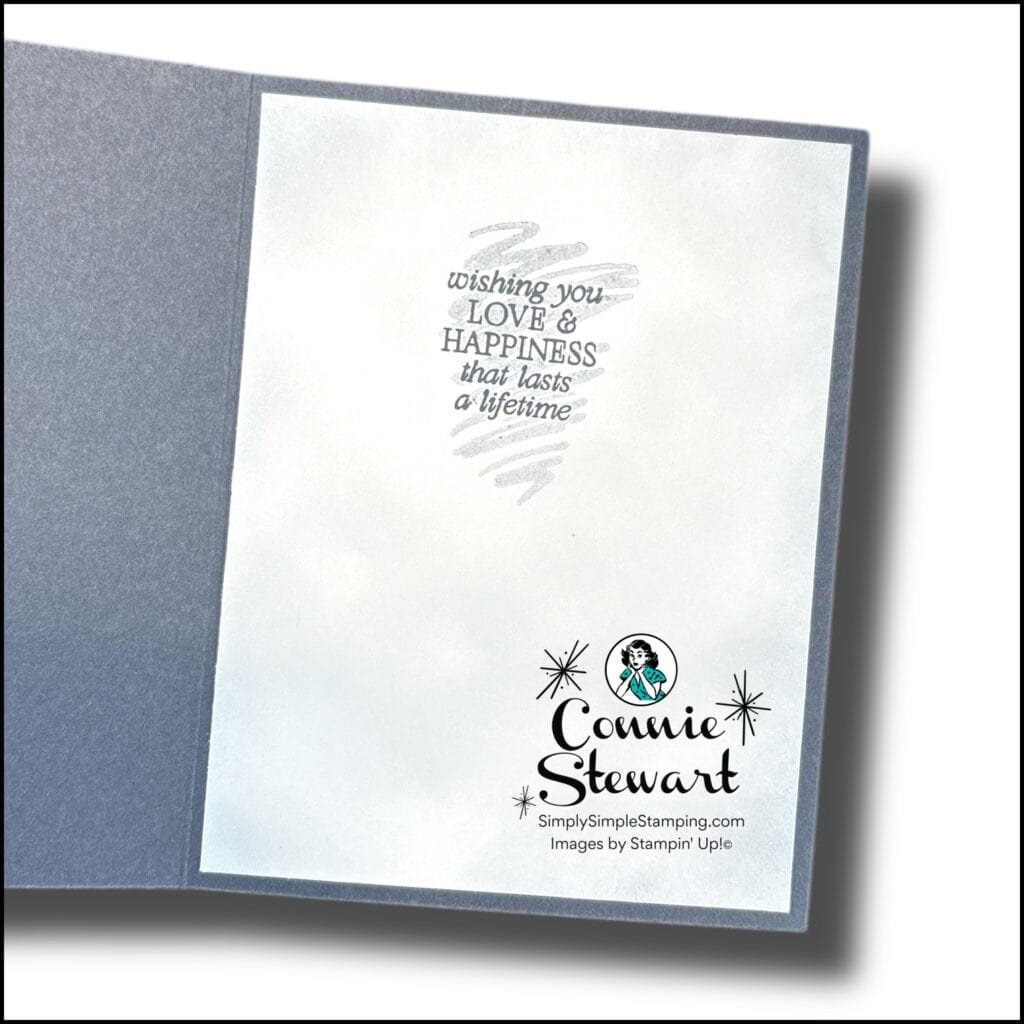
Load up a blending brush with ink and lightly blend around the edges of your cardstock.
Beautiful Motifs stamp set
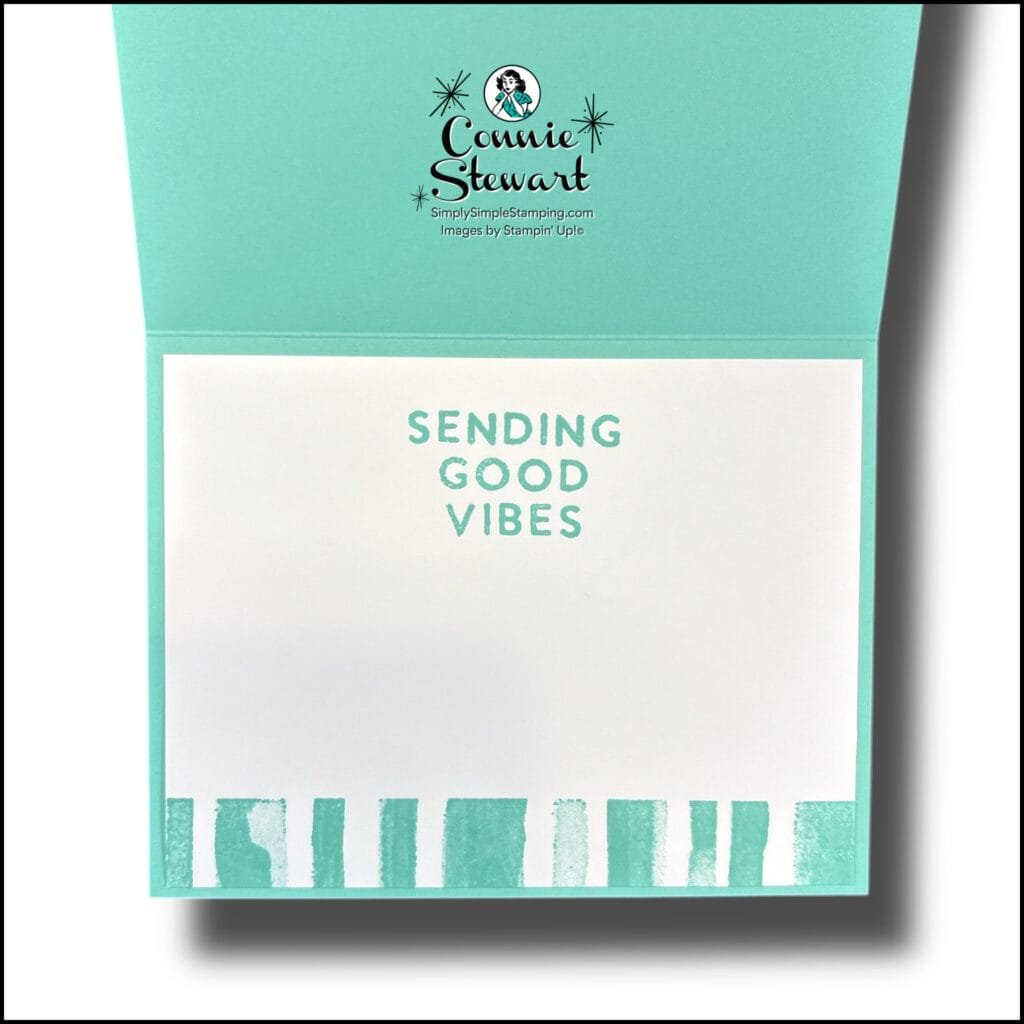
Ink up the edge of your favorite background stamp and stamp on the side, top, or bottom of your card.
Painted Stripes and Sunshine Vibes stamp set
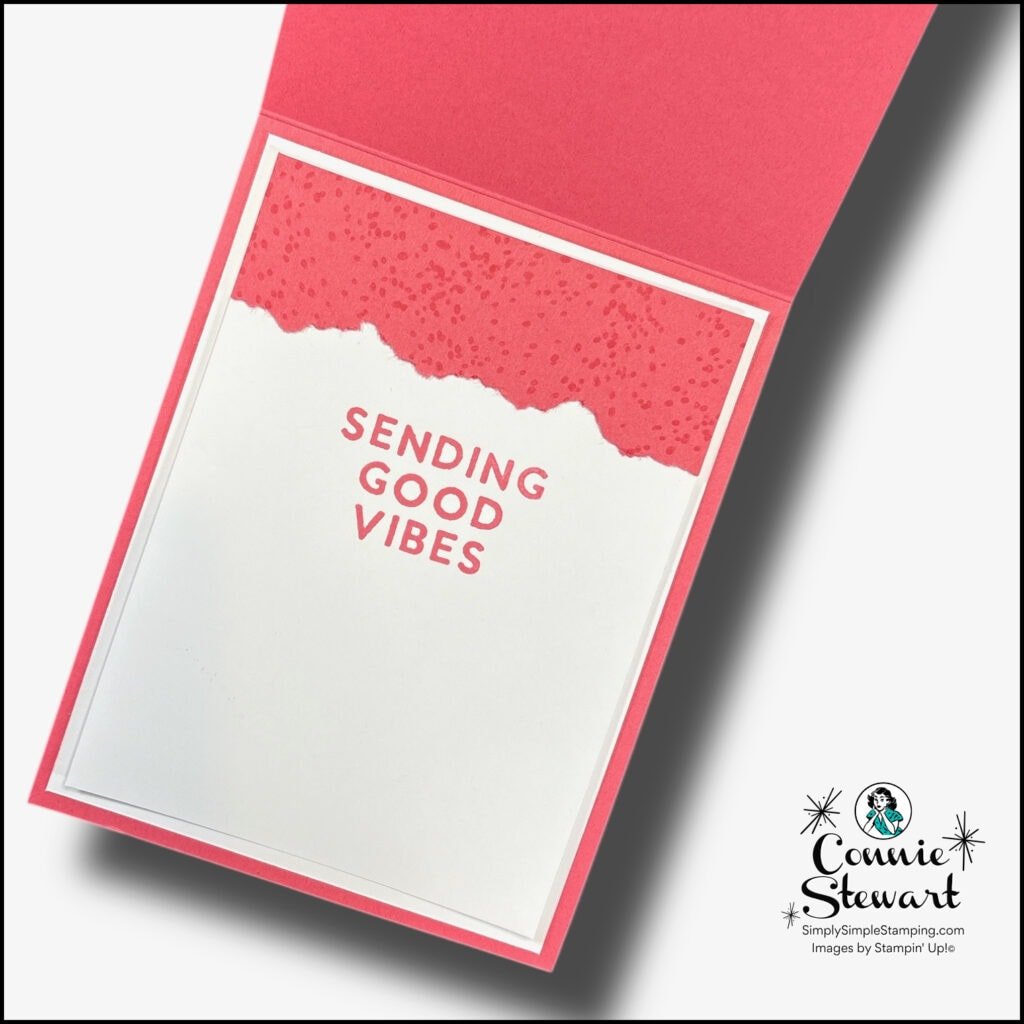
Torn edges are a fun look to add to your cards. Torn edges have 2 sides – one will have a rougher edge and the other side won’t. Choose your favorite.
Notes & Totes and Sunshine Vibes stamp set
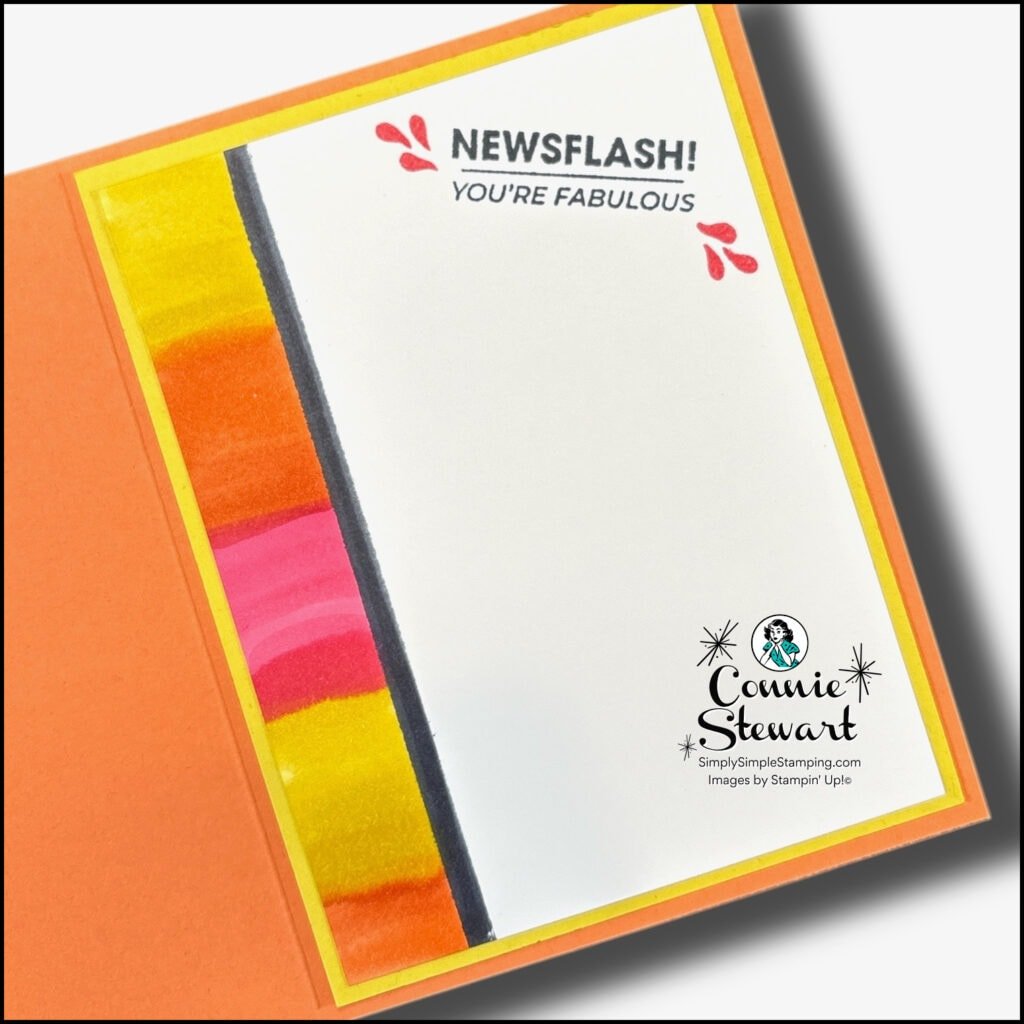
Stampin’ Blends – blend colors together along the edge of your cardstock
Notes & Totes stamp set and Stampin' Blends
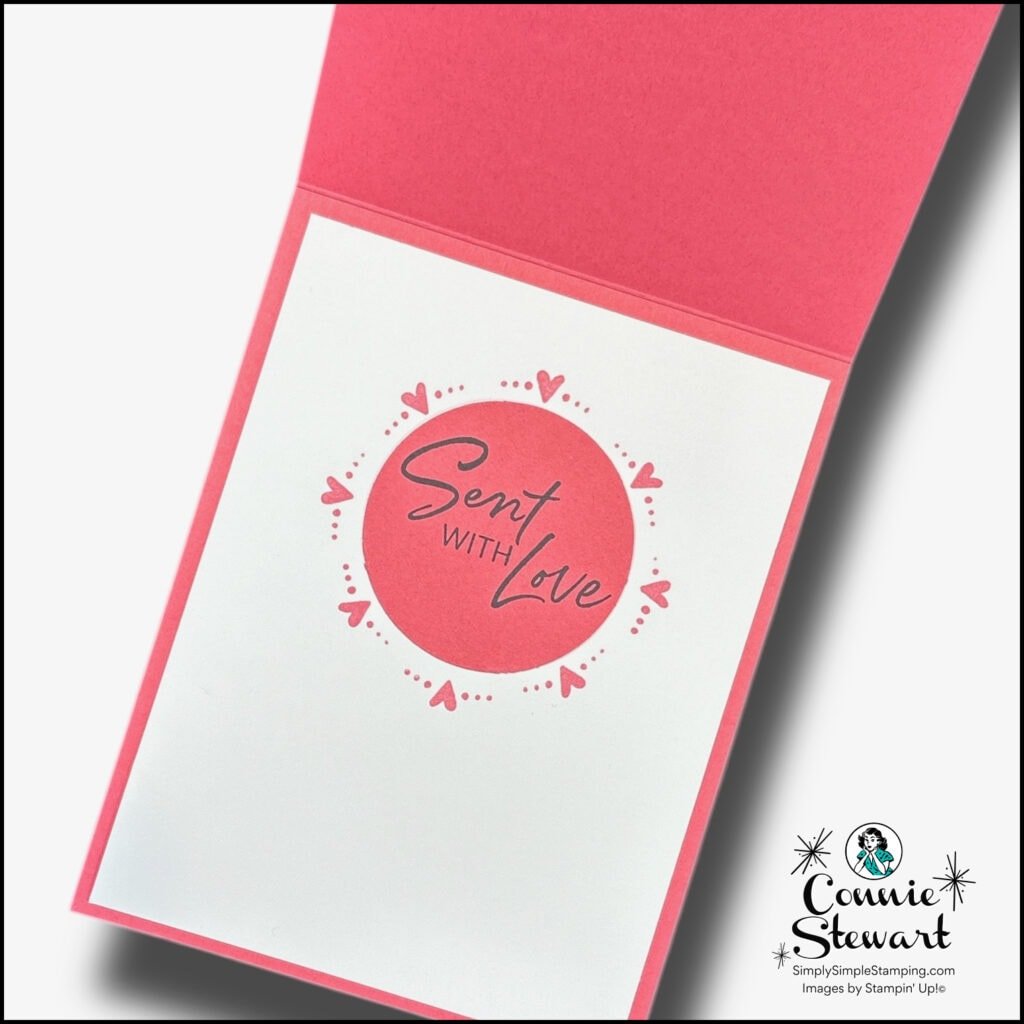
Stamp a sentiment in a circle punch. Stamp an image or border around the circle outer edge.
Fancy Border stamp set
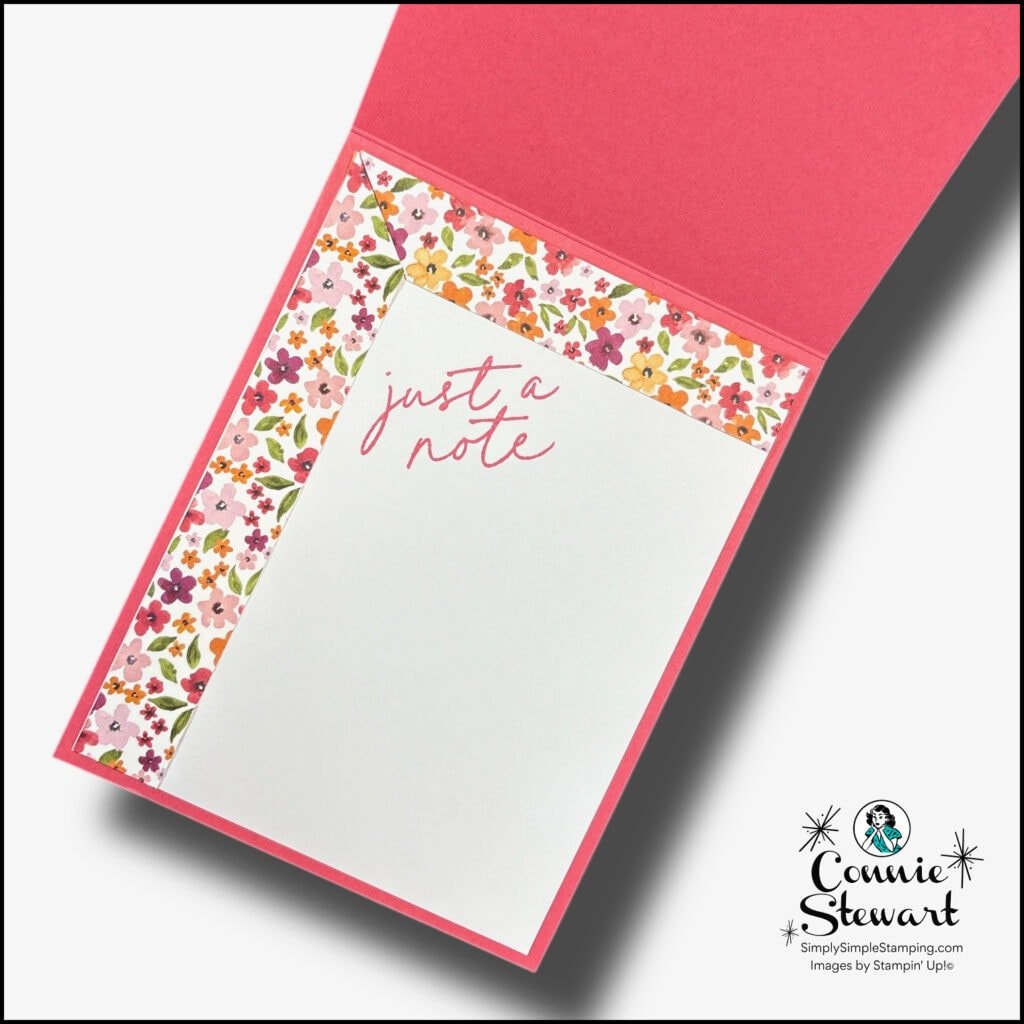
Use scraps of Designer Series Paper to create a simple border on the side, top, or bottom of your card. You can also miter them together in the corners.
Notes & Totes stamp set
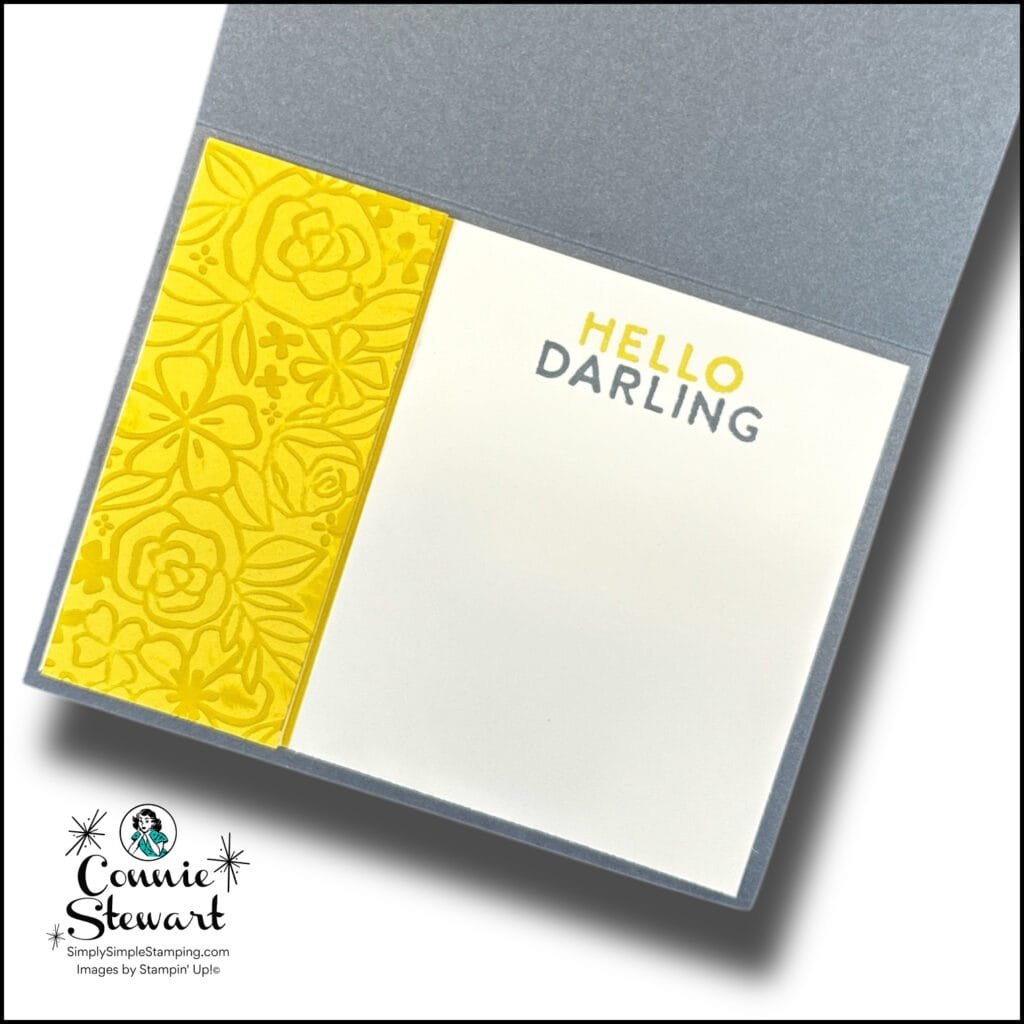
Use any embossing folder and add a lovely embossed edge to a matching piece of cardstock.
Glass & Gardens Embossing Folder
* Diagrams and written tutorials are available to YouTube Members - Learn more HERE
Stampin' Up! Product List for Today's Cards
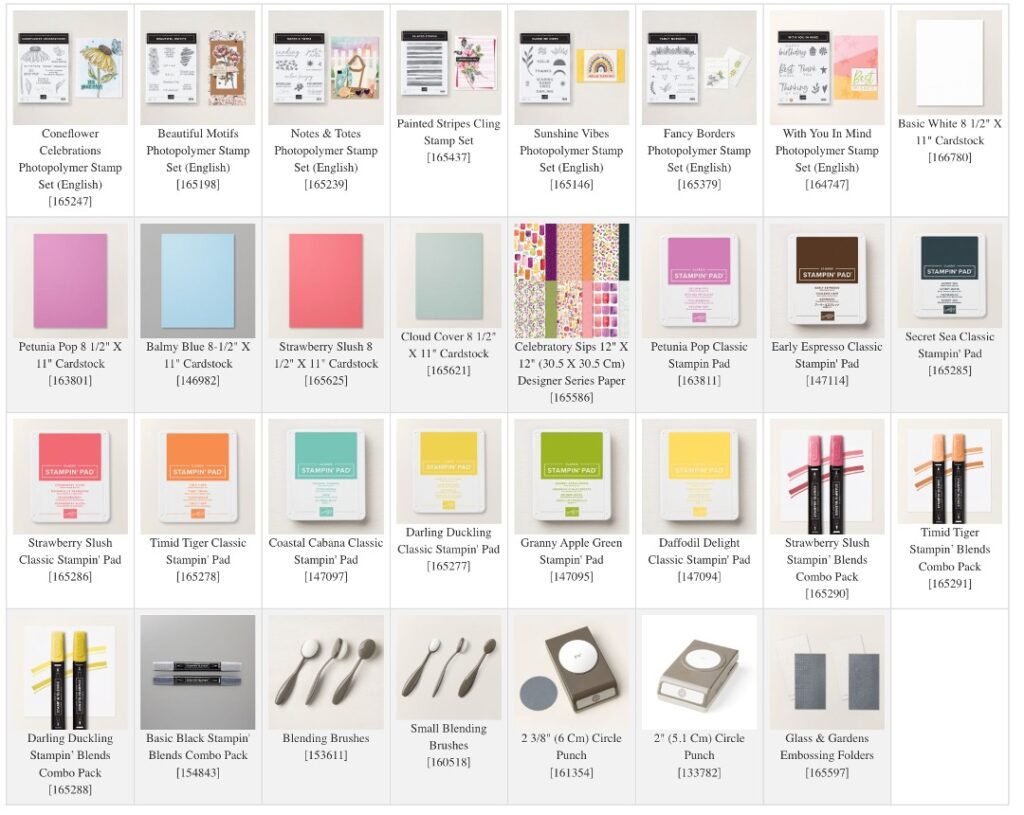
Click on the picture to add to your cart
Thank you for choosing me to be your Stampin’ Up! Demonstrator!

WOW! Earn Stampin’ Rewards on orders over $20 (before tax/ship.
Spend them on your next Stampin' Up! order or save them up for a bigger purchase!
Pinterest-ing
Follow me on Pinterest and save this image to your card making and paper crafting tips Board to never run out of inspiration for beautiful handmade card interior designs that will impress everyone who receives your heartfelt creations!
Join Me Thursday, June 12, 2025, for a Create with Connie YouTube Live!
9am Pacific 10am Mountain 11am Central * 12pm Eastern
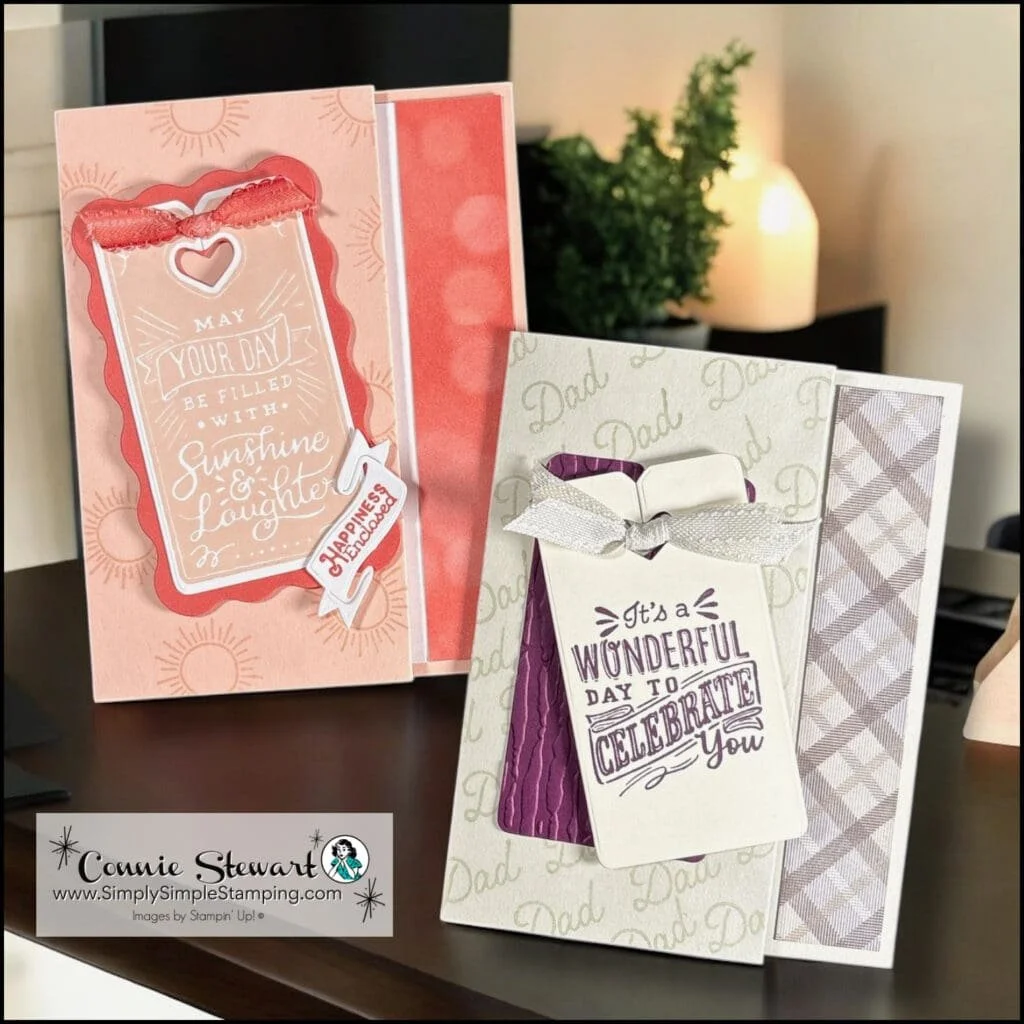
Let's create a fun Tag Card that doubles as a gift card holder together!

I hope you enjoyed today's video and tips for making the inside of your cards just as pretty as the outside.
I am looking forward to sharing with you LIVE on Thursday! See you then, my peeps!

So what’s this new YouTube Membership thing all about?
It’s a fun, optional way to get even more crafting content, perks, and behind-the-scenes fun!





