
Searching for handmade card ideas that make jaws drop without causing crafting headaches? I've gathered 21 delightfully doable techniques that instantly elevate your paper creations from "nice" to "frame-worthy." Whether you're crafting heartfelt birthday wishes, meaningful thank-yous, or celebratory notes for any occasion, this collection of card-making wizardry will become your go-to reference. Let's transform those blank cards into conversation pieces!
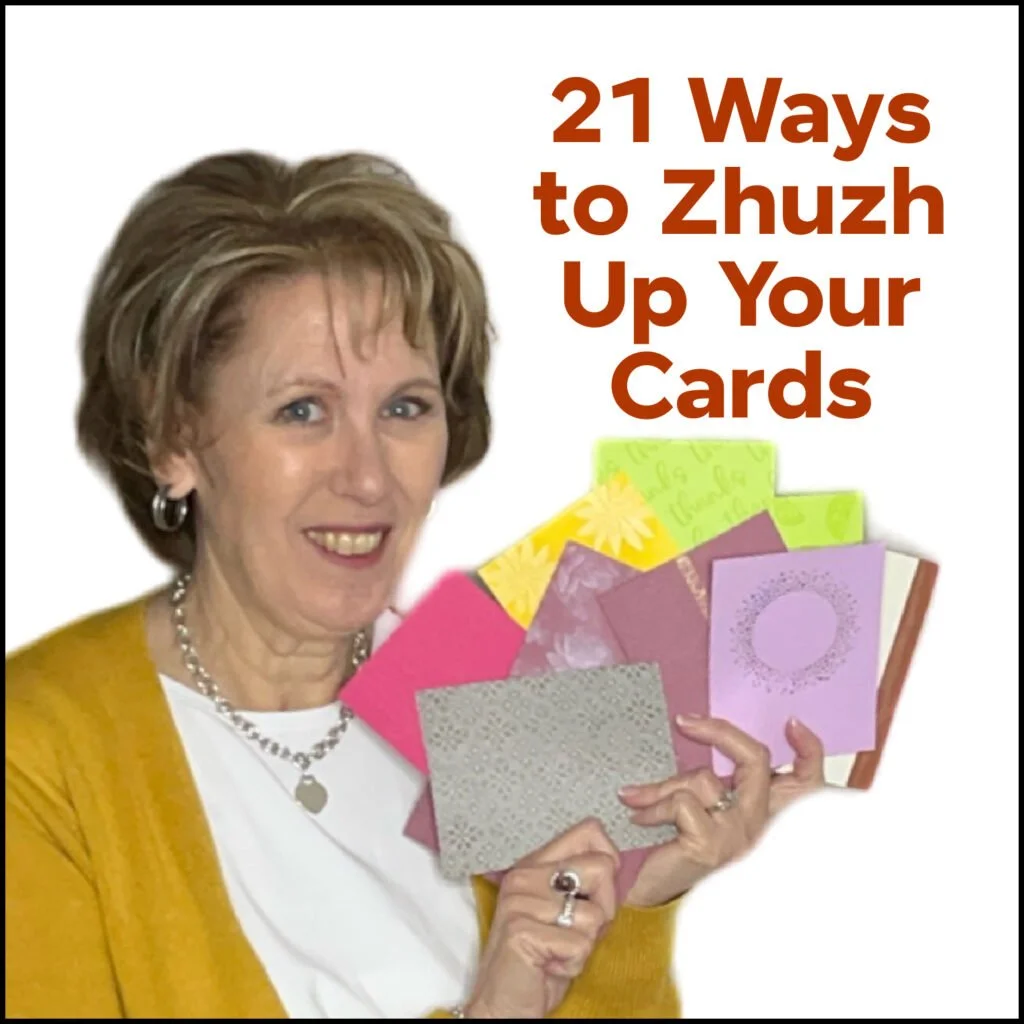
21 Handmade Card Ideas To Try This Week:
Ever notice how some handmade cards have that certain something that makes them impossible to toss? In this tutorial, I'm spilling my not-so-secret toolbox of techniques that transform plain cardstock into paper treasures people actually keep. These 21 methods aren't just tricks—they're tiny creative rebellions against boring, forgettable cards. Come craft with me and discover why the cards that get displayed on mantels aren't accidents—they're made with these exact techniques!
⭐️ Which of these handmade card ideas is calling your creative spirit? Tell me which technique you're itching to try—or share which ones you've already mastered in your card-making adventures!
Let's Go Over 21 Ways to Add Zhuzh to a Card
These are all listed in the free download too. Just click the button above!
Stamp randomly all over card - turn your card as you stamp to aid in the random process.
Words in the background - stamp at an angle leaving ½" in-between each word.
Background stamps - rubber side up and ink. Press cardstock to stamp, cover the scratch paper, give it a back rub.
White Craft pad - looks amazing on any color cardstock.
Heat Embossed White Craft pad - sprinkle with clear or white embossing powder and heat set.
Heat Embossed with Blending Brushes - sprinkle with clear or white embossing powder and heat set. Use blending brushes to highlight the image even more.
Use Blending Brushes - load up large or small brush with ink, dab some of the ink off on scratch paper and LIGHTLY blend onto cardstock. You can always add more but you can't take. it away.
Masking with punches or dies with Blending Brushes - copy paper with die cut or punch as a mask. Add color with with Blending Brushes.
Masking with punches or dies with stamped images - copy paper with die cut or punch as a mask. Stamp images inside. the opening.
Reverse Masking with Blending Brushes - place punch or die cut on cardstock and add ink around it with Blending Brushes.
Reverse Masking with Stamped Images - place punch or die cut on cardstock and add ink around it stamped images.
Embossed cardstock - lay your card in the embossing folder and run through die cutting/embossing machine.
Partial Embossed cardstock - lay the cardstock in the embossing folder where you want the embossed image to go. Line up the Embossing Plate on the only area you want embossed and run through die cutting/embossing machine. If necessary, add a sticky note right on the score line so you can see where to add your embossing plate.
Inked Embossing Folder - place ink on the front of the embossing folder. Lay cardstock on the opposite side and gently close the folder. Don't let it move and run through die cutting/embossing machine.
Blending Brushes or Sponge Dauber on Embossed cardstock - after running cardstock through die cutting/embossing machine, lightly add ink with Blending Brush.
Sponge Dauber with White Craft ink on Embossed cardstock - adding White Craft ink makes the embossed image really pop.
Detailed Dies - use detail dies like Mixed Florals, Beautiful Motifs, Fancy Borders, or Pattern of Friendship. Many of the dies in these sets leave a die cut detail in the background.
Border dies on the edges - use border dies like Fancy Borders, Sentimental Framing, or Spring Corners to create unique edges.
Torn Edges - tear in short spurts to create a vintage or masculine look to your card.
Die cut or punched shapes - adhere shapes on your card, matching to color to create a monochromatic look or add to a different color card base.
Simply Scored Board - choose how much space you want in-between each line and add score lines as a beautiful detail on your cards.
* Diagrams and written tutorials are available to YouTube Members - Learn more HERE

WOW! Earn Stampin’ Rewards on orders over $20 (before tax/ship.
Spend them on your next Stampin' Up! order or save them up for a bigger purchase!
Pinterest-ing
Follow me on Pinterest and save these 21 gems to your card making ideas board for those moments when inspiration runs dry but your crafting heart is full. One quick glance at these techniques and you'll be back in creative mode faster than you can say "where's my embossing powder!"

I hope you enjoyed my throwback Tuesday Tip video today. Go have fun creating!!
See you again on Thursday!

So what’s this new YouTube Membership thing all about?
It’s a fun, optional way to get even more crafting content, perks, and behind-the-scenes fun!





