
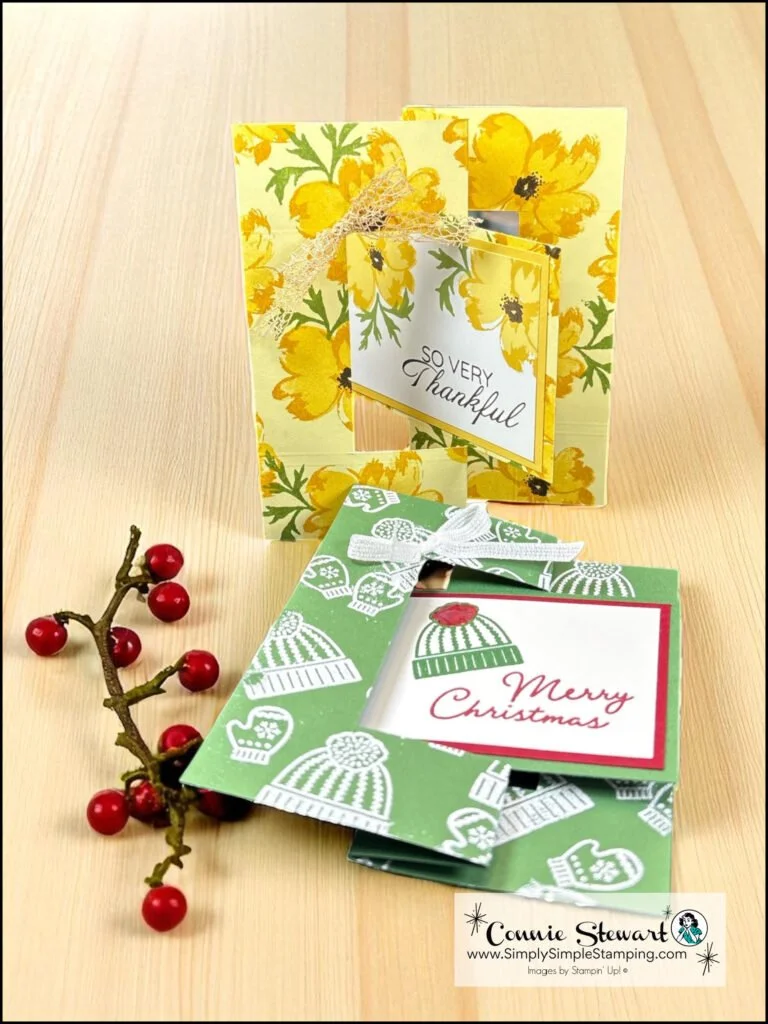
This flip flap fun fold card tutorial will teach you one of the most satisfying interactive card techniques out there. When you open this card, panels flip and rotate in a way that genuinely surprises people. The best part is how straightforward it is to make! You only need a few score lines and strategic cuts to create this eye-catching effect. I'm demonstrating the technique with two completely different designs: a sunny yellow floral card perfect for thank you notes, and a festive winter version ideal for holiday greetings. Once you understand the basic construction, you'll find endless ways to customize this card.
Flip Flap Fun Fold Video Tutorial
Watch the full video tutorial below to see exactly how this card moves and follow along with each step of the construction process. I'll show you the measurements, scoring placement, and assembly so you can recreate this technique with confidence.
🌼 Ready to try this flip flap fun fold card tutorial yourself? Grab your paper trimmer and scoring tool, and let's create something that'll make your card recipients do a double-take.
Ready to Create these Flip Flap Fun Fold Cards?
If you are new to cutting in the center of cards, you might practice this first with a piece of copy paper or junk mail. Once you understand the cutting, you'll be a pro and will be ready to create with cardstock!
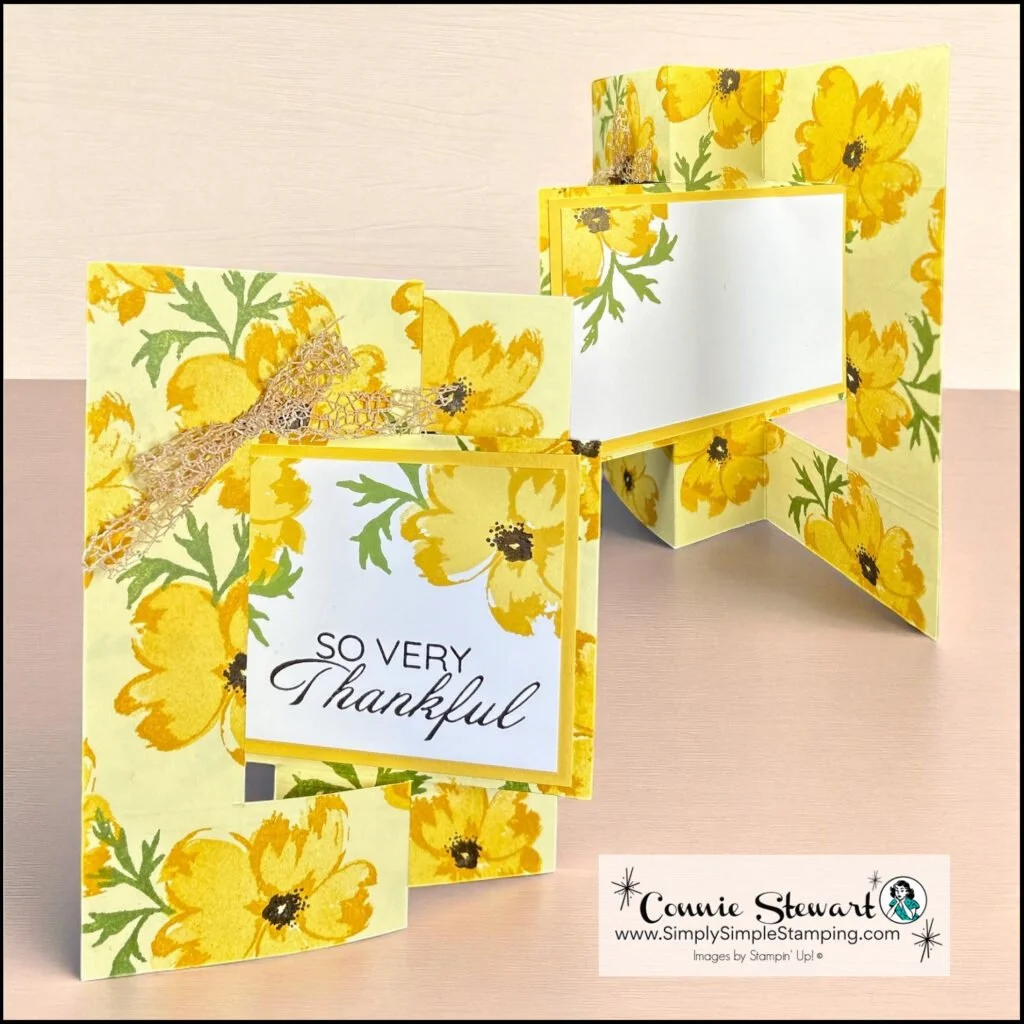
Lemon Lolly: 6 ¾” x 5 ½” (card base)
Lightly score at 1 ¼” on all 4 side
With the 6 ¾” at the top, score heavy at 2 ¾” and 4”, rotate 360° and score again at 2 ¾” and 4”
With the 6 ¾” at the top, line up at 1 ¼” and cut in-between the 2 scored lines at the top and bottom. Rotate 360° and cut again
With the 5 ½” at the top, line up at 1 ¼” and cut to the heavy scored line. Do not cut in-between the heavy score lines. Rotate 360° and cut again
Daffodil Delight: (2) 4” x 2 ¾" (flap layers)
Basic White: (2) 3 ¾” x 2 ½” (flaps)
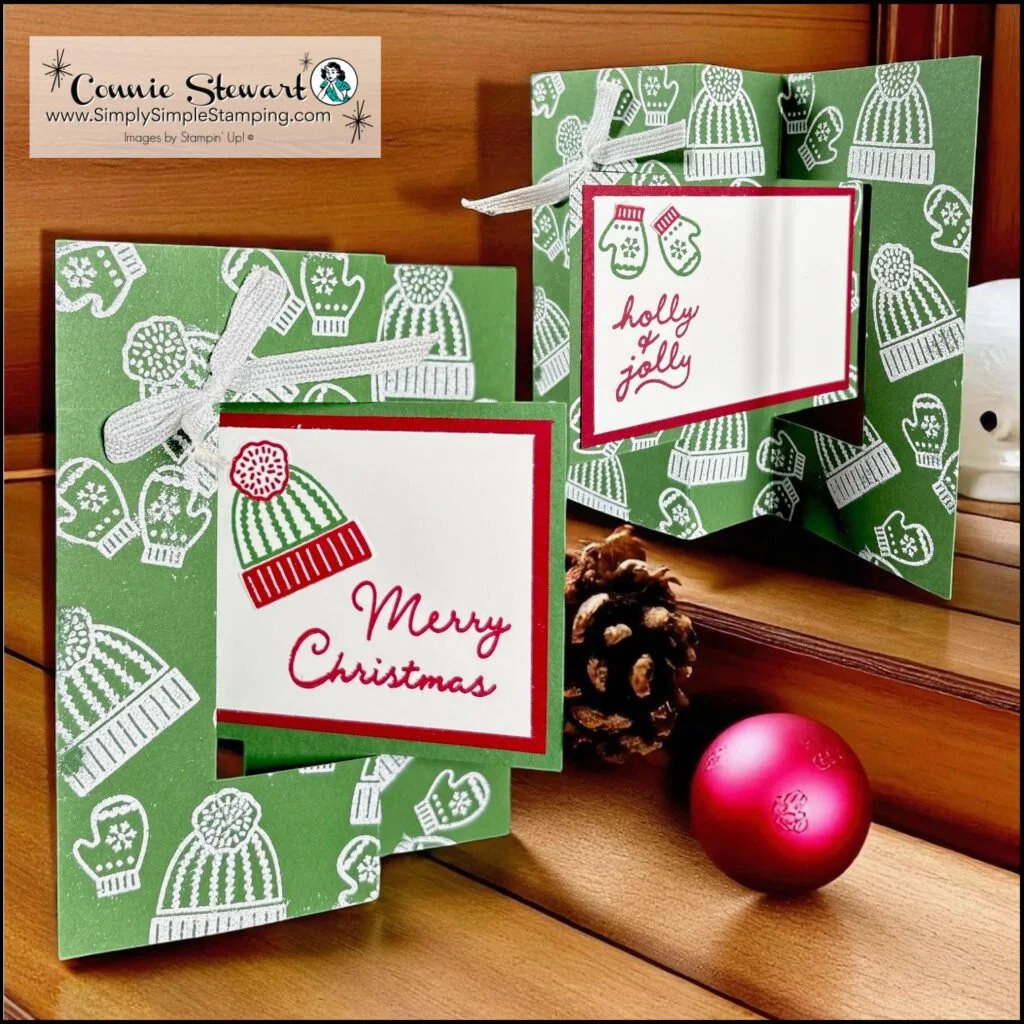
Garden Green: 6 ¾” x 5 ½” (card base)
Lightly score at 1 ¼” on all 4 side
With the 6 ¾” at the top, score heavy at 2 ¾” and 4”, rotate 360° and score again at 2 ¾” and 4”
With the 6 ¾” at the top, line up at 1 ¼” and cut in-between the 2 scored lines at the top and bottom. Rotate 360° and cut again
With the 5 ½” at the top, line up at 1 ¼” and cut to the heavy scored line. Do not cut in-between the heavy score lines. Rotate 360° and cut again
Cherry Cobbler: (2) 4” x 2 ¾" (flap layers)
Basic White: (3) 3 ¾” x 2 ½” (flaps + fussy cuts)
* Diagrams and written tutorials are available to YouTube Members - Learn more HERE
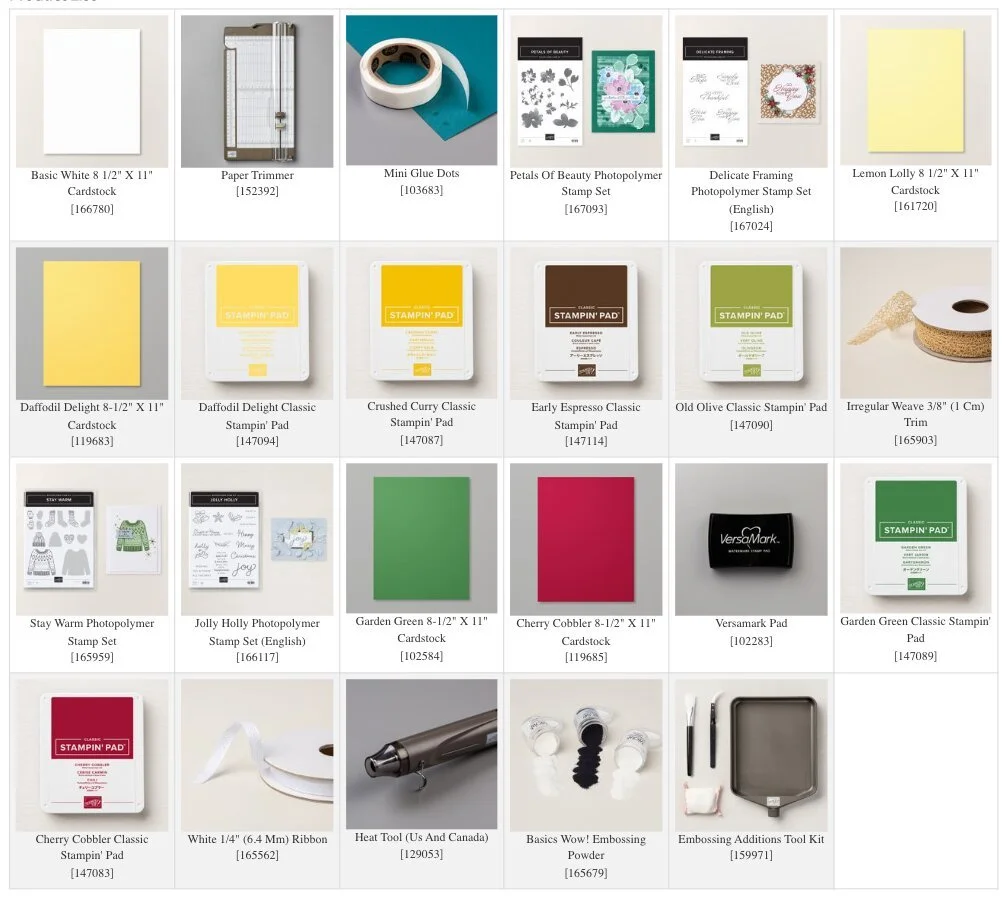
Stampin' Up! Product List for Today's Cards
Click on the picture to add to your cart
Thank you for choosing me to be your Stampin’ Up! Demonstrator!

WOW! Earn Stampin’ Rewards on orders over $20 (before tax/ship.
Spend them on your next Stampin' Up! order or save them up for a bigger purchase!
Pinterest-ing
Follow me on Pinterest and save this flip flap fun fold card tutorial to your boards—it works beautifully for thank-you card ideas, Christmas card collections, fun fold techniques, or your general card-making inspiration. This is one of those versatile projects you'll come back to throughout the year whenever you want to create something that stands out.


This flip flap fun fold card tutorial is an ideal weekend project, especially if you want to batch-make several cards at once. Once you've made your first one and understand how the mechanism works, you can create multiples pretty quickly. Set aside a Saturday or Sunday afternoon, pull out your favorite patterned papers and stamps, and build a small stack of these interactive beauties. You'll have impressive handmade cards ready to go for any occasion that comes up, and trust me—people remember receiving cards like these. Give it a try this weekend and see how this simple technique transforms your card making! Can't wait to see you next Tuesday!

So what’s this new YouTube Membership thing all about?
It’s a fun, optional way to get even more crafting content, perks, and behind-the-scenes fun!





