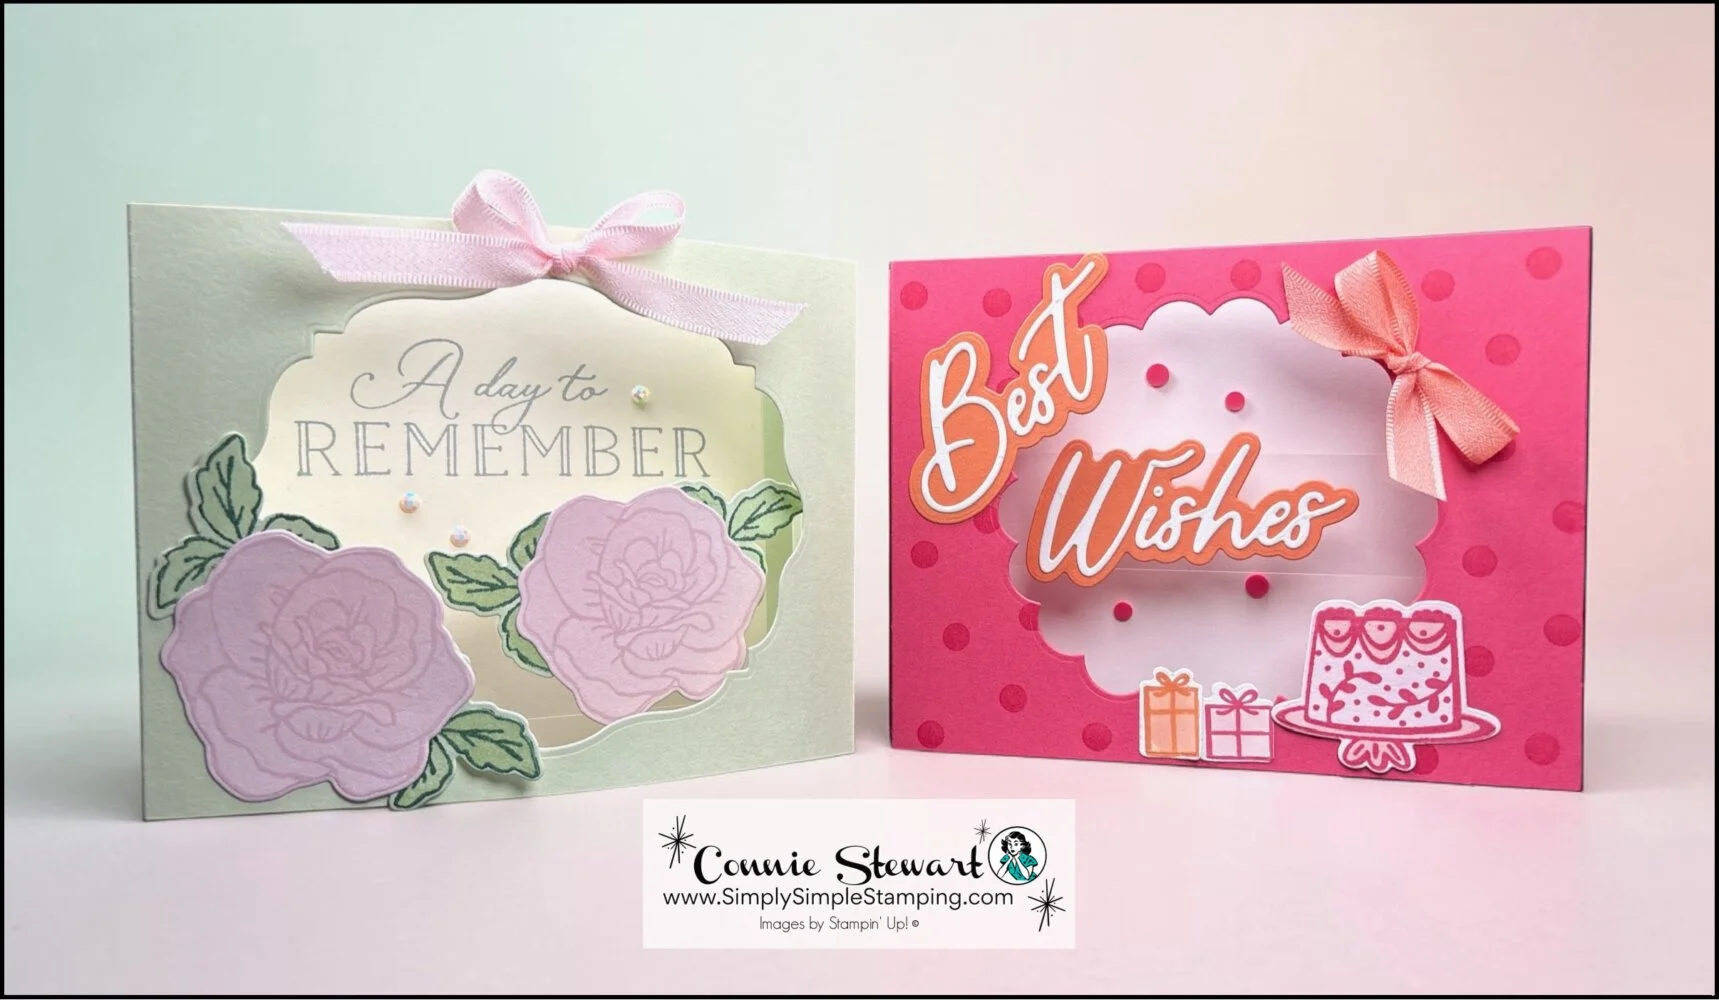
This easy shadow box card tutorial might look like one of those “save it for later” projects, but it’s surprisingly simple to make, and you may just want to drop everything and try this fun fold today!
If you’ve ever hesitated to try a shadow box card because they seem overly detailed or time-consuming, this easy shadow box card tutorial is here to change your mind. Instead of complicated layers and precise measurements, this design uses a simple scoring method and a narrow strip of window sheet to create a light, airy floating effect. It’s a beginner-friendly approach that still gives you that polished, dimensional look. It’s perfect for anyone who loves interactive cards without too much fuss.
What Makes This Easy Shadow Box Card Different?
This floating shadow box card tutorial keeps things streamlined and approachable. The floating effect is created with minimal materials and just a few steps, making it ideal for quick crafting sessions or last-minute cards. Whether you’re designing a handmade wedding card with soft florals or a cheerful birthday card with bright colors, this easy shadow box card tutorial gives you a versatile foundation you can return to again and again.
Easy Shadow Box Card Tutorial Video
If you prefer to see each step in action, this easy shadow box card tutorial video will walk you through the entire process from start to finish. You’ll see exactly how the simple scoring creates the shadow box structure and how a small strip of window sheet brings that floating effect to life inside the card. It’s a great way to build confidence with this technique and see just how quickly this design comes together.
📌 Do you enjoy keeping your cards simple and quick, or do you usually add extra layers and details when creating a shadow box card?
If you enjoy this easy shadow box card tutorial, you might also like exploring other variations, like a floating image shadow box card or a version with fairy lights for an extra special touch.
Ready to Create these Easy Shadow Box Cards With Floating Feature?
These cards are such WOW cards but OH SO EASY! They lay flat for easy mailing too. Once you make one, you'll be hooked on this design.
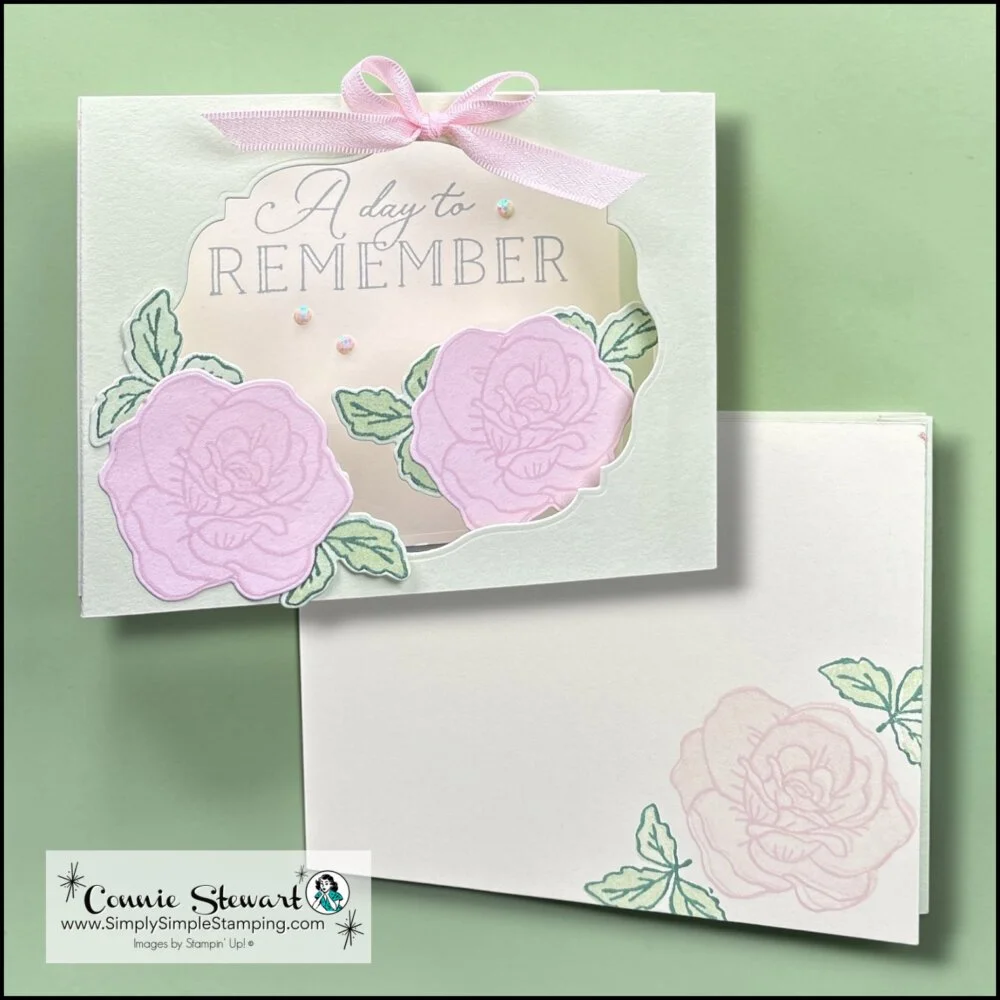
Boutique Blossoms Bundle and Beautifully Celebrated Bundle
Soft Sea Foam: 10 ½” x 4 ¼”
Score at ½”, 1”, 1 ½”, 2”, and 2 ½” on each end (card base)
Barely Blush: 4 ½” x 2 ½” (die cut flowers)
Very Vanilla: 4 ¼” x 5 ½” (card back)
Window Sheet: 5 ½” x 1” (clear bridge)
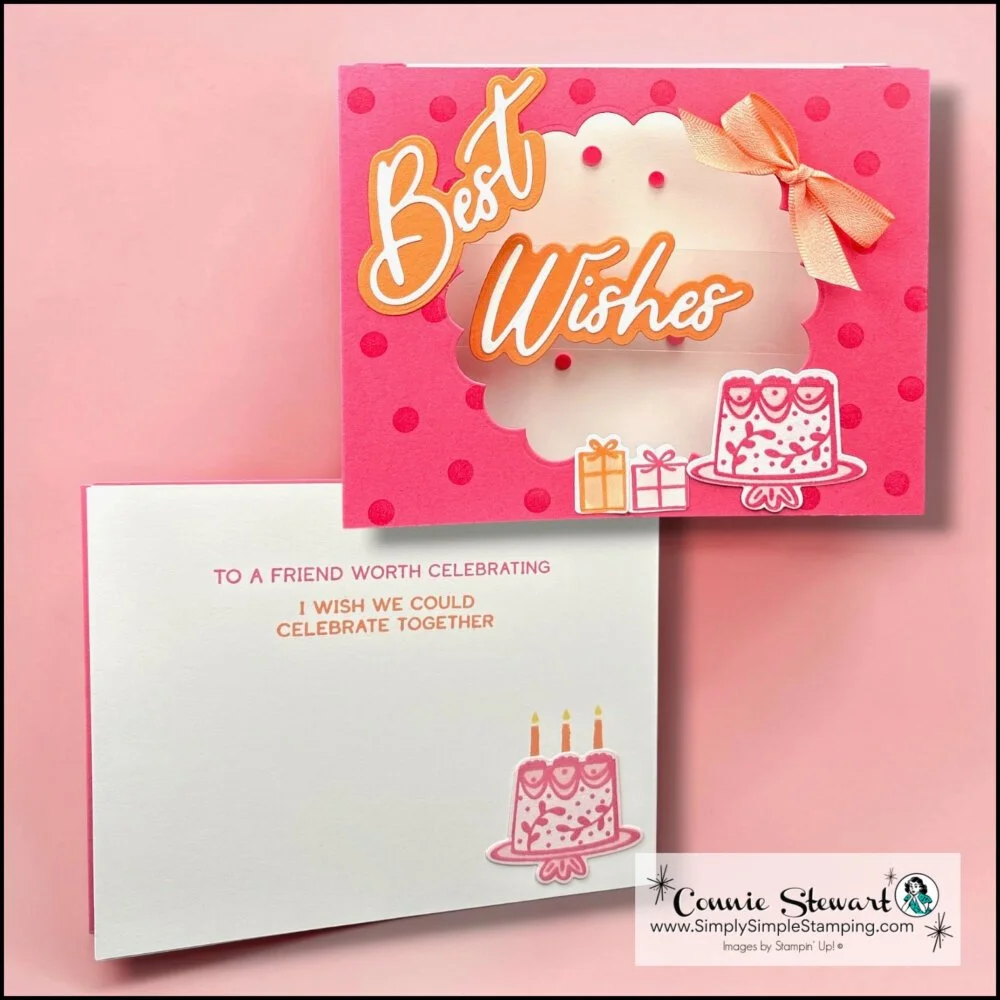
Words & Wishes Bundle
Strawberry Slush: 10 ½” x 4 ¼”
Score at ½”, 1”, 1 ½”, 2”, and 2 ½” on each end (card base)
Timid Tiger: 5 ½” x 2 ½” (die cut words)
Barely Blush: 4 ¼” x 2” (2 die cut cakes)
Basic White:
6” x 1 ½” (die cut words)
4 ¼” x 5 ½” (card back)
Window Sheet: 5 ½” x 1” (clear bridge)
* Diagrams and written tutorials are available to YouTube Members - Learn more HERE
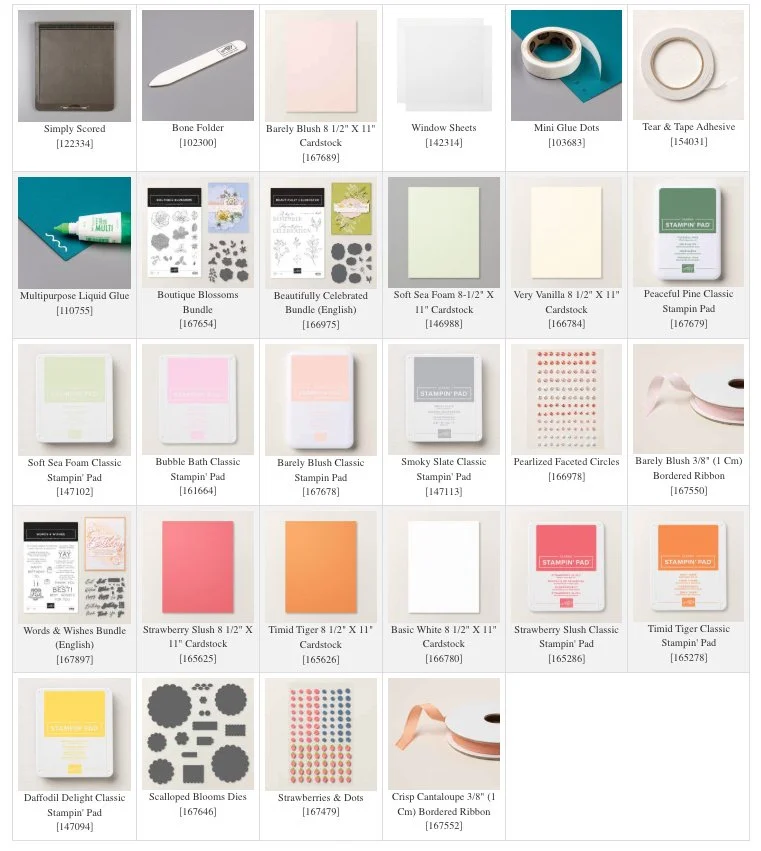
Stampin' Up! Product List for Today's Cards
Click on the picture to add to your cart
Thank you for choosing me to be your Stampin’ Up! Demonstrator!

WOW! Earn Stampin’ Rewards on orders over $20 (before tax/ship.
Spend them on your next Stampin' Up! order or save them up for a bigger purchase!
Pinterest-ing
If this project sparked an idea for your next card, don’t forget to save it for later! Pin this easy shadow box card tutorial to your favorite card making or paper crafting boards so you can come back to it anytime you’re ready to create. And if you’d like more simple, creative ideas like this, be sure to follow me on Pinterest for even more inspiration.


I hope this easy shadow box card tutorial has shown you just how simple it can be to create a card with a beautiful floating effect without complicated steps or extra bulk. This is one of those techniques you’ll find yourself coming back to again and again for both wedding and birthday cards. Have a great weekend, friends! Mark your calendar to check back on Tuesday for a new project idea!

So what’s this new YouTube Membership thing all about?
It’s a fun, optional way to get even more crafting content, perks, and behind-the-scenes fun!