
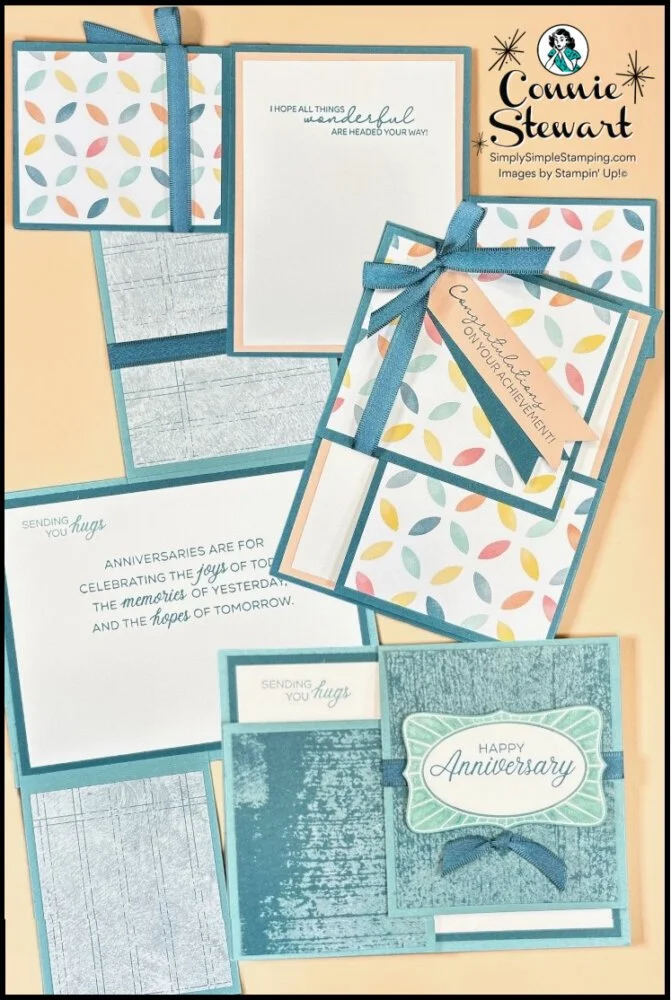
Double flap card tutorials are a wonderful way to create interactive handmade cards that look impressive without requiring complicated measurements or advanced techniques. This easy fancy fold design gives you extra space to showcase beautiful Designer Series Paper while creating two flaps that open to reveal your greeting inside.
For today’s YouTube Live, I’m sharing two completely different looks using the same double flap card layout. The elegant anniversary card combines the Stampin’ Up! Phrases & Frames Bundle with the soft vintage textures found in the Nature Walk Designer Series Paper. The cheerful congratulations card features the Sending Salutations Stamp Set paired with the playful patterns from the Beautiful Ordinary Life Designer Series Paper for a bright and happy design that works for so many occasions.
One of my favorite things about this double flap card tutorial is how easy it is to customize. Change the paper, switch the sentiment, add ribbon or embellishments, and suddenly you have a completely new card style ready for birthdays, anniversaries, thank-you cards, congratulations, or just-because moments. If you’ve been saving your favorite patterned papers for “something special,” this fun fold is the perfect excuse to pull them out and start creating!
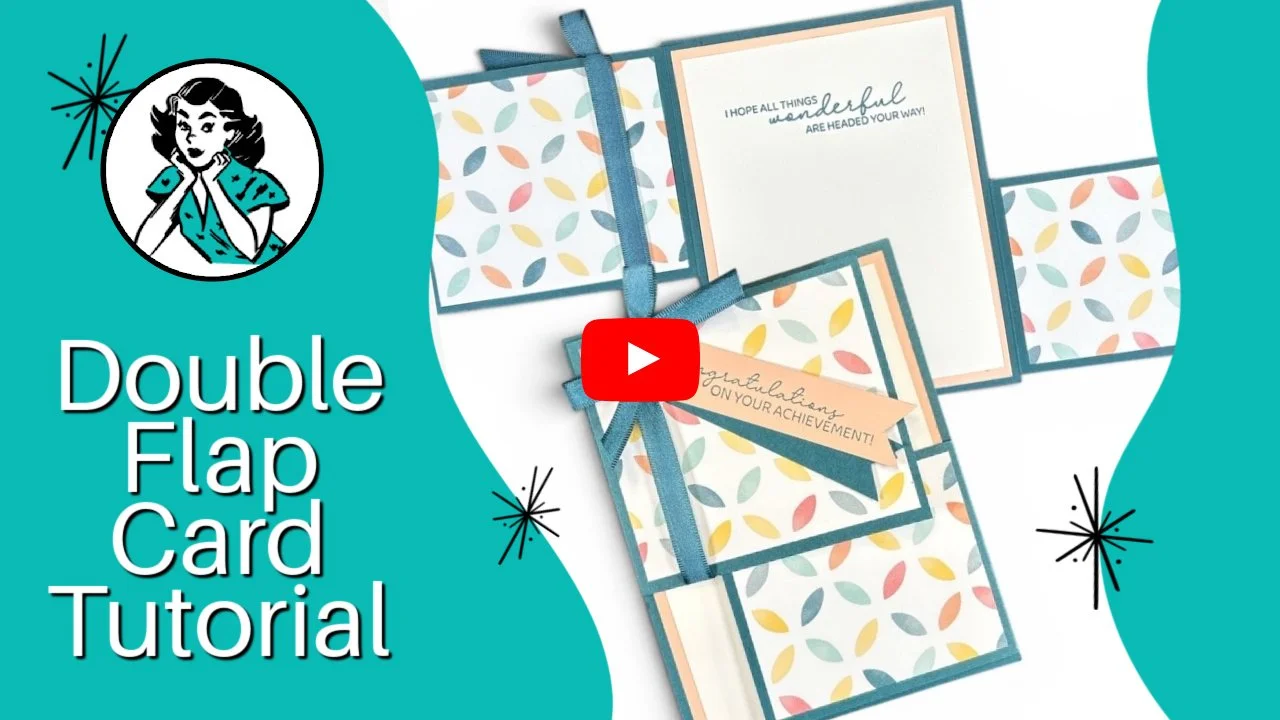
Double Flap Card Video Tutorial
Watch the video tutorial below and see how a few simple score lines turn into a card that flips, unfolds, and shows off your designer paper like it’s walking a tiny handmade runway.
👉 What papers and sentiments would you pair together for your own double flap card tutorial-inspired design?
Ready to Create a Double Flap Card?
Pick your favorite sentiment stamp -- pick your favorite Designer Series Paper. That's all you need to create these wonderful double flaps fun fold cards!
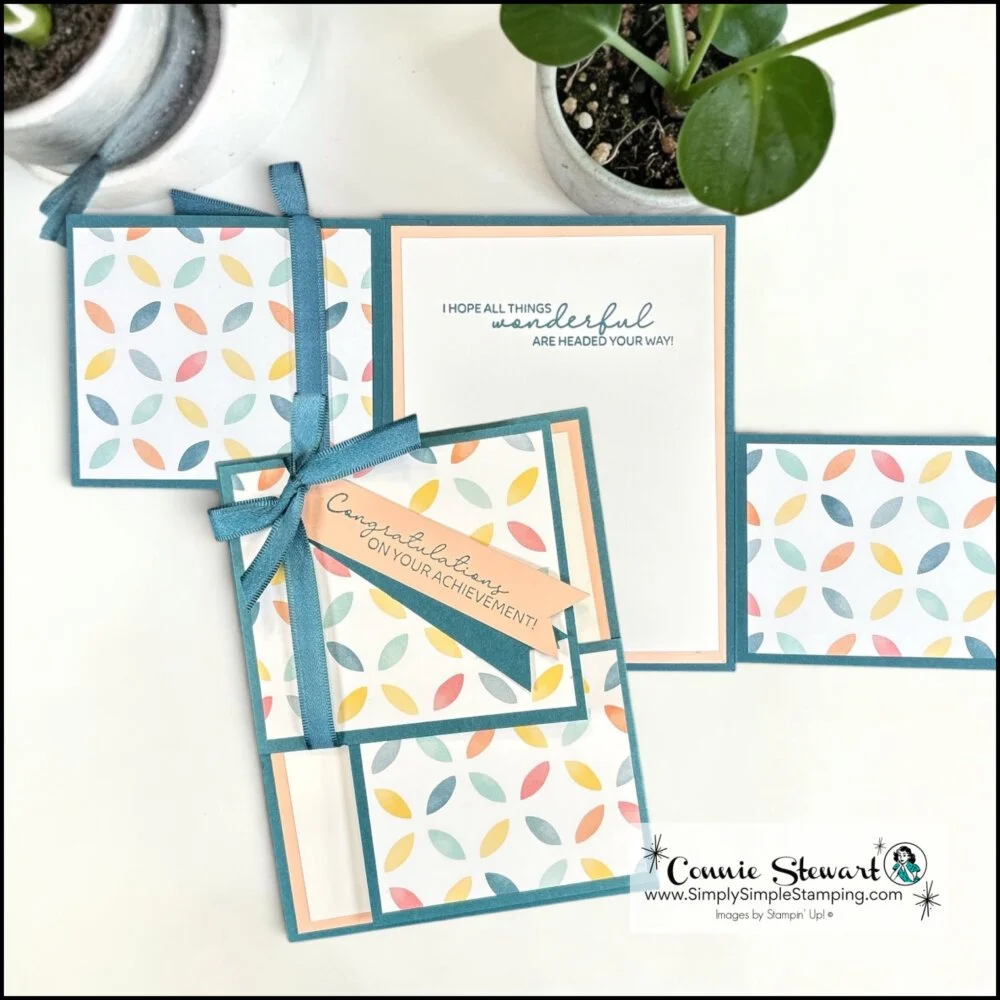
Sending Salutations Stamp Set and
Beautiful Ordinary Life Designer Series Paper (DSP)
Pretty Peacock:
4 ¼” x 5 ½” (card base)2 ¾” x 3 ¾” (flap)
With the 3 ¾” at the top, score ½”
3 ¼” x 4 ¼”, with the 4 ¼” at the top, score ½”
3 ½” x ¾” (tag)
Petal Pink:
4” x 5 ¼” (inside layer)
3 ½” x ¾” (tag)
Basic White: 3 ¾” x 5” (inside message)
DSP:
(2) 3” x 3 ½”
(2) 3” x 2 ½”
Ribbon: 18”
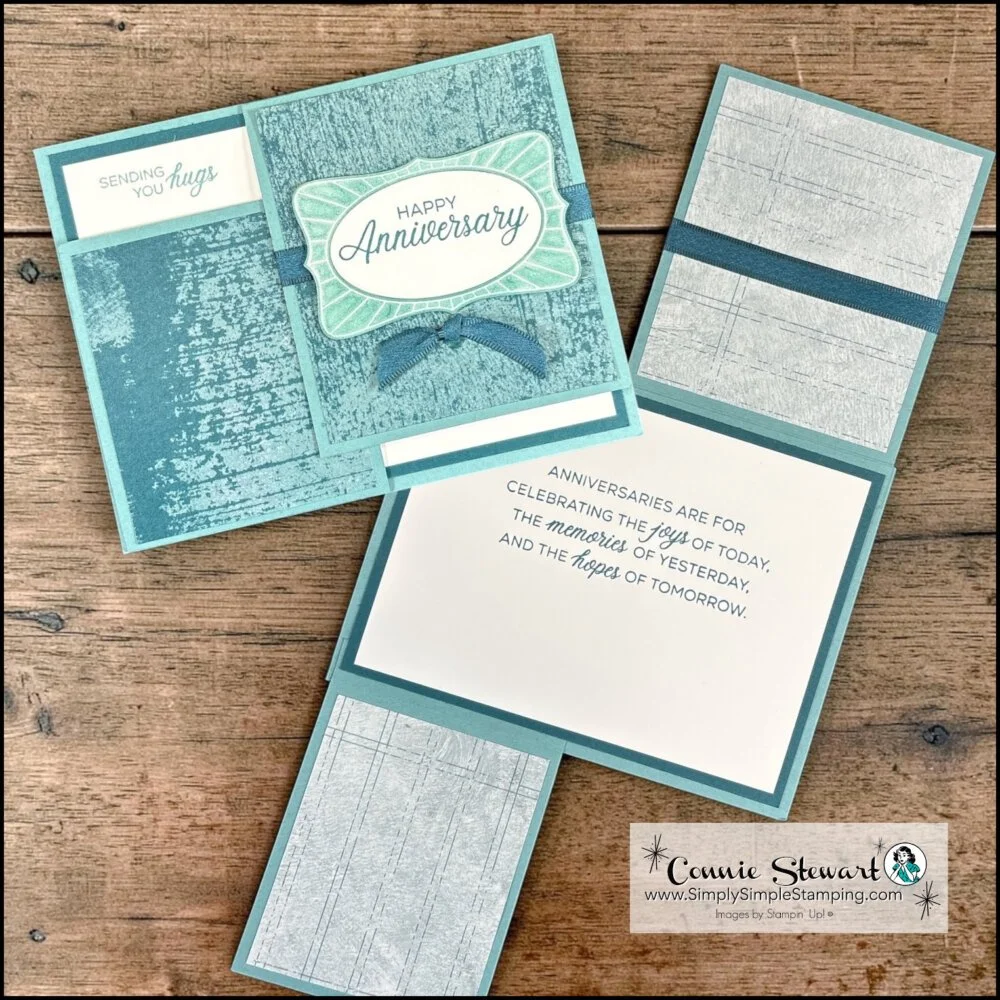
Phrases & Frames Bundle and
Nature Walk Designer Series Paper (DSP)
Lost Lagoon:
4 ¼” x 5 ½” (card base)2 ¾” x 3 ¾” (flap)
With the 3 ¾” at the top, score ½”
2” x 3 ½”
Pretty Peacock: 4” x 5 ¼” (inside layer)
Basic White:
3 ¾” x 5” (inside message)
3 ¼” x 2” (die cut label)
DSP:
(2) 3” x 3 ½”
(2) 3” x 2 ½”
Ribbon: 12”
* Diagrams and written tutorials are available to YouTube Members - Learn more HERE
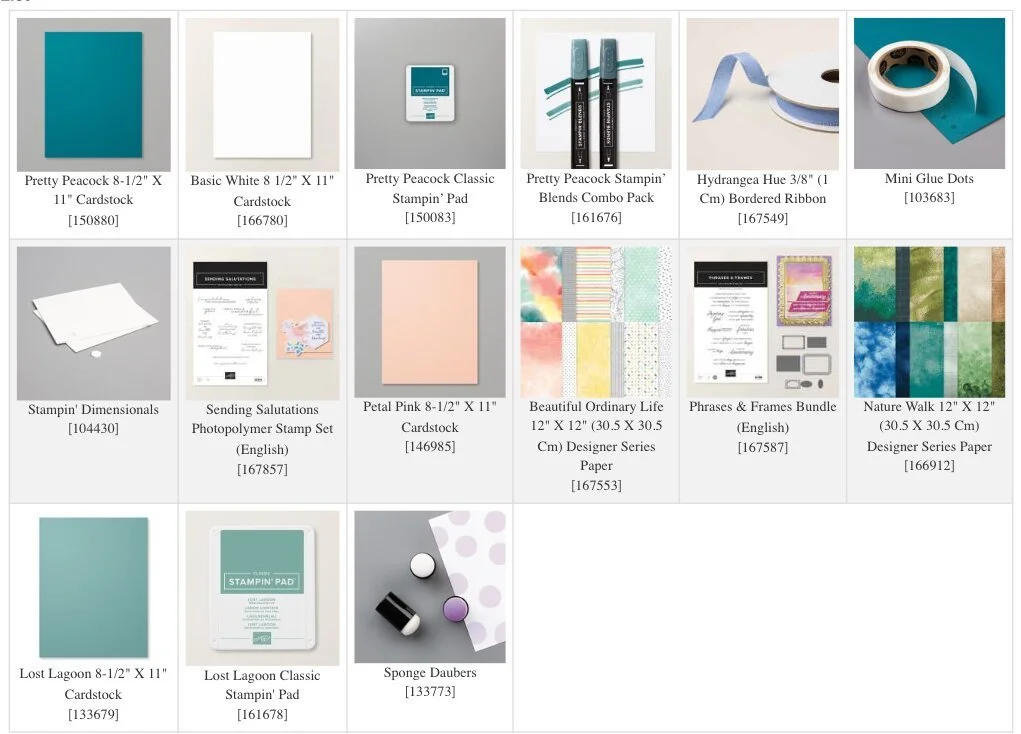
Stampin' Up! Product List for Today's Cards
Click on the picture to add to your cart
Thank you for choosing me to be your Stampin’ Up! Demonstrator!

WOW! Earn Stampin’ Rewards on orders over $20 (before tax/ship.
Spend them on your next Stampin' Up! order or save them up for a bigger purchase!
Pinterest-ing
Don’t let this fun fold disappear into the internet crafting wilderness! Be sure to pin this double flap card tutorial to your favorite card making or fun fold Pinterest board so you can come back to it anytime you need a creative paper crafting idea. If you love easy-to-follow handmade card tutorials, fresh Stampin’ Up! inspiration, and clever ways to use your Designer Series Paper, be sure to follow me on Pinterest for even more ideas!


I hope today’s double flap card tutorial inspired you to pull out your favorite Designer Series Paper and give this interactive fold a try. It’s one of those card designs that looks delightfully fancy but comes together surprisingly easily! Be sure to join me again Tuesday for another fresh project idea and creative inspiration.

So what’s this new YouTube Membership thing all about?
It’s a fun, optional way to get even more crafting content, perks, and behind-the-scenes fun!





