
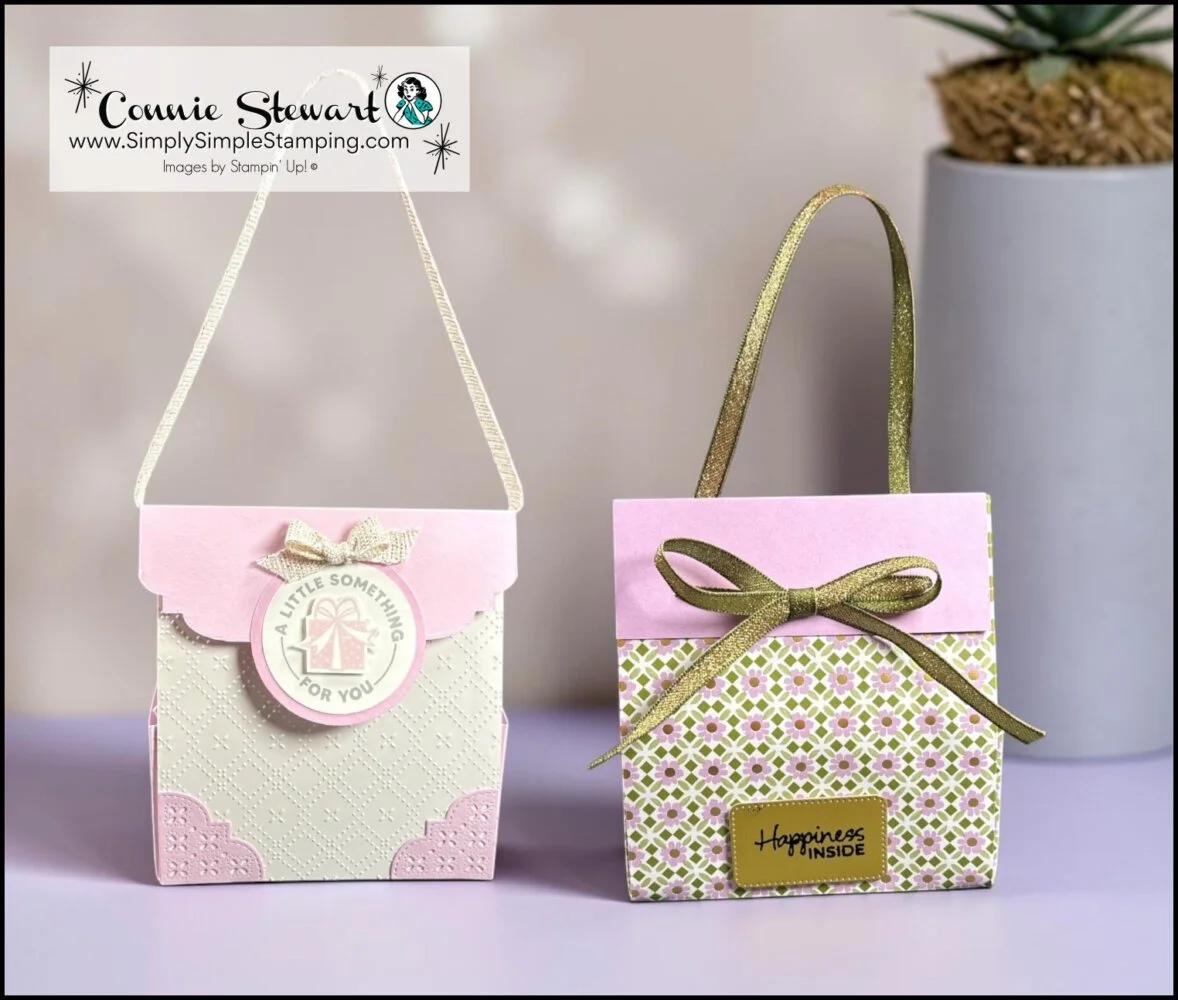
This DIY paper gift bag tutorial is one of those projects that feels almost too simple for how cute the result turns out. With just one sheet of paper and a few easy folds, you can create a gift bag that adds a thoughtful, handmade touch before the gift is even opened.
There’s something about a gift bag that feels like the final touch on a present. You can have the sweetest little surprise tucked inside, but when it’s wrapped up in a crinkly store bag, it just doesn’t feel quite as special. It gets the job done… but it doesn’t exactly make a moment out of it.
Now this right here? This is a gift bag with a little personality. The kind that says, “Yes, I made this just for you,” without requiring a whole afternoon or a stack of complicated measurements. Just a simple one sheet wonder that comes together so easily, you might find yourself making a few extras… just in case.
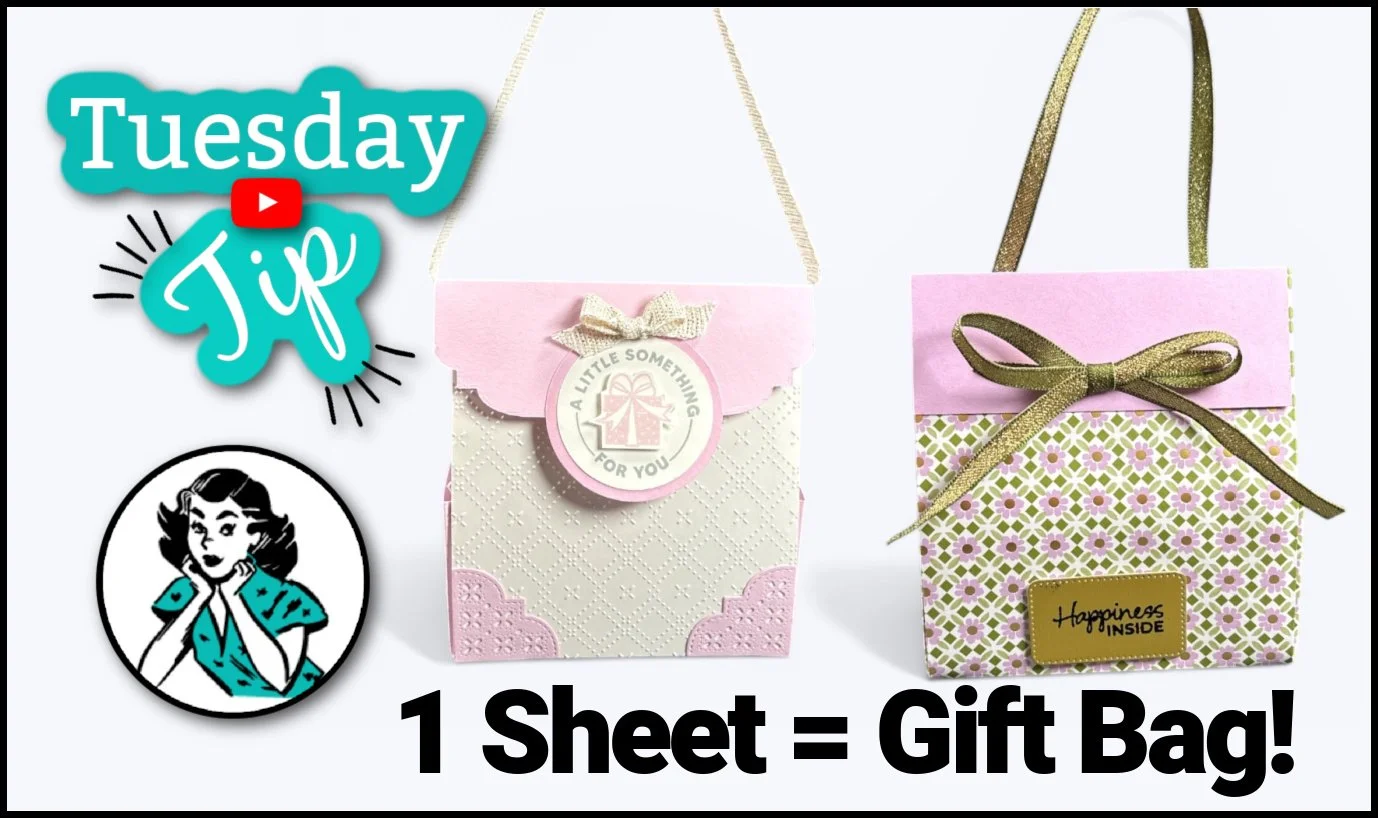
Watch the DIY Paper Gift Bag Tutorial
If you’d rather see it come together step by step, this video walks you through the entire DIY paper gift bag tutorial from start to finish. You’ll see exactly how this one sheet wonder folds into a finished bag, plus a few little tips along the way that make everything line up just right.
These little handmade gift bags are especially perfect for birthdays. They are just the right size for a gift card or a sweet treat, but they’re just as lovely for holidays, party favors, or those “I saw this and thought of you” kind of gifts. It’s one of those easy paper crafts that looks impressive but feels surprisingly simple while you’re making it. So press play, grab your favorite paper, and let’s make something cute together.
⭐️ What do you think of this DIY paper gift bag tutorial? Will you try turning a single sheet of paper into something this gift-worthy? What occasion will you make this easy paper craft for? Let me know!
Ready to Create your own Paper Gift Bag?
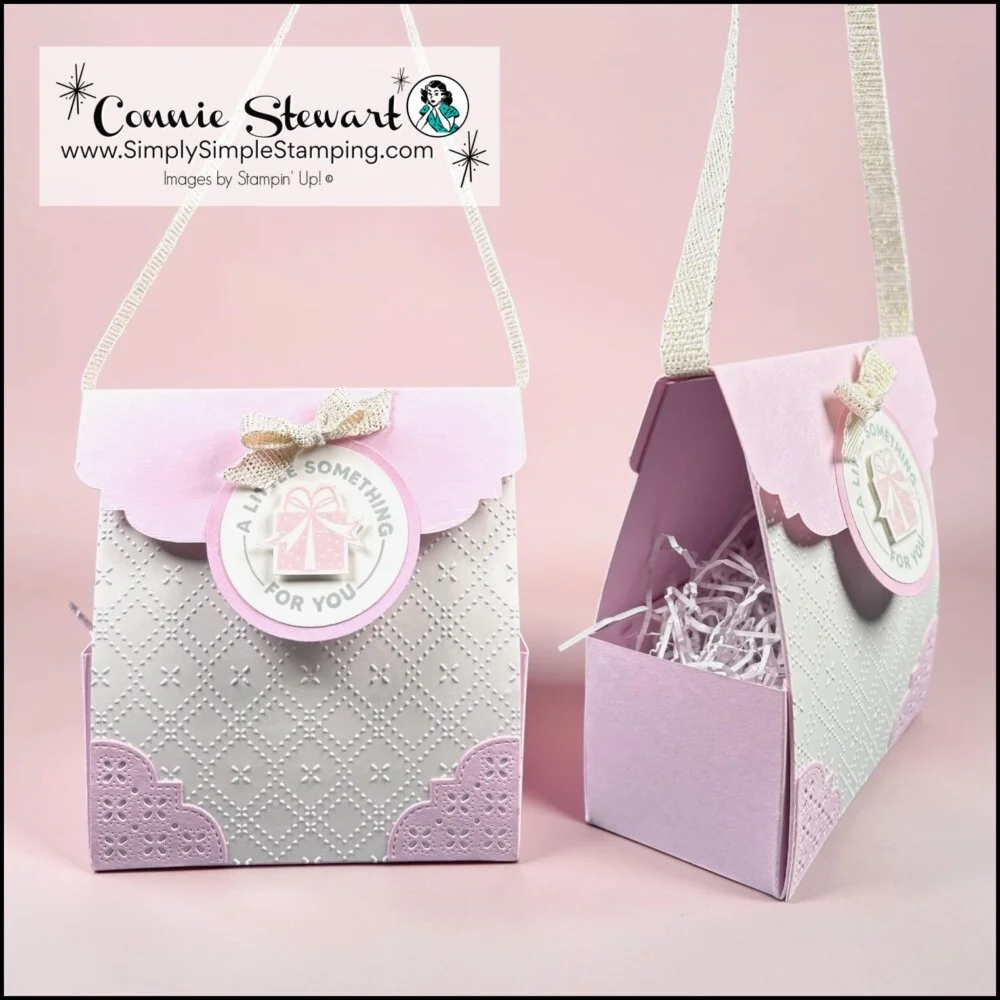
Encircled with Love Stamp set and Beautifully Celebrated dies
Bubble Bath:
8” x 11” (bag)
With the 8” at the top, score at 2” - rotate 90° and score at 2”
With the 11” at the top, score at 4 ½” - rotate 90° and score at 4 ½”
3” x 2” (decorative corner die)
4 ¼” x 5 ½”, with the 4 ¼” at the top, score at 1 ⅞” and 2 ⅜”
4 ¼” x a hair less than ½” (ribbon cover)
2” Circle
Basic White:
4” x 4 ½” (embossed bag front)
4” x 2” (stamped greeting)
Ribbon: 12”
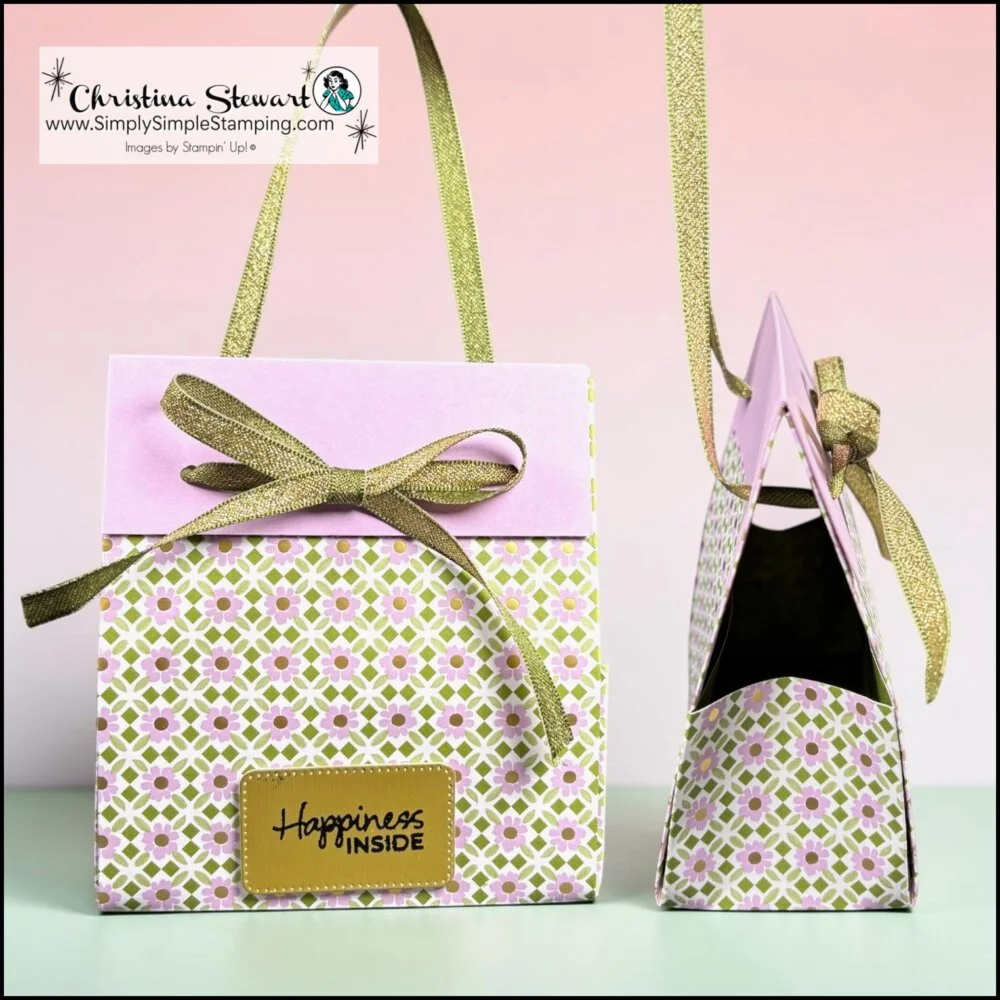
Sharing Loving Crafting Stamp set and Nested Essentials dies
DSP: 8” x 11” (bag)
With the 8” at the top, score at 2” -rotate 90° and score at 2”
With the 11” at the top, score at 4 ½” - rotate 90° and score at 4 ½”
Fresh Freesia: 4” x 3”, score in half at 1 ½” (bag topper)
Gold Foil: 2 ¼” x 1 ½”
Ribbon: 28”
* Diagrams and written tutorials are available to YouTube Members - Learn more HERE
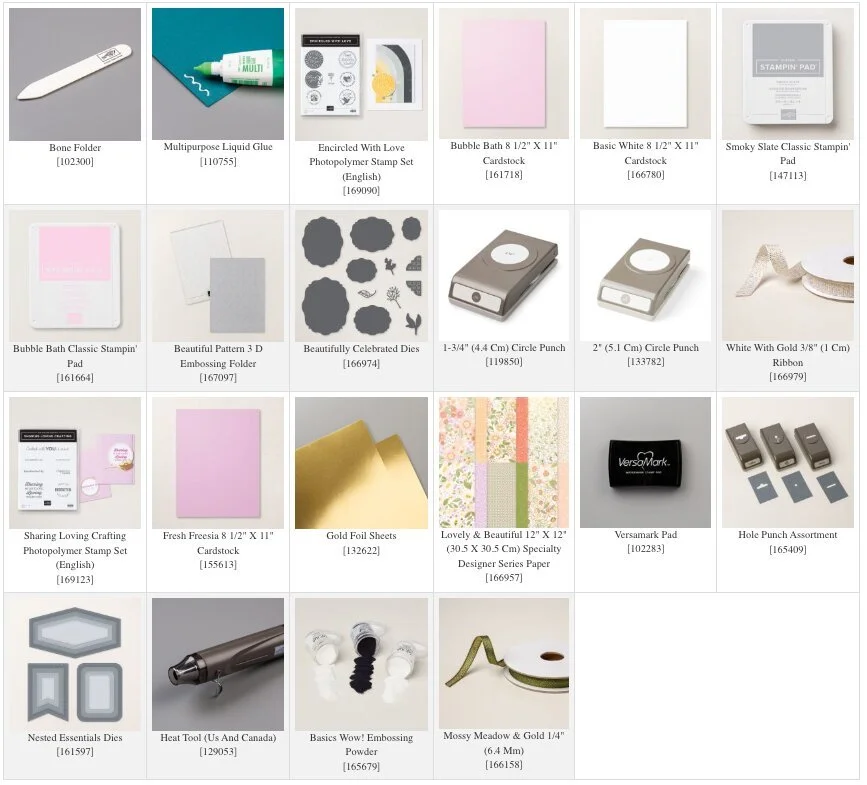
Stampin' Up! Product List for Today's Cards
Click on the picture to add to your cart
Thank you for choosing me to be your Stampin’ Up! Demonstrator!

WOW! Earn Stampin’ Rewards on orders over $20 (before tax/ship.
Spend them on your next Stampin' Up! order or save them up for a bigger purchase!
Pinterest-ing
If this project sparked an idea (or three), don’t forget to save it for later. Go ahead and pin this to your favorite paper crafting or DIY gift board so it’s right there when you need a quick and thoughtful packaging idea. And if you enjoy simple, creative projects like this, be sure to follow me on Pinterest for more inspiration that’s just as fun and creative.

Join Me Thursday, April 23, 2026, for a Create with Connie YouTube Live!
9am Pacific 10am Mountain 11am Central * 12pm Eastern
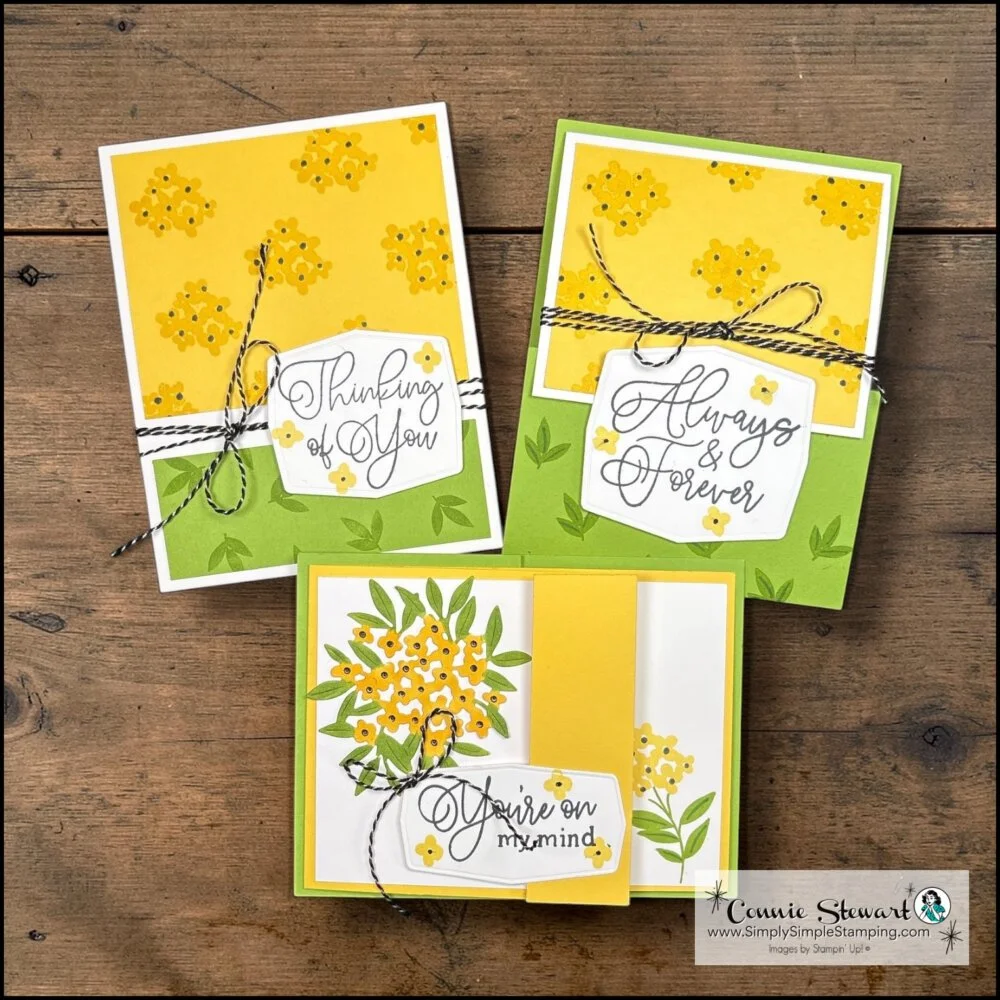
Let's create a fun set of Now, Wow, or HOLY COW Cards together!

This DIY paper gift bag tutorial is one of those go-to projects you’ll find yourself coming back to again and again! It’s simple, versatile, and always just the right touch for a handmade gift. I hope you enjoyed this idea! Be sure to mark your calendars to join me Thursday for a new YouTube Live project.

So what’s this new YouTube Membership thing all about?
It’s a fun, optional way to get even more crafting content, perks, and behind-the-scenes fun!





