
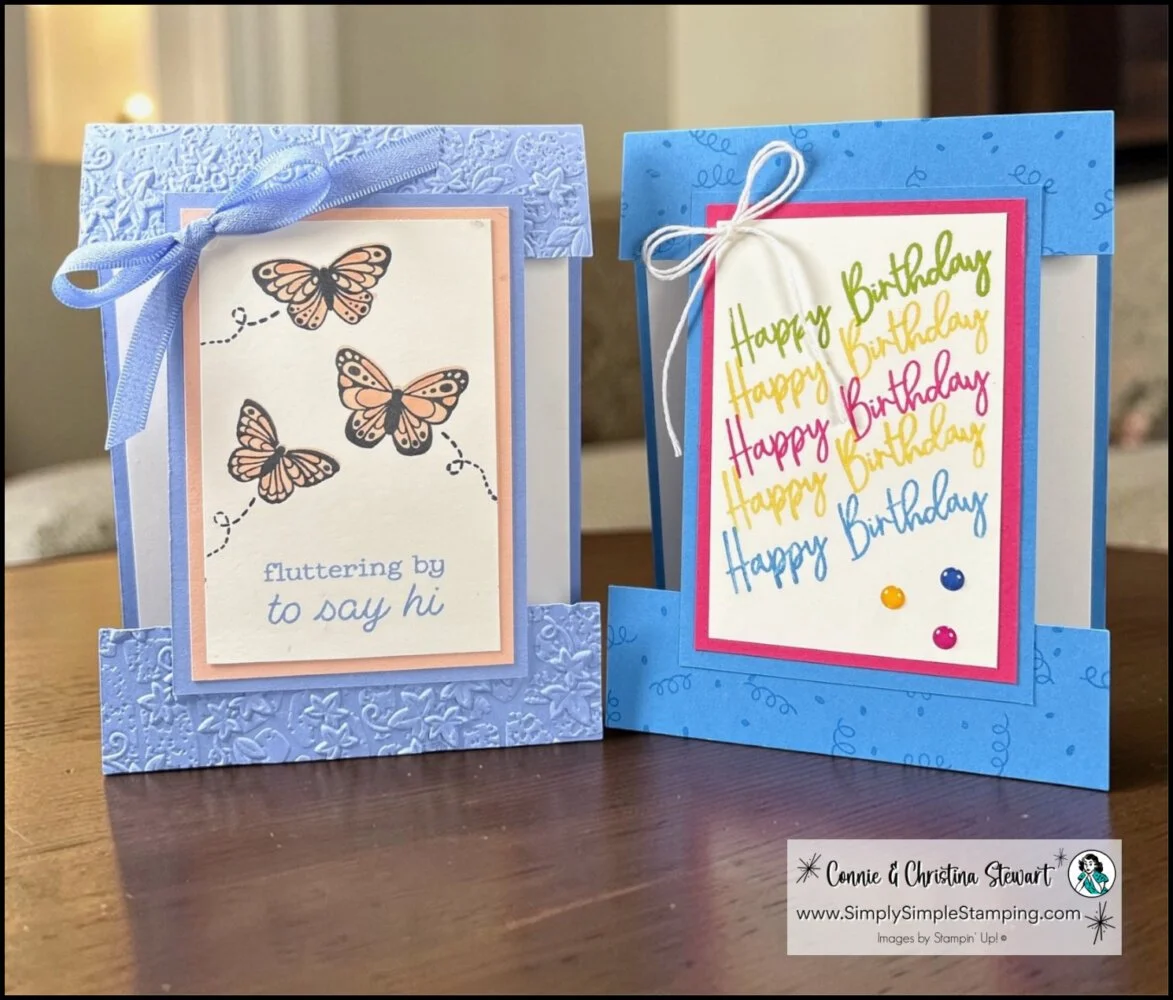
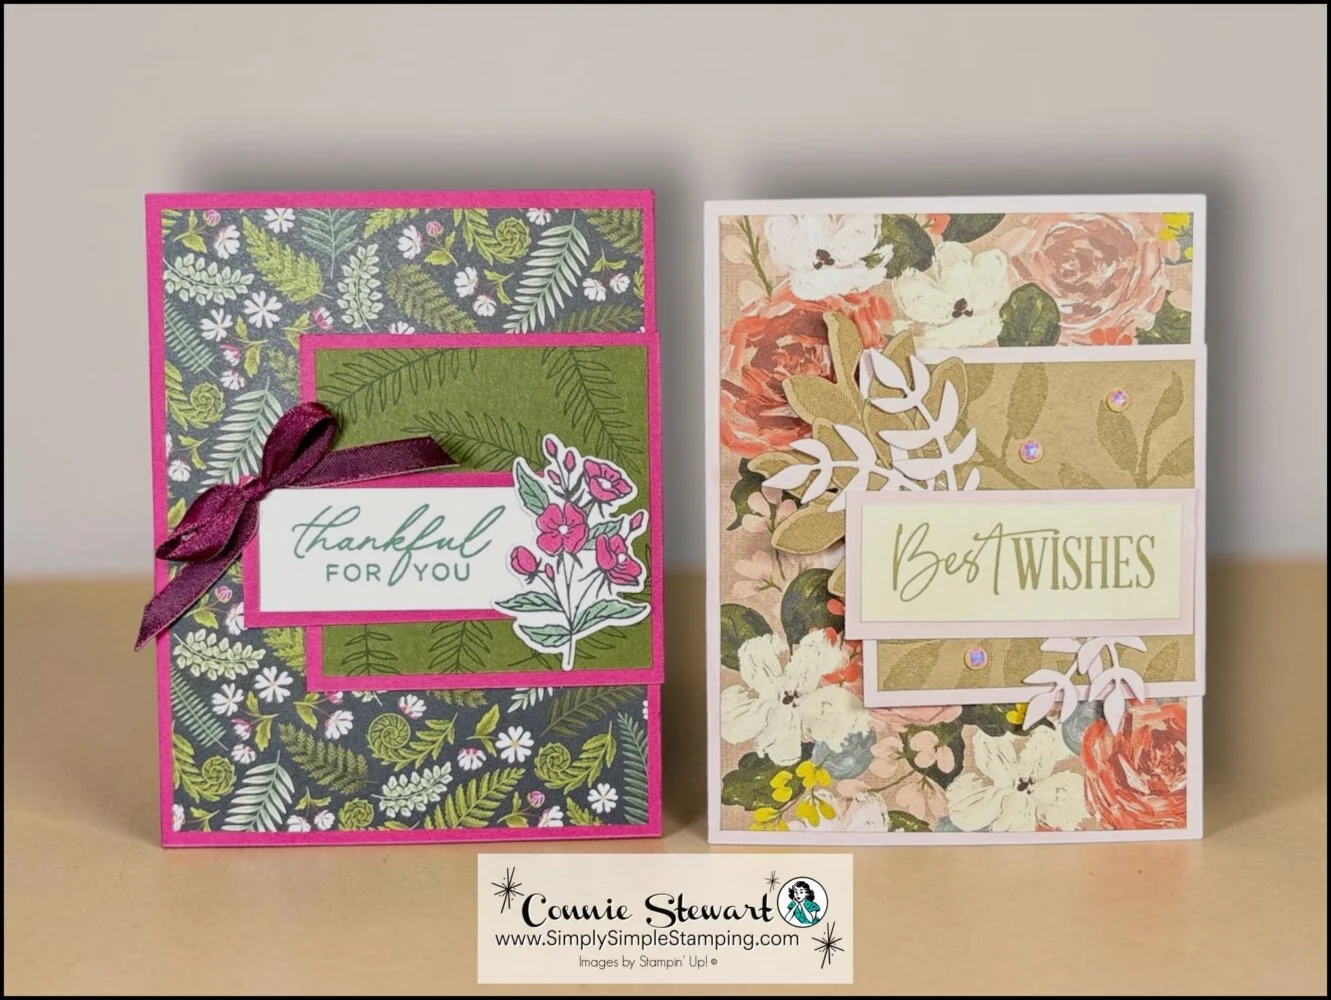
Cut & splice card technique might sound a little fancy, but don’t worry, this is one of those “looks impressive, actually very doable” kind of projects. If you’ve ever looked at your cardstock pile and thought, “We are not cutting into a second sheet today,” then pull up a chair, friend. This little number is what I call a Flash Card and today we’re putting that single sheet to work in a whole new way.
This card base may look like it’s got layers for days, but don’t let it fool you. We’re slicing, sliding, and tucking pieces right back where they came from so you get that polished, layered look without sacrificing extra cardstock. Efficient and cute? Yes, ma’am, we love to see it.
Since we’re already feeling clever, I’m also showing you how to line up those sentiments like a pro using the Stampin’ Positioner. If you’ve ever tried to stamp in a straight row and ended up with a little “creative drift,” this is about to be your new favorite trick. Let’s get to it because this one is just plain fun to make.
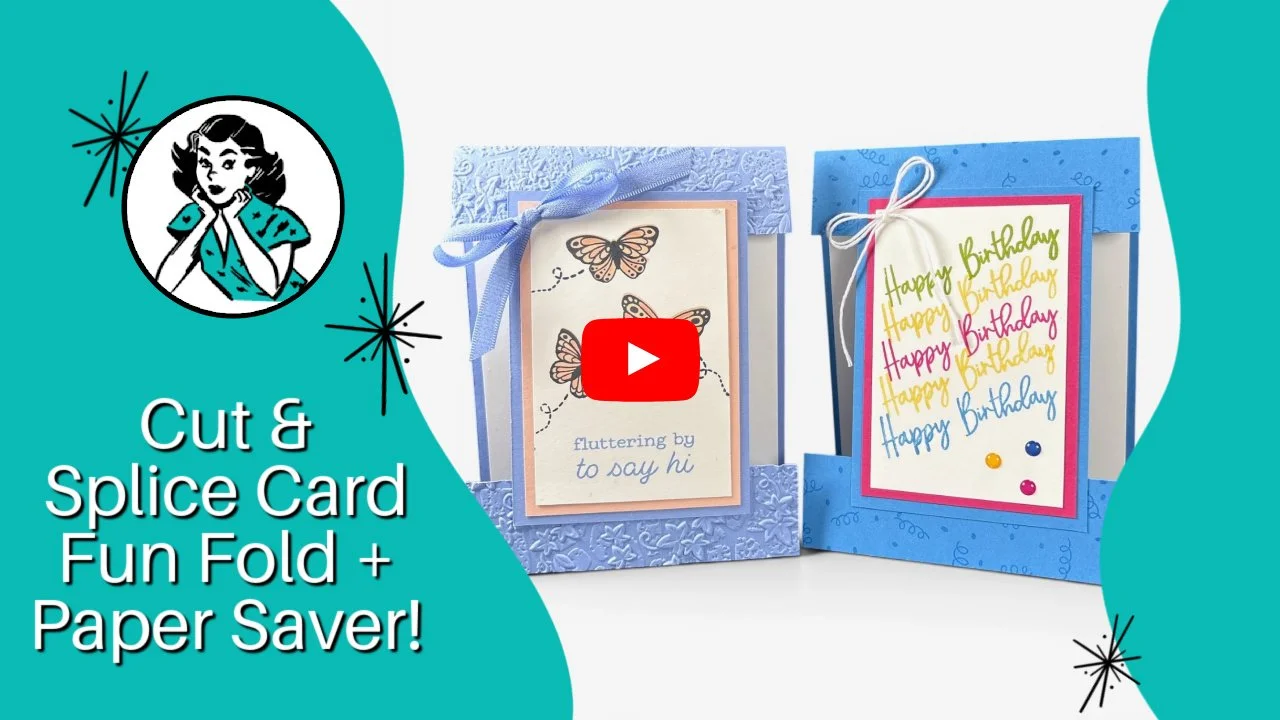
Cut & Splice Card Video Tutorial:
Let’s dive into the cut & splice card technique! I’ve got a feeling this one’s about to earn a permanent spot in your crafting rotation. It’s one of those designs that looks like you used a bunch of cardstock…when really, we’re just being a little clever with one piece. I’m also going to show you how to line up your sentiments nice and neat using the Stampin’ Positioner, so if yours tend to wander off just a bit, you’re in the right place. I'm also featuring some new stamp sets from Stampin' Up! -the All Aflutter for the Thinking of You card and the Balloon Festoon for the Birthday card design. Be sure to watch all the way to the end so you don’t miss any tips and tricks.
⭐️ What do you think of the cut & splice card technique? Are you officially intrigued, or already planning your first one in your head?
Ready to Create these Cut & Splice Cards?
You have asked for me to bring back the Flash Card system and I am happy to do that. This great card making system makes card making fast and easy. Are you new to FLASH CARDS? CLICK HERE to watch the video explaining Flash Cards.
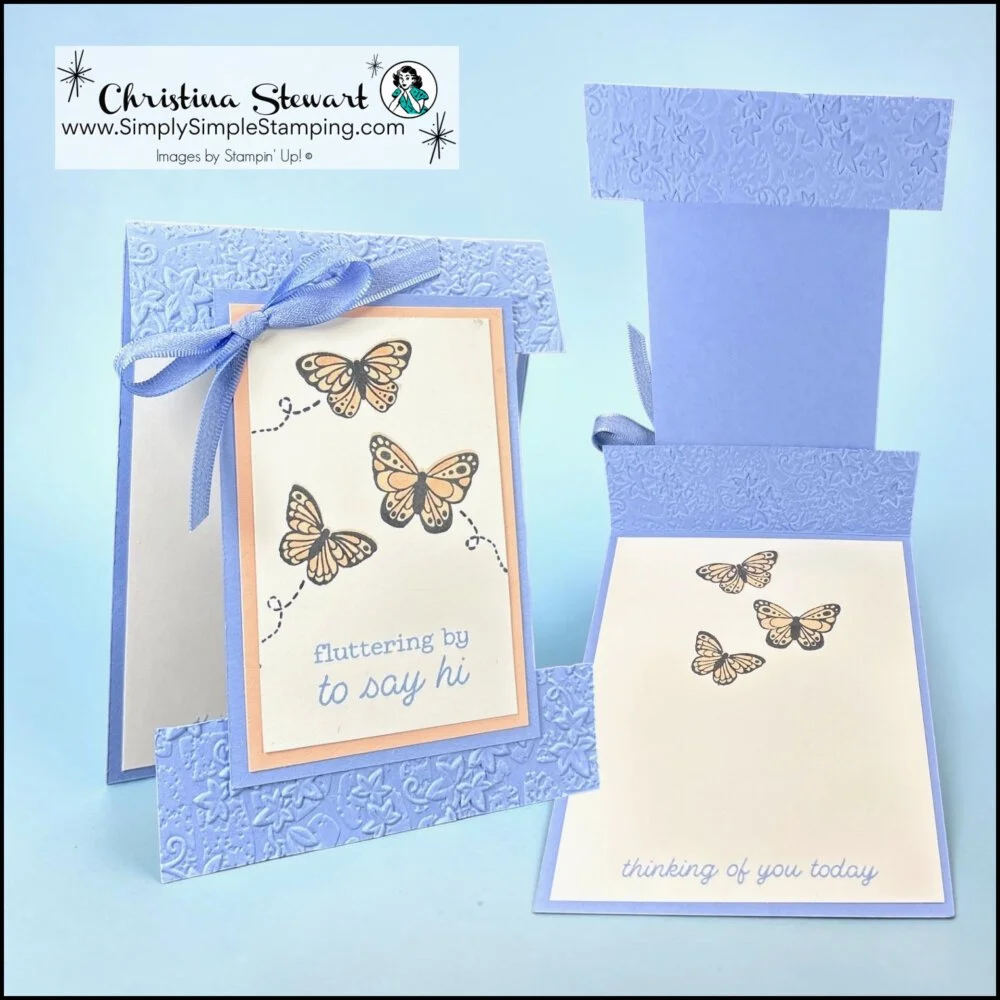
All Aflutter Stamp set
Hydrangea Hue: 11” x 4 ¼”, score 5 ½” (card base)
Cut 4 ¼” off the end
Cut the 4 ¼” x 4 ¼” to 3”
Petal Pink: 2 ¾” x 4” (front layer)
Basic White:
2 ½” x 3 ¾” (stamped image)
4” x 5 ¼” (inside)
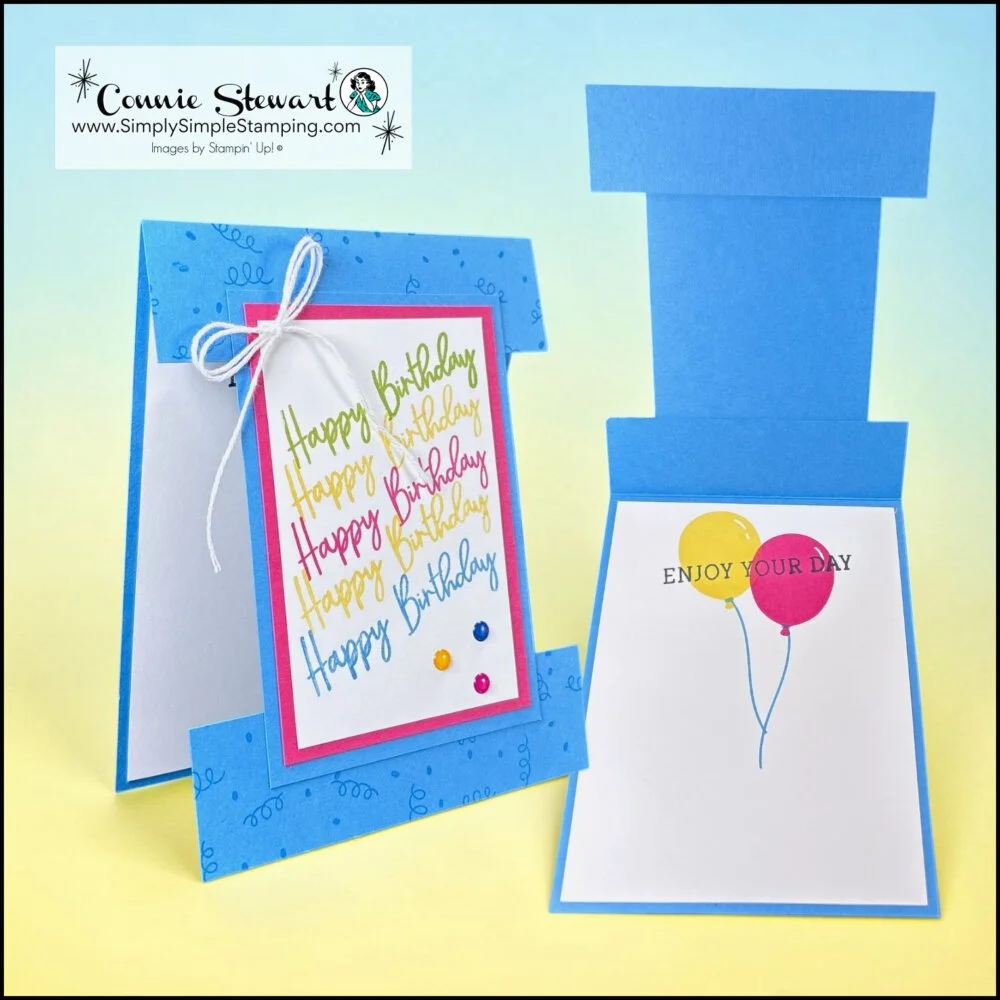
Balloon Festoon Stamp set
Azure Afternoon: 11” x 4 ¼”, score 5 ½” (card base)
Cut 4 ¼” off the end
Cut the 4 ¼” x 4 ¼” to 3”
Melon Mambo: 2 ¾” x 4” (front layer)
Basic White:
2 ½” x 3 ¾” (stamped image)
4” x 5 ¼” (inside)
* Diagrams and written tutorials are available to YouTube Members - Learn more HERE
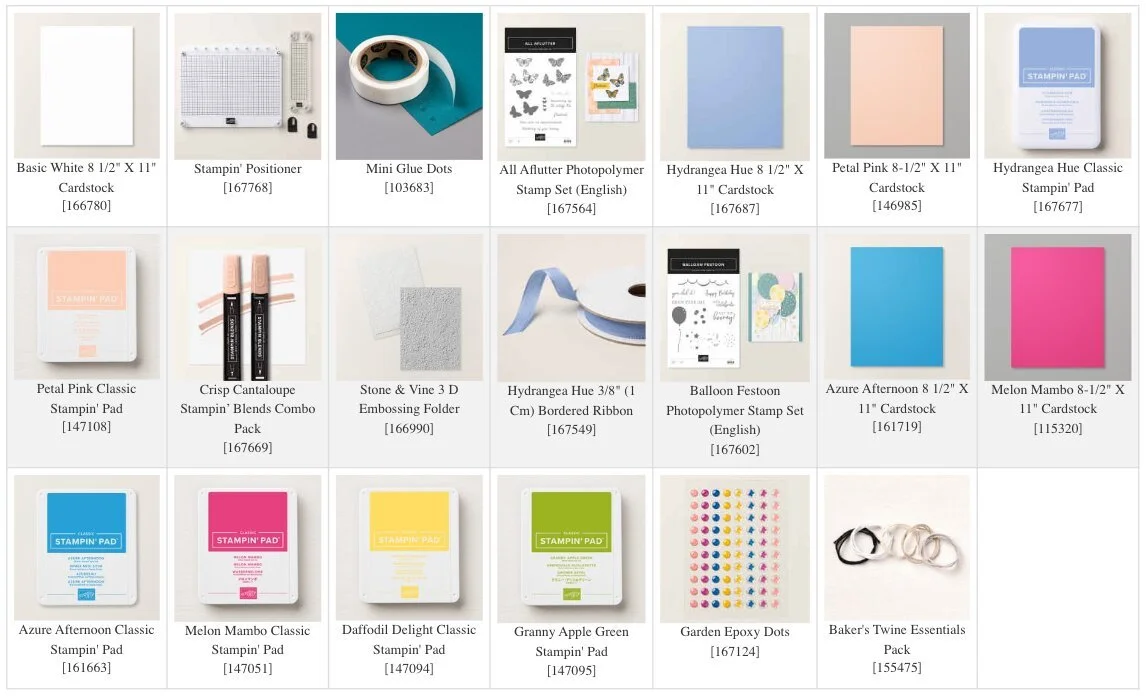
Stampin' Up! Product List for Today's Cards
Click on the picture to add to your cart
Thank you for choosing me to be your Stampin’ Up! Demonstrator!

WOW! Earn Stampin’ Rewards on orders over $20 (before tax/ship.
Spend them on your next Stampin' Up! order or save them up for a bigger purchase!
Pinterest-ing
If this clever little technique made you do a double take, don’t forget to save it for later! Go ahead and pin this idea to your favorite card making or paper crafting board so it’s right there when you’re ready to create. And if you enjoy easy, creative projects like this one, be sure to follow me on Pinterest for more ideas that make your supplies stretch a little further.

Join Me Thursday, May 21, 2026, for a Create with Connie YouTube Live!
9am Pacific 10am Mountain 11am Central * 12pm Eastern
Let's create a fun Card Within a Card together!

I hope you enjoyed learning this cut and splice card technique and feel inspired to give it a try the next time you sit down to craft. It’s such a fun way to get that layered look without using extra cardstock! Be sure to check back Thursday for a new YouTube Live project.

So what’s this new YouTube Membership thing all about?
It’s a fun, optional way to get even more crafting content, perks, and behind-the-scenes fun!





